If there is a theme to my blog, or a driving force behind my cooking, it is this: Does it taste better if you make it from scratch and, if so, is the time invested in making it worth the difference?
For example: butter can be made at home but it’s not going to be appreciably different from a good quality store-bought butter. Homemade bread, on the other hand, gives a pleasure measurably greater than that derived from commercial bread. However, if you live near a good bakery, where they bake the bread onsite, the pleasure gained from one of their loaves may be as great or better than the happiness you get from making your own. It all depends on how much you like baking bread! (For more along this line, I recommend to you “Bake the Bread, Buy the Butter”, Jennifer Reese’s exploration of the food, quality and effort equation.)
Enter Rough Puff Pastry.
I have mixed feelings about commercially available puff pastry. I first came across it in Paris where I found it to be genius! But my experience in the United States has been mixed. Sometimes it puffs beautifully, sometimes it puffs a little and sometimes not at all. This is probably related to how many times the pastry has thawed or partially thawed and refrozen and how for long it has been frozen overall. These are things which I cannot control or even be sure about when I buy it at a store. It’s just not reliable and I am not sure the convenience outweighs the quality issues.
However, I watch a lot of baking shows, a big favorite being The Great British Baking Show (of course!). And somewhere along the line I heard about “Rough Puff Pastry” and filed it away in the back of mind as something to try. Now it is Spring and time for fresh fruit tarts and pastries, so I decided to try making my own (rough) puff pastry.
Here’s what I found out. In the past the problems most people had making puff pastry stemmed from the butter getting warm and melting during the rolling process. Times have changed. Air conditioning helps to keep the kitchen cool and a food processor will make the grating of the butter (for rough puff) fast and easy. Incorporating grated butter instead of rolling out a solid slab of butter into the pastry will make the process easier and faster, and hence less fraught.
And the other thing I found out? Rough puff pastry rises high and flaky in a way that will make you dance in the kitchen!
Start with frozen butter. Using the grating disc of your food processor grate three sticks of butter.
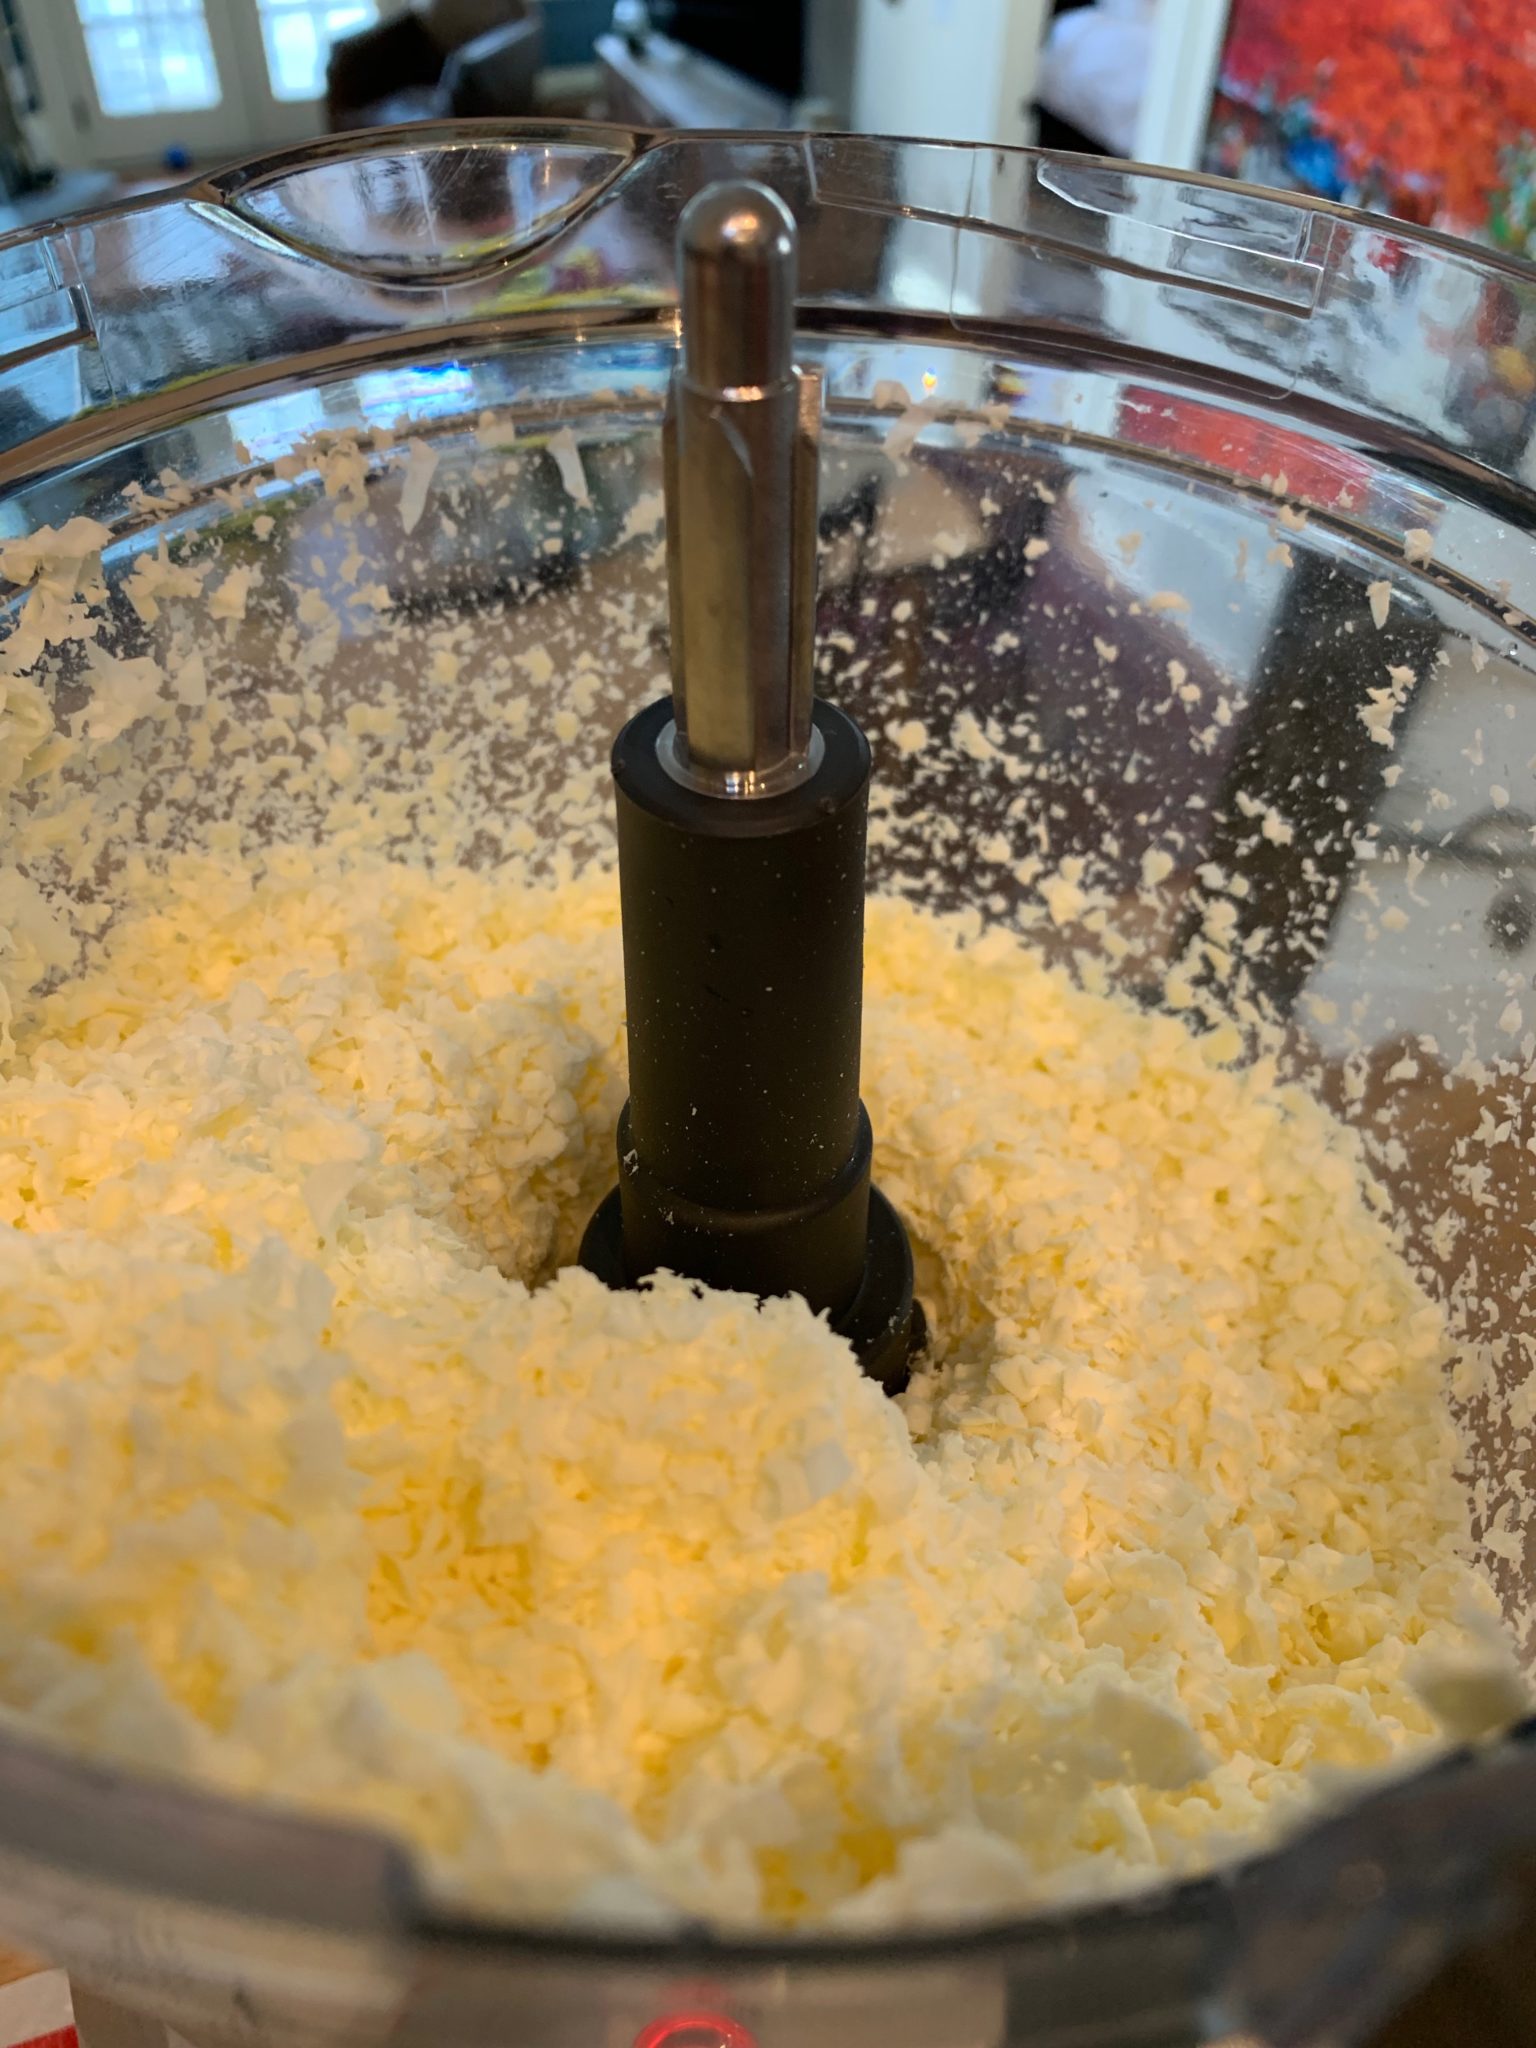
Put it in a bowl and toss it with a little flour.
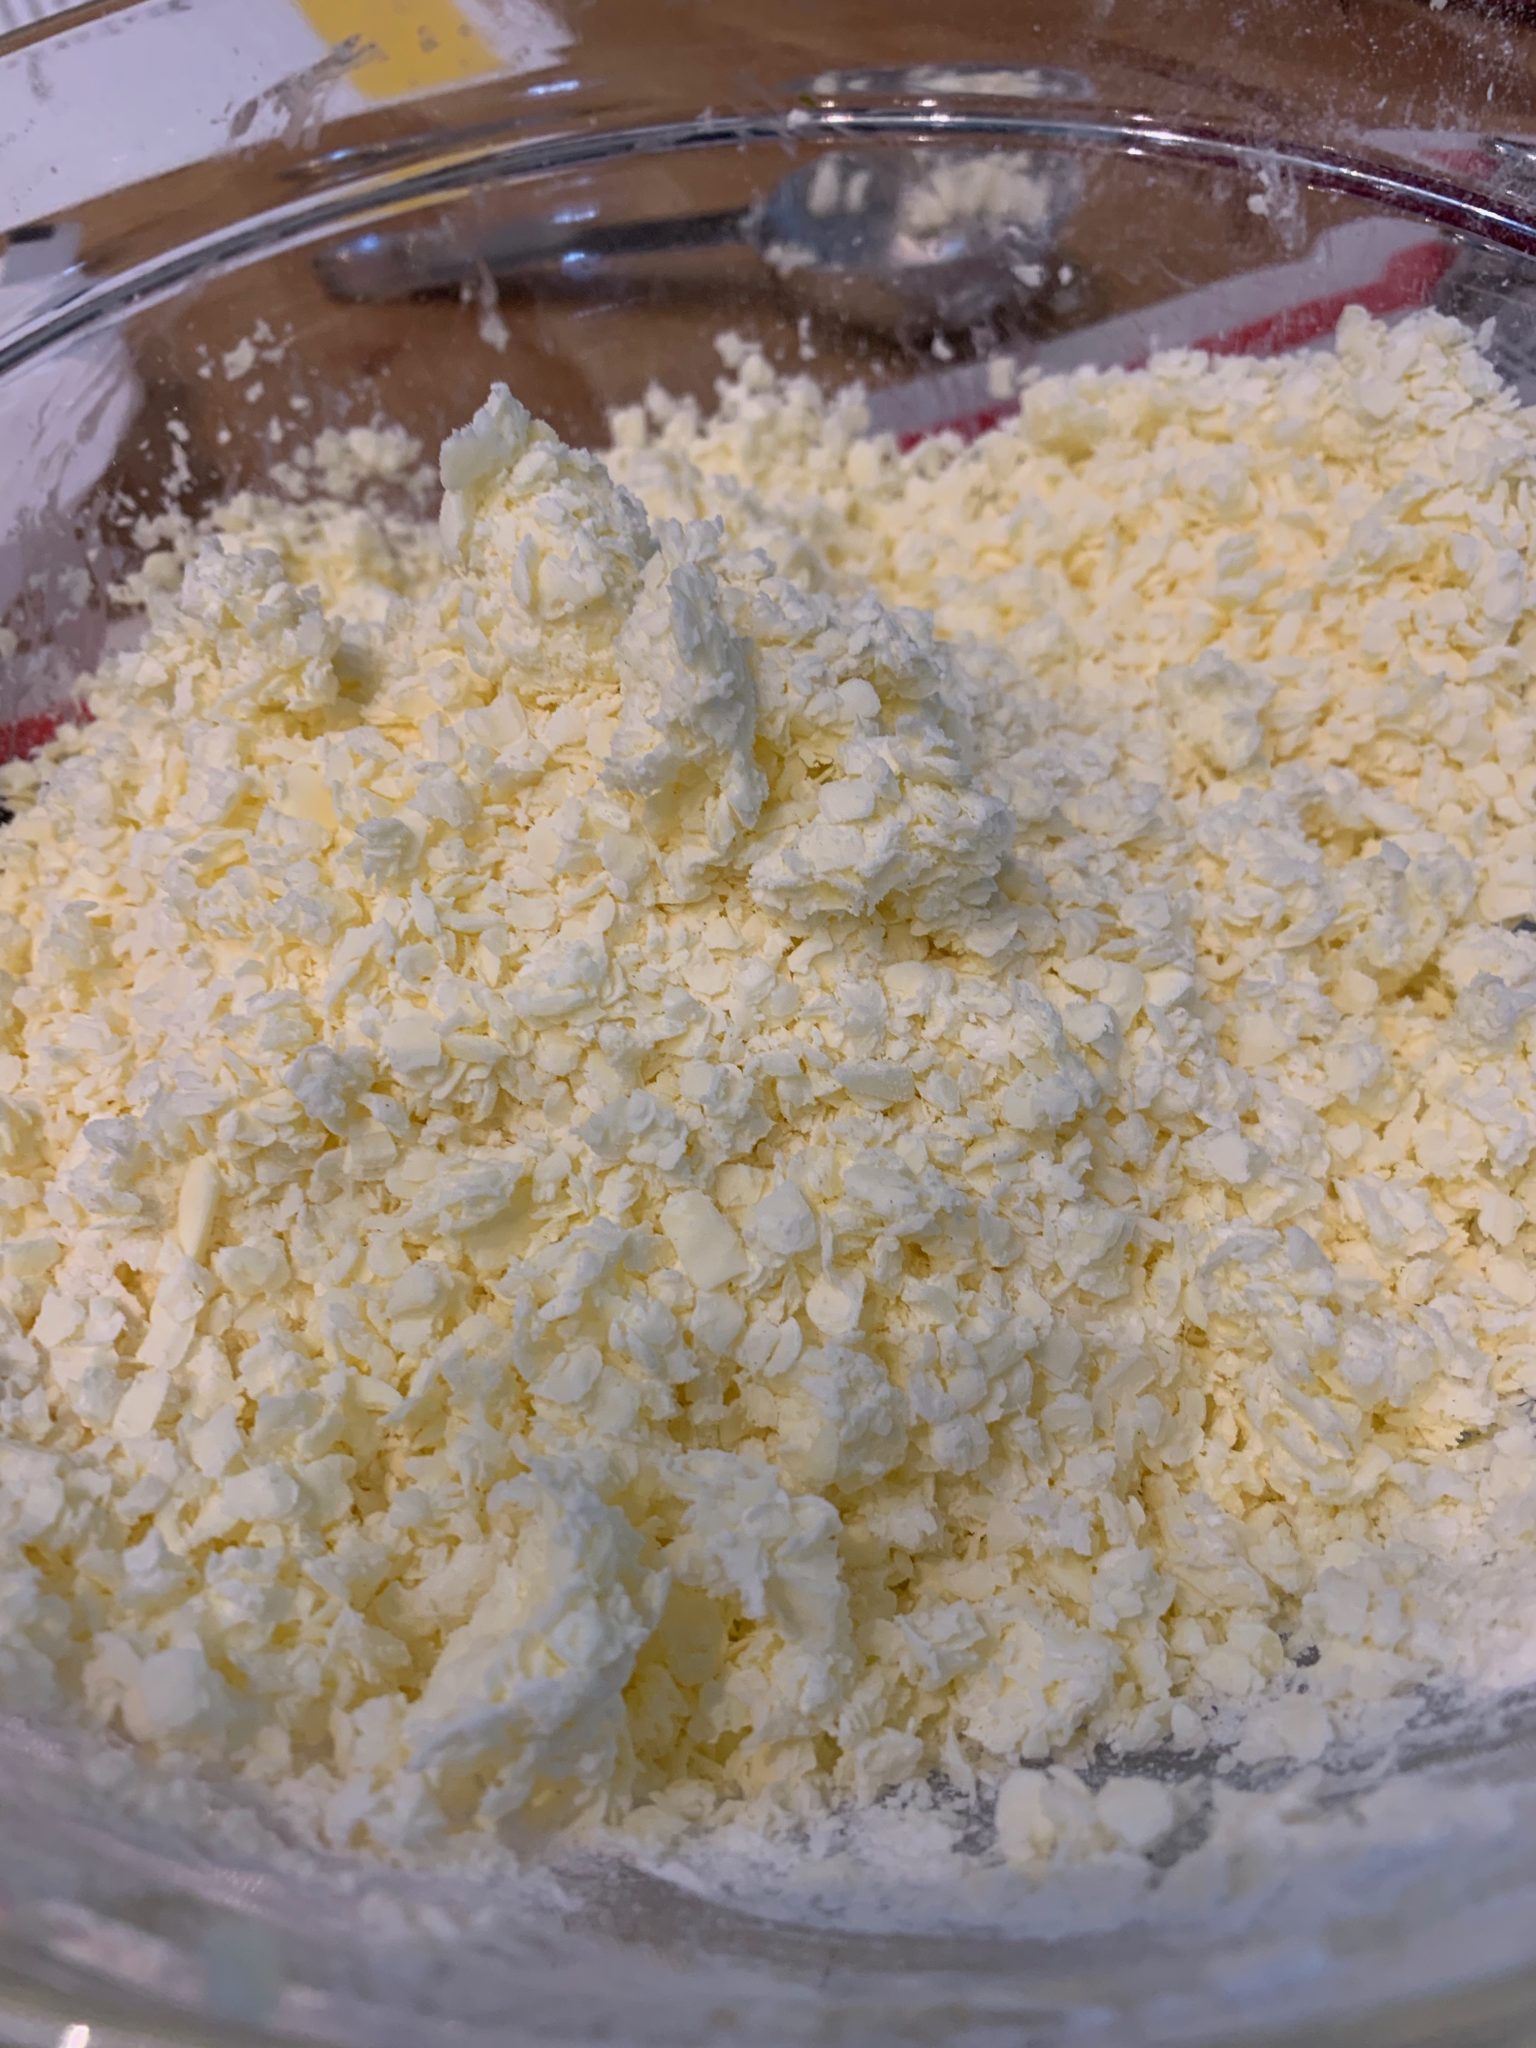 Now put it back in the freezer for ten-fifteen minutes.
In a large bowl mix together sugar, salt and flour. Add about half of the frozen butter to the flour mixture and put the rest of the butter back in freezer. Toss the flour and butter together once or twice.
Rule One: Always return the butter to the freezer immediately.
Mix together 1/3 cup very cold milk with 1/3 cup of ice water and drizzle it over the flour and butter. Use a fork to start mixing it and then knead it a few times until it makes what is called a “shaggy dough”. This means it is sticking together but has flat clumps of butter in it.
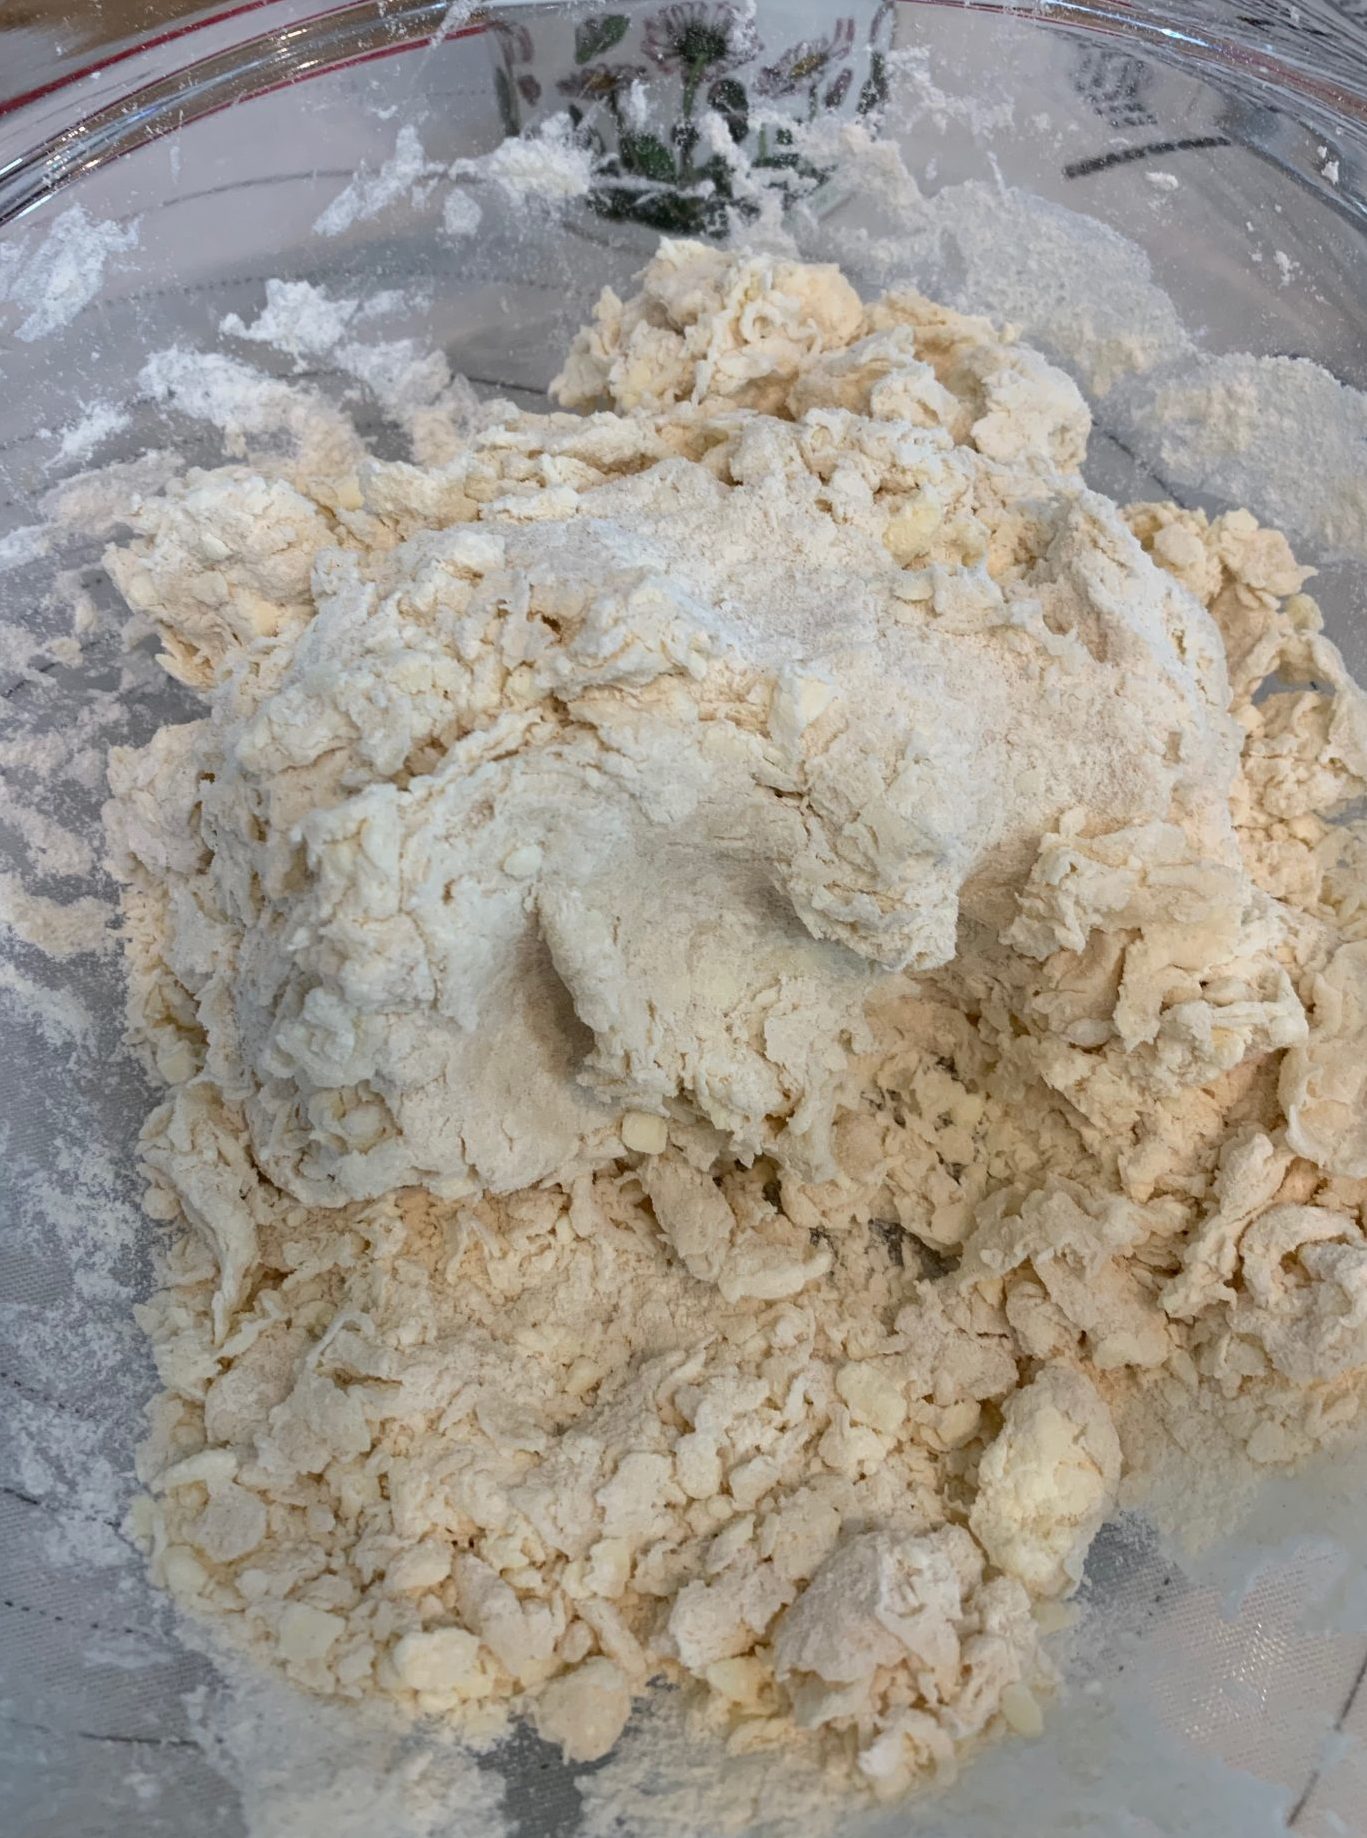
There will still be clumps of butter visible and not all of the flour is incorporated
Don’t try to mix in all the flour yet. Transfer the portions that have come together on to your counter and drizzle a tablespoon of ice water over the flour remaining in the bowl. Give this a quick knead and add it to the rest of the pastry on the counter. Knead the dough until it just comes together. You should still be able to see clumps of butter in it and it will look rough, not smooth. Form it into a square, 1-2” thick, wrap it well and put it in the refrigerator for 20 minutes or so.
Rule Two: Work quickly but not frantically.
Take the dough out of the refrigerator when it is chilled and place it on a lightly floured board. I use a non-slip silicone pastry mat for this. It makes it easy to measure the size of my rolled dough and clean-up is a dream. If you don’t have one, a ruler is the old school way of doing it.
Roll the dough out into a rectangle about 18” x 6” with the short side facing you.
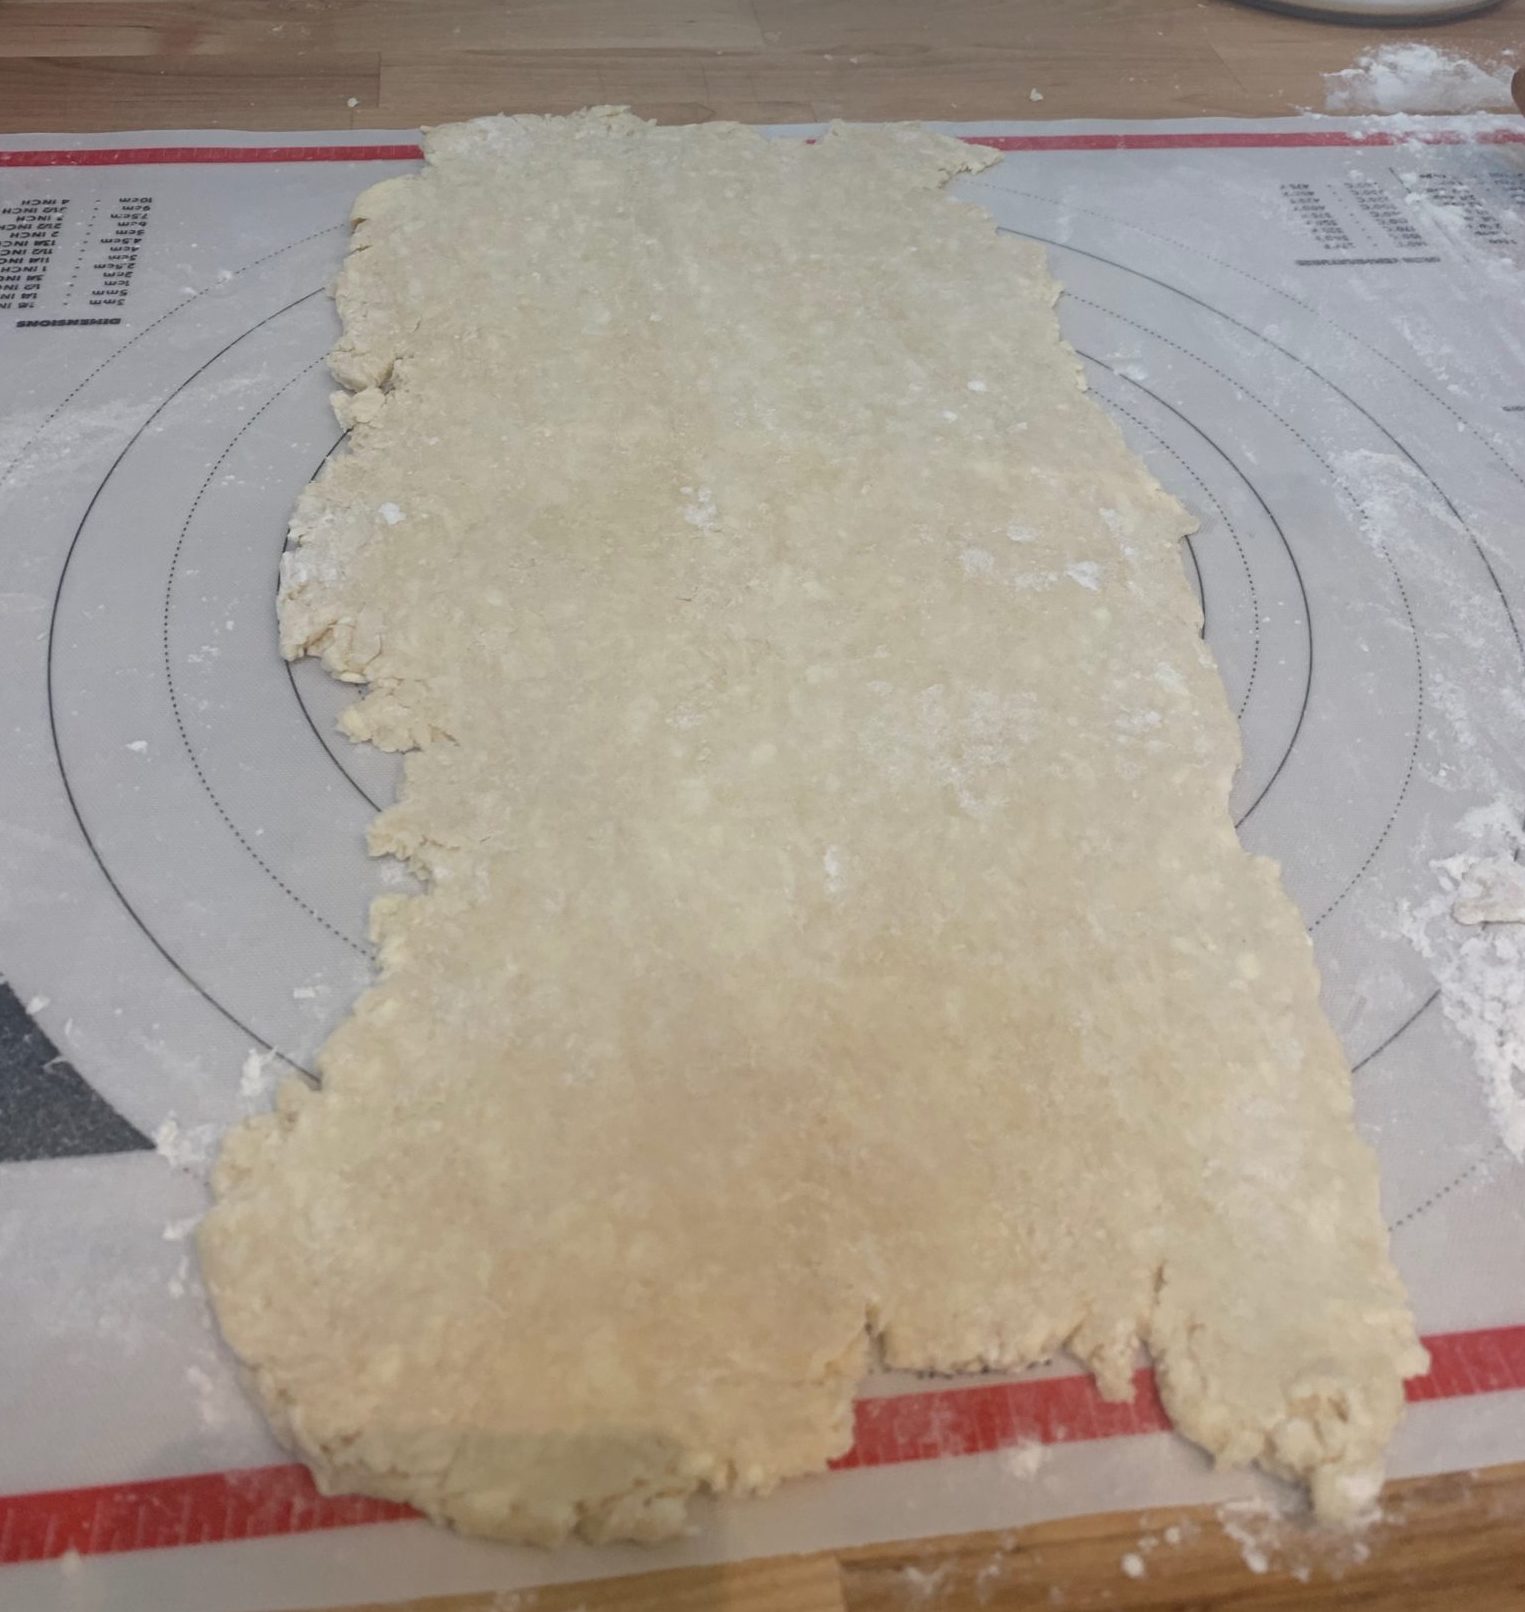
Do not worry if the first roll is not perfectly neat, it will come together as you go through the process
Spread about ¼ of the remaining cold butter in the center third of the rectangle and then fold the bottom third up onto it.
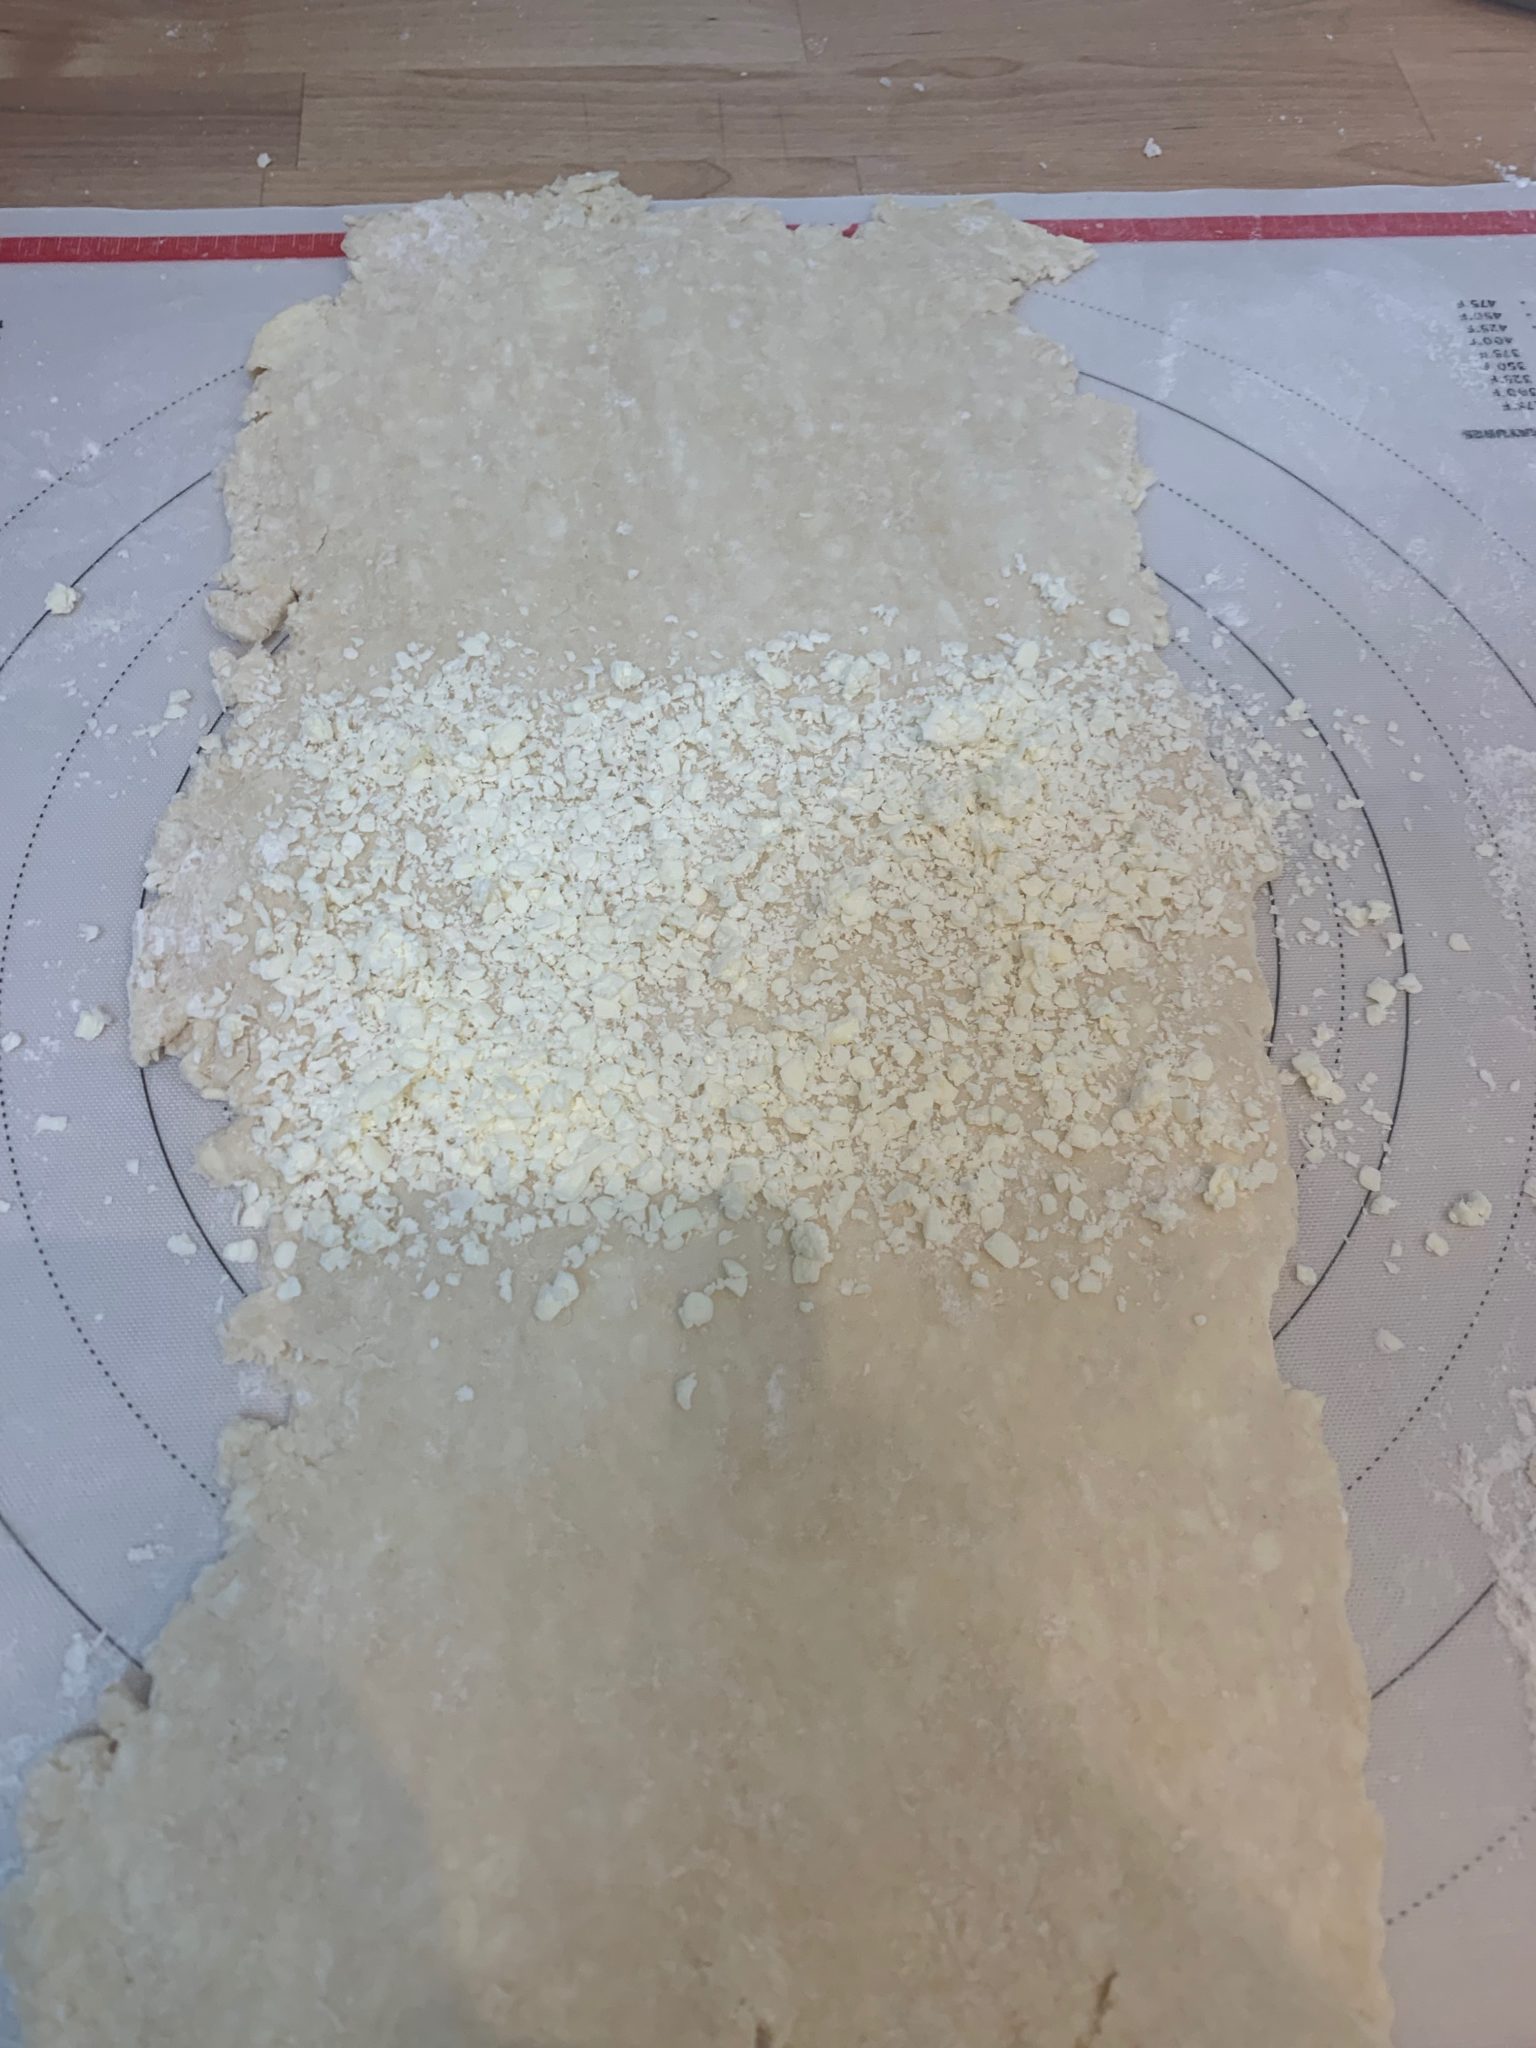 Put a like amount of butter on top of this and then fold the top back over it all, making a butter-filled envelope.
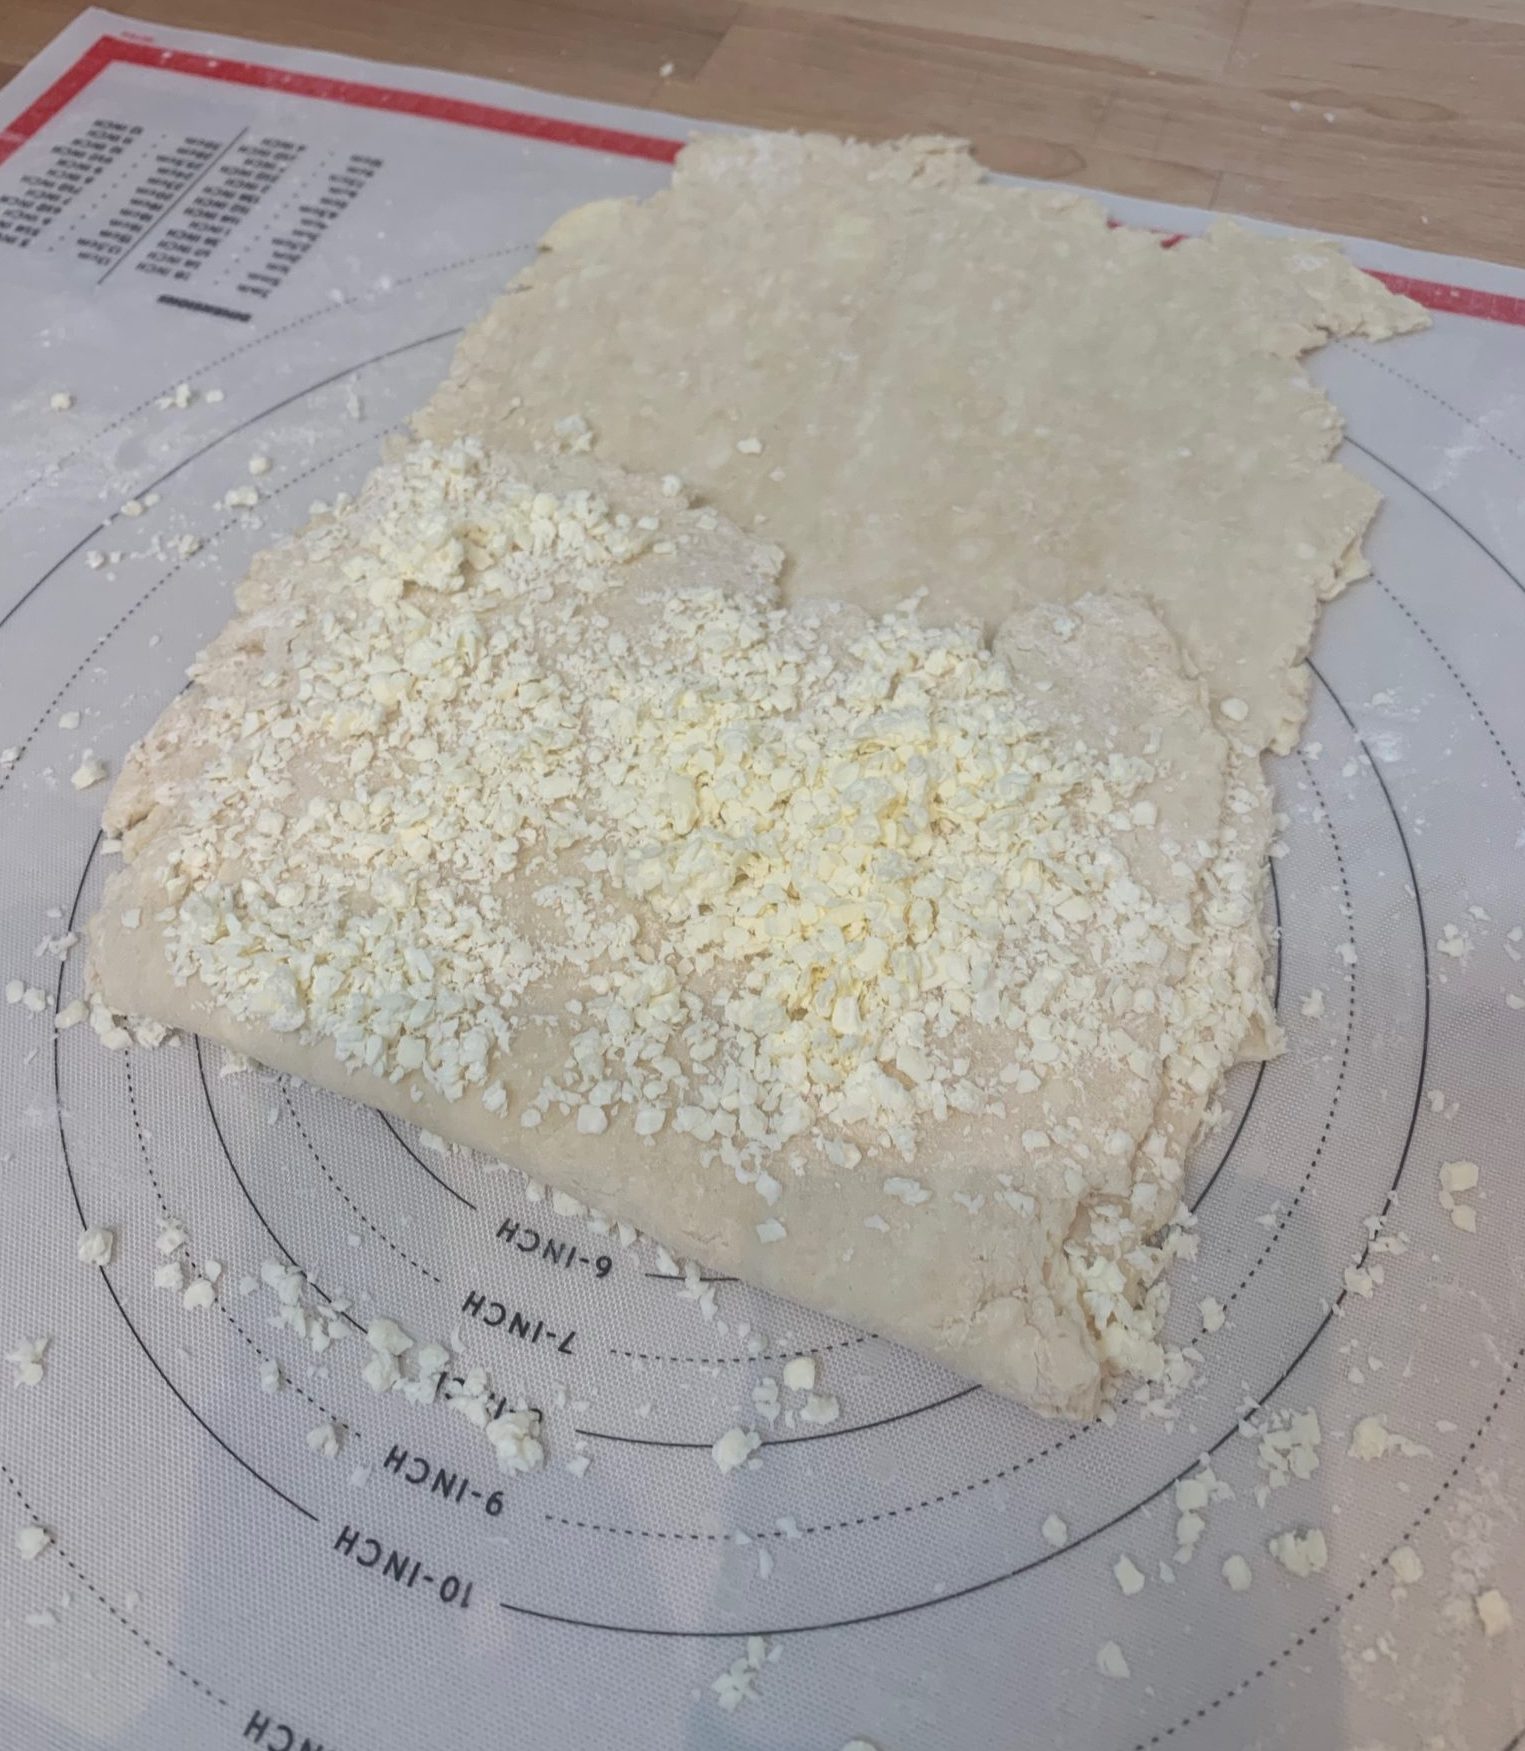
Press the edges down and rotate the dough so that the unopened side is facing you.
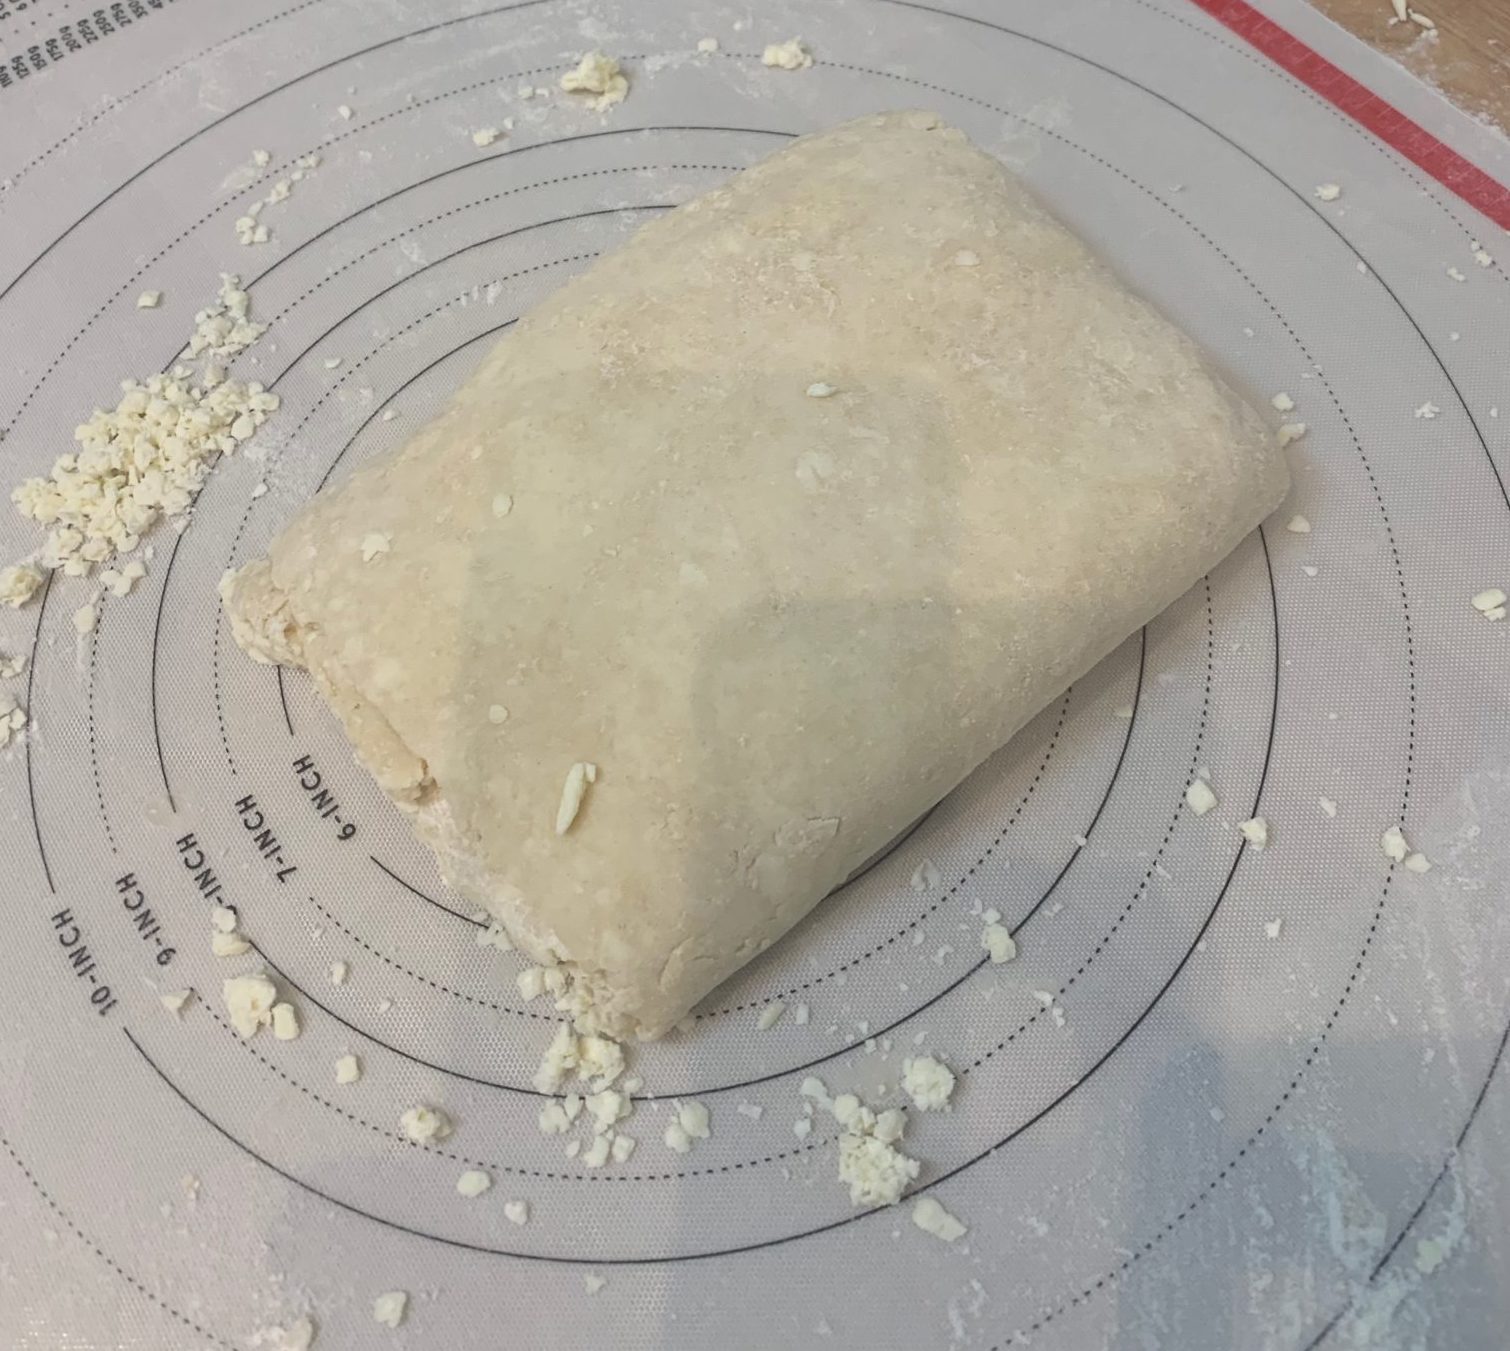
Roll the dough out again into large rectangle and repeat the butter/fold/butter process, using up all of the remaining butter. Wrap the dough and put it back in the refrigerator. Let the dough chill for another 20-30 minutes.
One more time, remove the dough from the refrigerator and roll it into a rectangle. Repeat the folding (bottom third on to middle third, top third down) without adding any butter. Turn it as before and do it again (roll, fold, fold).
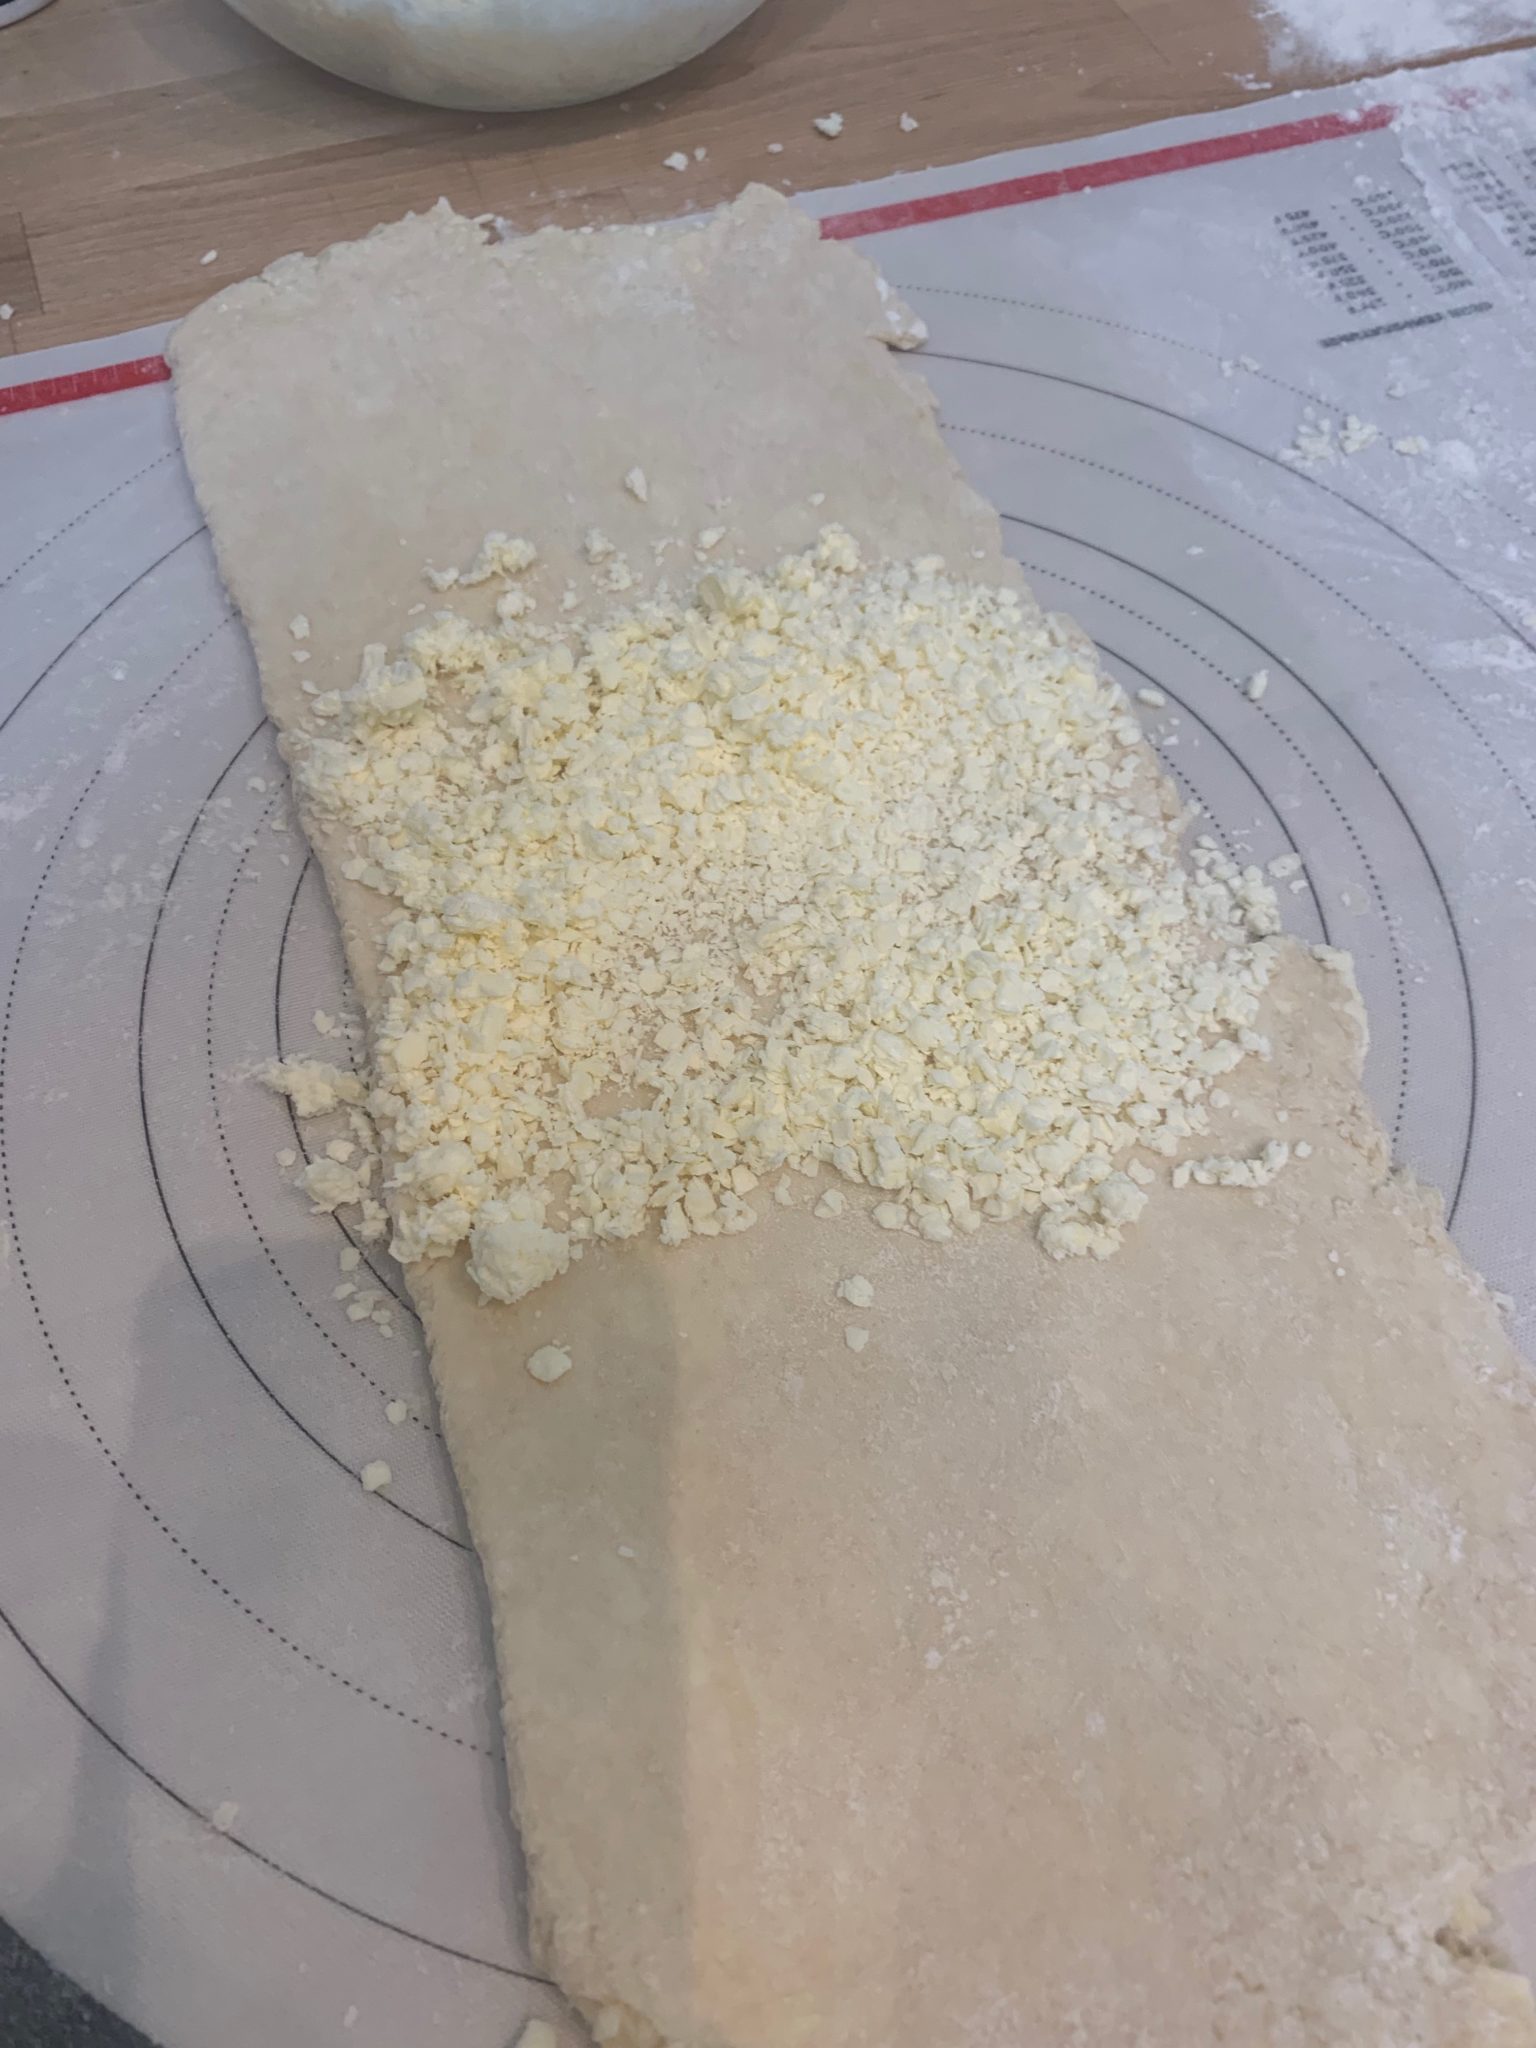
As you work with the pastry it will hold it shape better and become more uniform
The dough needs to rest one last time before you use it. So put it back in the fridge for another 20 minutes or until you are ready to use it. It will keep well for a day to two in the refrigerator or can be frozen for a month or two.
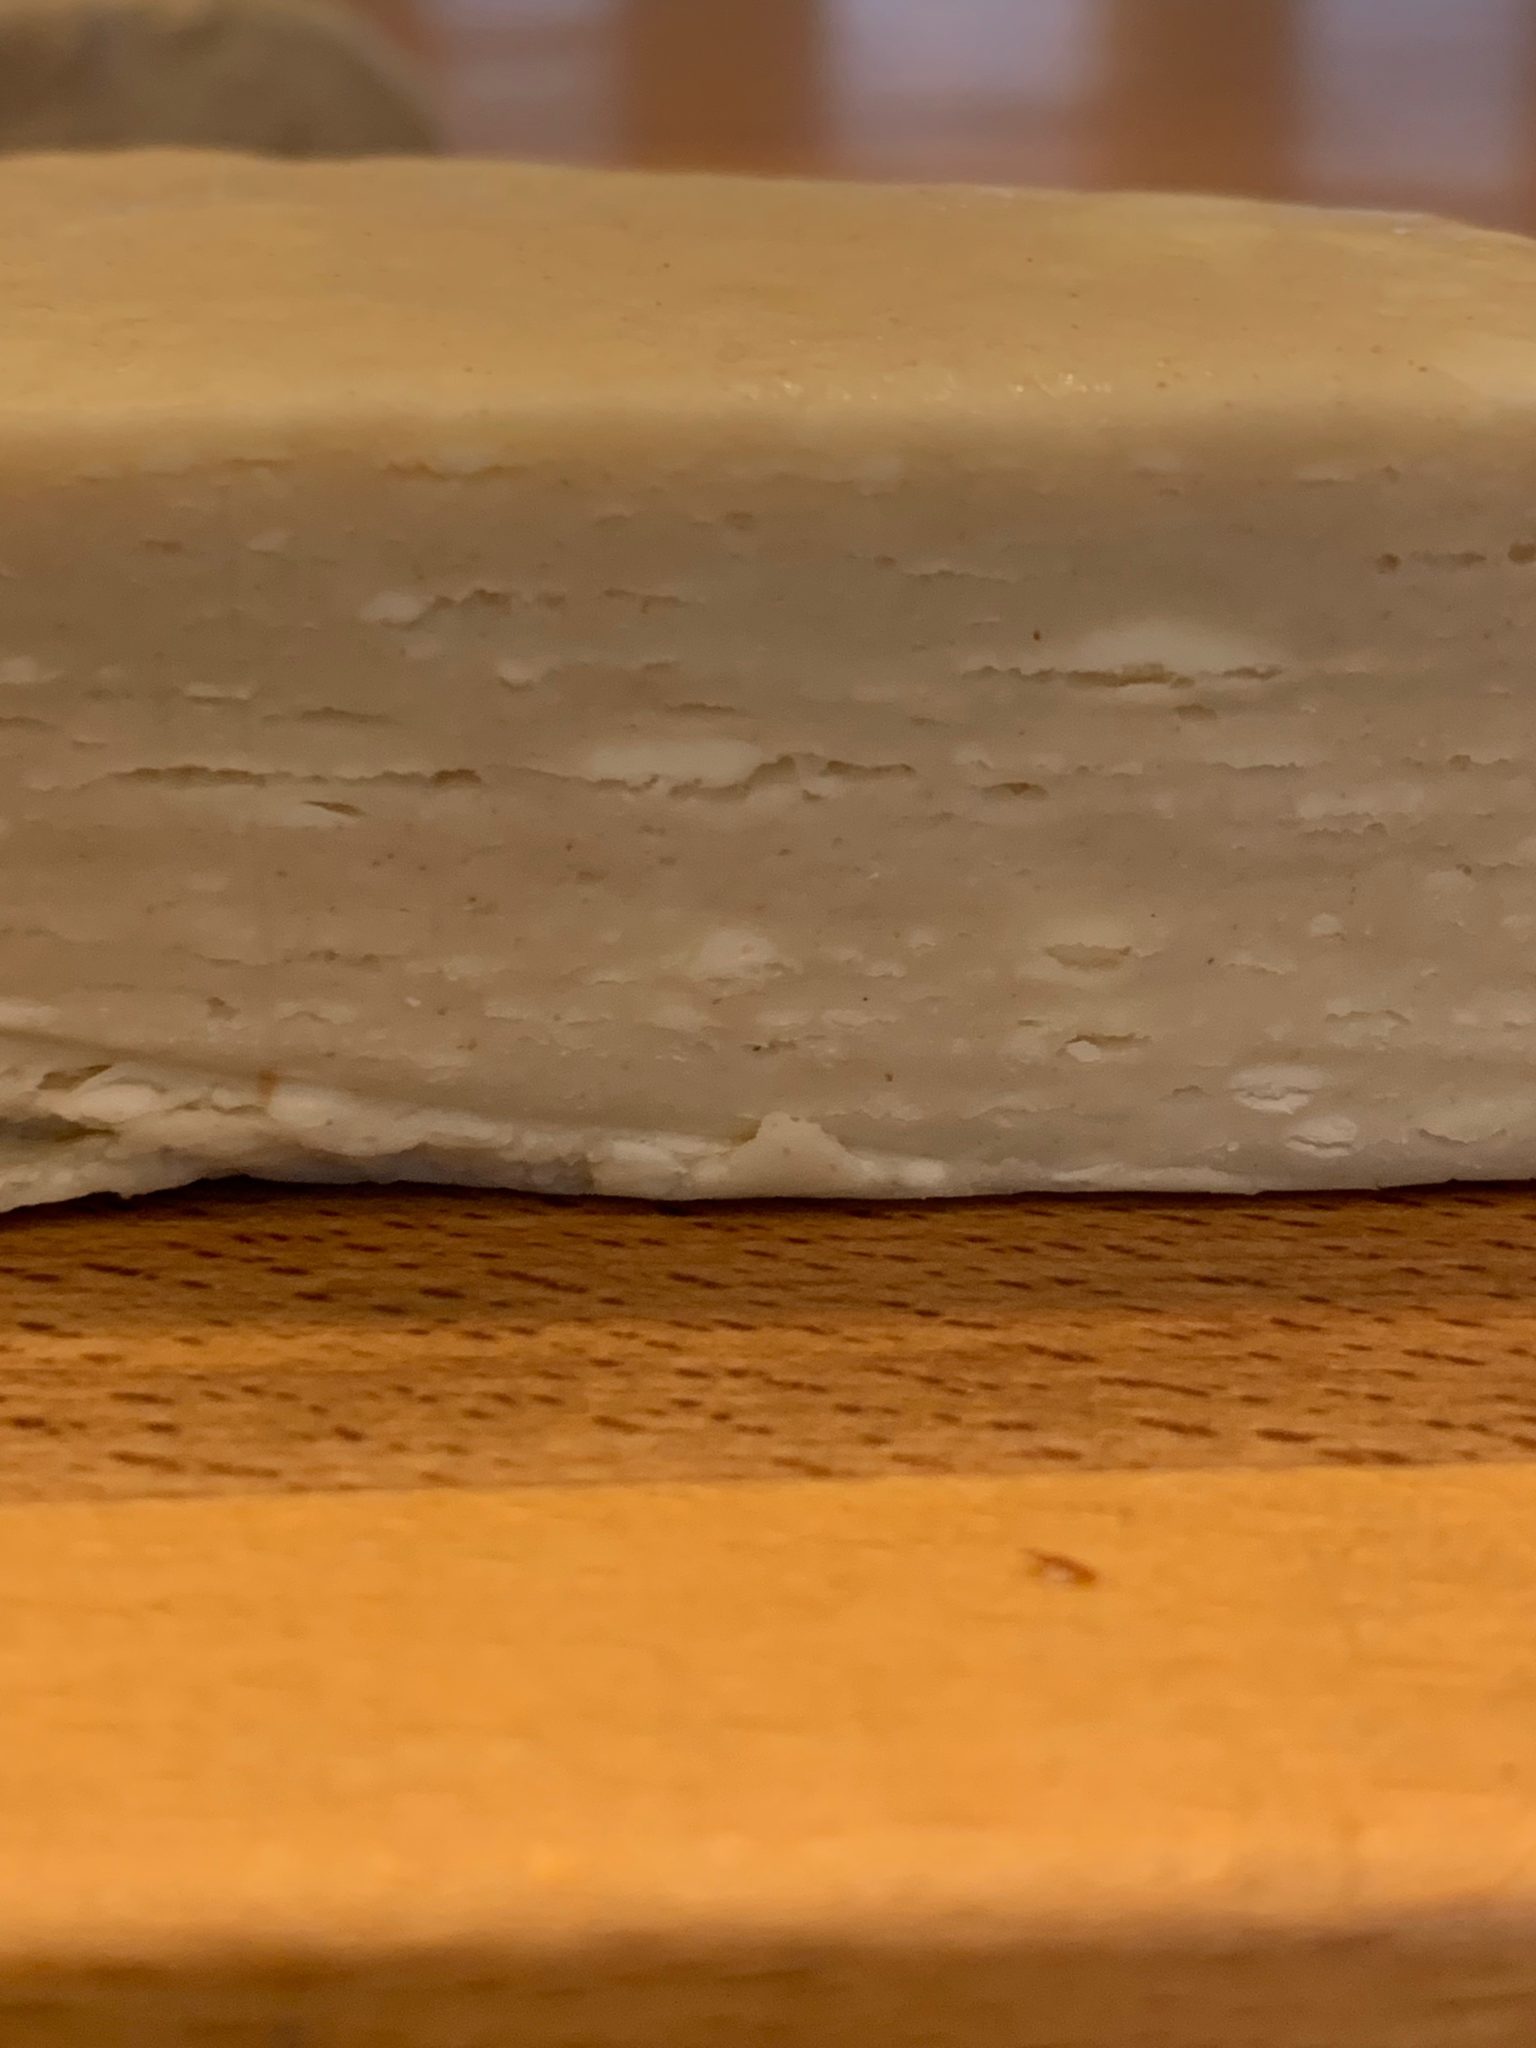
if you cut into your finished pastry you should see the layers formed by the butter
To bake the dough, follow the instructions on your recipe. A good rule of thumb for all puff pastry is to bake at 400 degrees for 20-25 minutes or until it is well browned.
And be prepared to do a Happy “It Worked! I’m so GOOD!!!” dance.
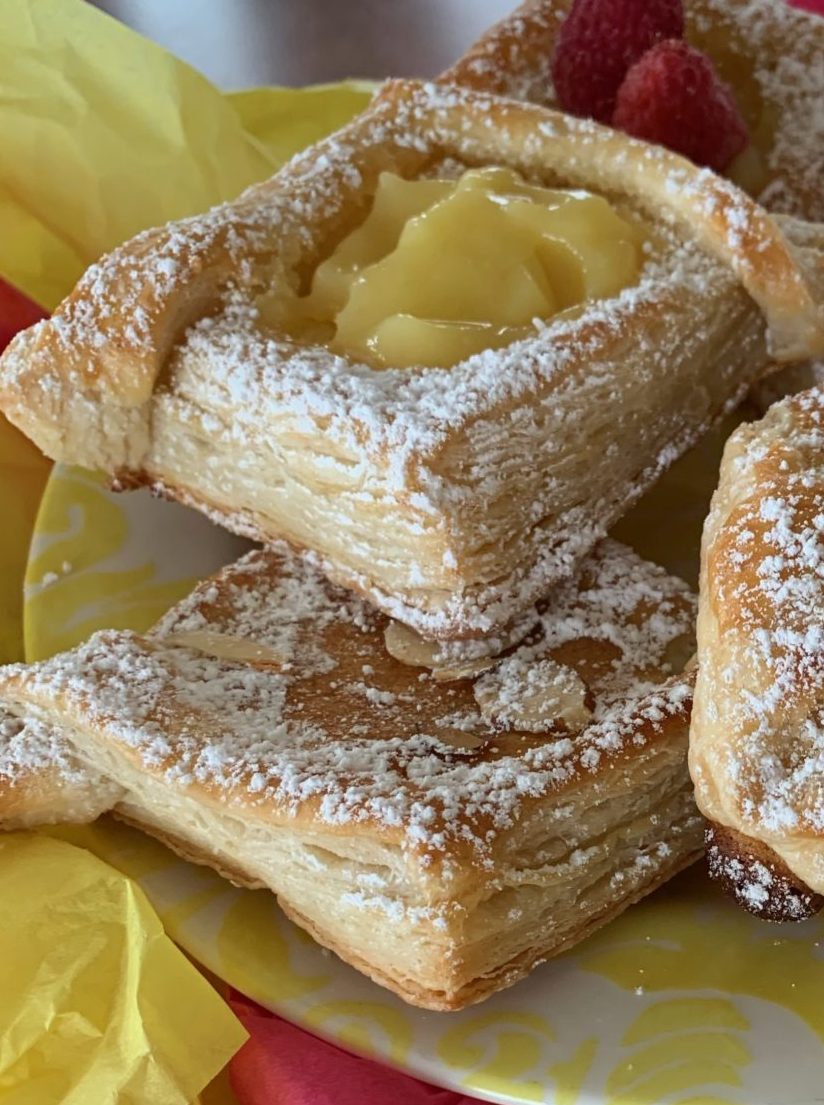
Your rough puff pastry will result in lovely layers once baked!
ROUGH PUFF PASTRY
Ingredients
- 1 ½ c. unsalted butter (3 sticks) frozen
- 1 tbsp sugar
- 1 ½ tsp salt
- 2 ½ c. flour
- 2 tbsp flour
- 1/3 c. cold milk
- 1/3 c. ice water
- 1 tbsp ice water
Instructions
- Using the grating disc on your food processor, process the butter and place it in a medium bowl. Toss quickly with 2 tablespoons of flour and put the bowl back in the freezer.
- Mix together the salt, flour and sugar in a large bowl. Separate out half the frozen butter and return the rest to the freezer. Toss the butter in the flour mixture.
- Measure 1/3 cup cold milk and 1/3 cup ice water together in a measuring cup and add it to the flour and butter mixture. Use a fork to mix it together and then use your hands to knead it together. Once the pastry is forming large clumps, remove the large clumps to your workspace and drizzle the remaining tablespoon of water over the flour left in the bowl. Knead it together and add it to the flour on your workspace.
- Knead the whole thing once or twice to get it to stick together then make it into a square of pastry 1-2” thick. Wrap it in plastic wrap and refrigerate the dough for 20 minutes.
- Lightly dust a non-stick mat or your countertop with flour. Remove the dough from the refrigerator and roll it out into an 18”x 6” rectangle. Turn it so the narrower edge is facing you.
- Remove the butter from the freezer and sprinkle about 1/3 of it into the center third of your pastry rectangle. Fold the bottom third on to the buttered center and sprinkle ¼ of the butter remaining in the bowl on top of the bottom third (now the lower half of a smaller rectangle). Fold the top half over the butter and press the edges all around to seal it. Turn the dough so the bottom is now the side.
- Repeat the whole process again using up all the butter. Wrap the dough tightly in plastic wrap and put it back in the refrigerator for at least 20 minute or as much as overnight.
- One last time, take the dough out and roll it into a rectangle (18” x 6”) on a lightly floured board. Fold it up in thirds (without any butter), turn it and repeat the rolling and folding.
- Wrap the dough up and chill for a further 20 minutes. You can use the dough immediately or keep it for 2-3 days in your refrigerator. Dough can be frozen for a month to three months. Thaw it overnight in the refrigerator if you freeze it.


Did you enjoy this post? Leave a comment below. If you tried the recipe, let me know how it turned out!