It’s week two of my Great British Baking Show Challenge. This week’s show revolved around Biscuits. For those of you who don’t know, a biscuit is what Americans call a cookie.
Each episode of the Baking Show has three challenges to it.
- The Signature Challenge in which the bakers get to show off a recipe that they have perfected at home,
- The Technical Challenge in which the bakers are asked to show how much they know about baking in general by baking from a recipe which they have never seen before with limited instructions, and
- The Showstopper in which the bakers are asked to manipulate their baked goods in order to show off their design capabilities.
For the Biscuit Challenge this meant Cheese Biscuits (crackers) for the Signature Challenge, Florentine Cookies for the Technical and a three-dimensional cookie for the Show Stopper.
As it happens, I have a killer Cheese Cracker recipe which I used to serve all the time at my inn and, as much as I would have liked to use it, taking the easy way out did not seem fair.
The Show Stopper didn’t really interest me, which left me with Florentines.
A Florentine is an extremely delicate cookie, made without eggs and with limited flour. Sugar, butter and nuts are combined together to make a wet dough. When the cookie bakes it will spread out across the cookie sheet as the butter melts and caramelizes. When you remove it, the cookie will harden. It is finished with a layer of dark chocolate.
The challenge lies in getting the cookie to bake without spreading too much, cooking it just enough to get a snap without burning the sugar and spreading the melted chocolate without getting chocolate everywhere in the kitchen!
After researching recipes online I determined that there are really two versions of the Florentine, ones with chocolate powder in the cookie and ones without. So I decided to try both.
The first one, from Giada De Laurentiis, had no chocolate in it. She added orange zest for flavor. And I did like the flavor. But I found her proportions made a batter that was really thin. The first batch I made ran together on the tray into one big cookie. (I took a cookie cutter and cut out rounds so it wasn’t a complete loss. You have to move fast if you are going to do that. The cookies set up quickly.)
My second try used a recipe from SimplyRecipes.com It had a bit more flour and also cocoa powder, so it set up better. The flavor was overwhelmingly of chocolate, so in the end I put the two together and added orange zest to the chocolate Florentines. Adjusted the oven temperature from one and the timing from the other.
And now you know more than you want to about how I made the cookies. All you probably want to know is how you can make them!
So here goes.
Make the cookie dough.
Chop slivered almonds until into ¼ inch pieces—the size you would use on an ice cream sundae.
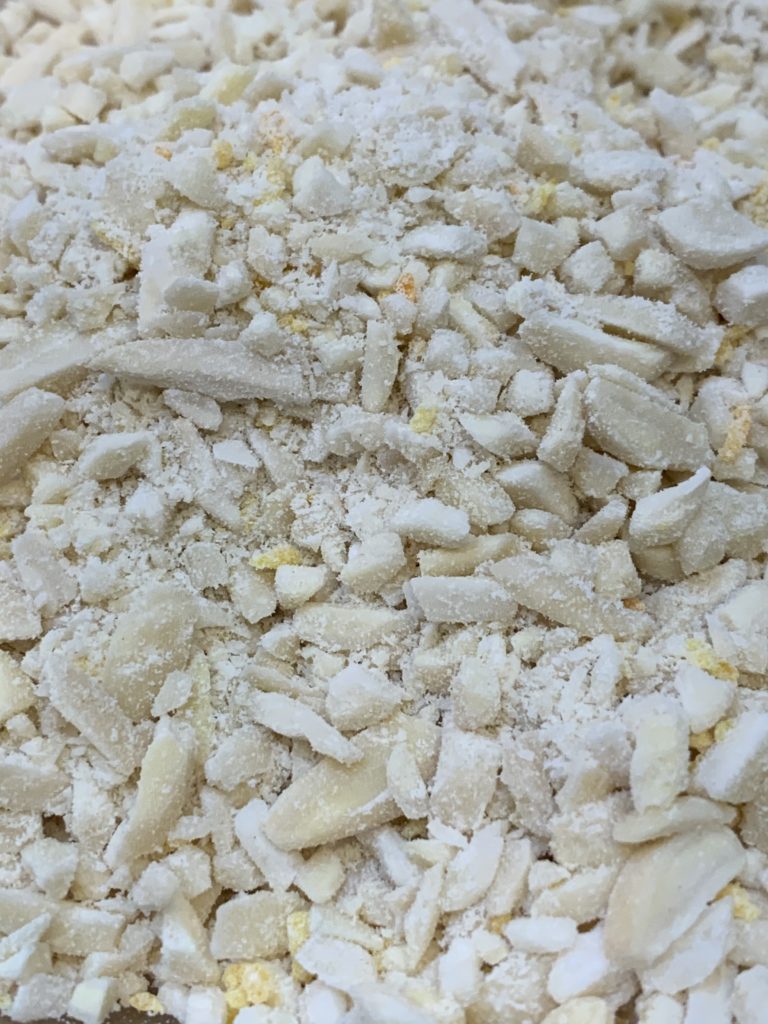
Chop the nuts to about the size you would use on a sundae
In a medium bowl, stir together the flour, cocoa powder, nutmeg and orange zest. Add the almonds and mix it all together.
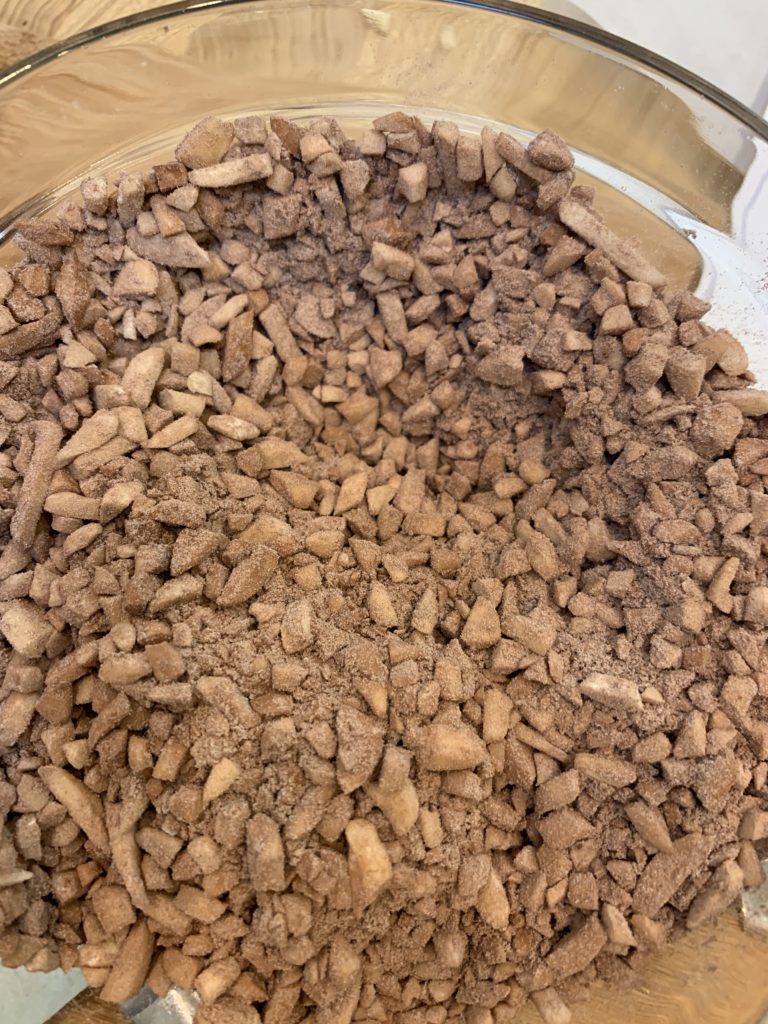
Put sugar, butter, cream and honey in a large saucepan. Heat it over low heat until the butter and sugar are melted.
Take the pan off the heat and stir in the flour and nut mixture.
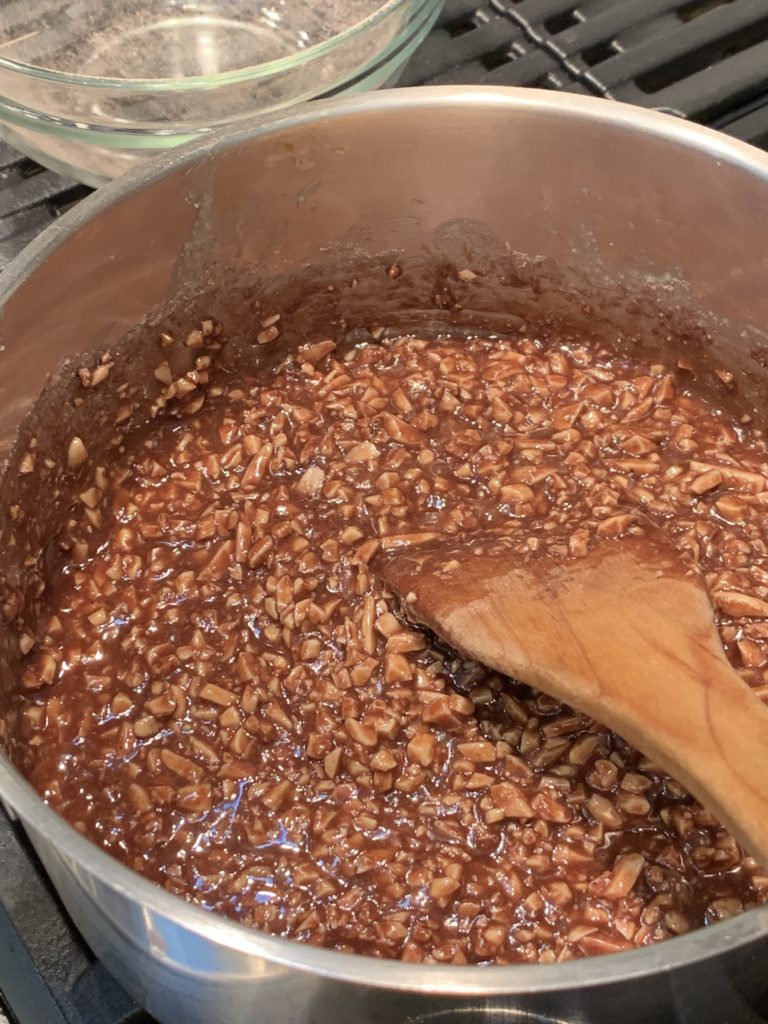
When you add the nuts and flour to the melted butter and sugar it will start out rather thin
Set the pan aside and let it cool for 20 minutes, stirring every once in a while. The batter will get thicker as it cools.
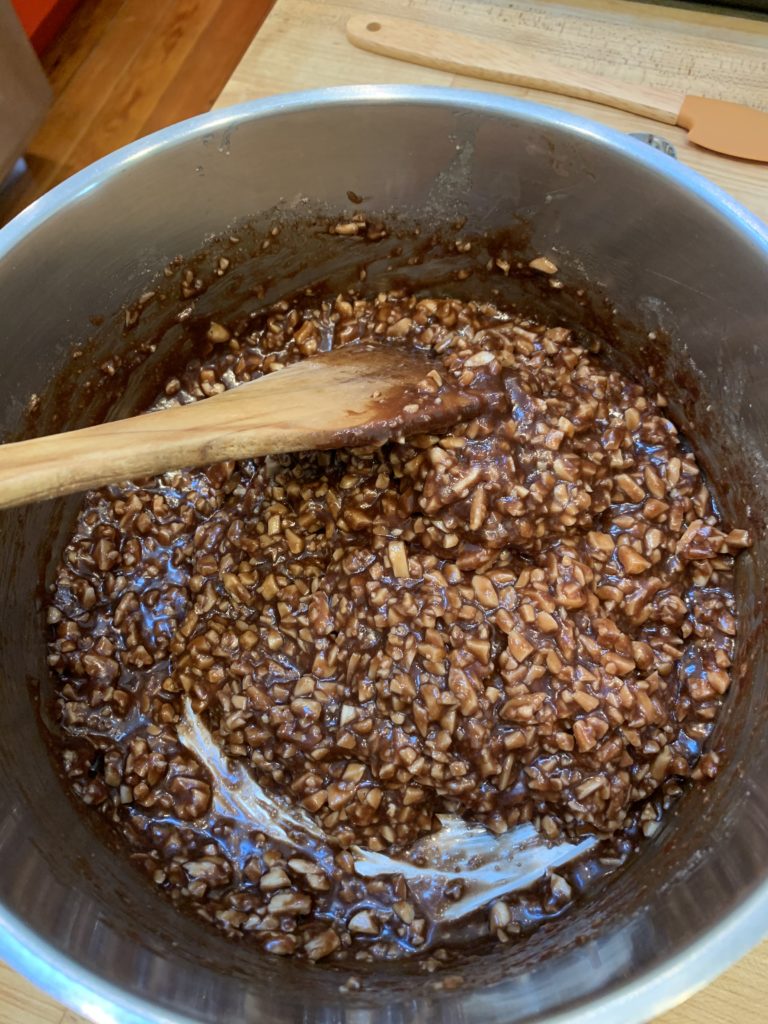
It will thicken as it cools
Next bake the cookies
Use a teaspoon to measure out 1 tsp of dough onto a parchment lined baking sheet. This is going to spread more than you realize so start with no more than 6 cookies on a sheet.
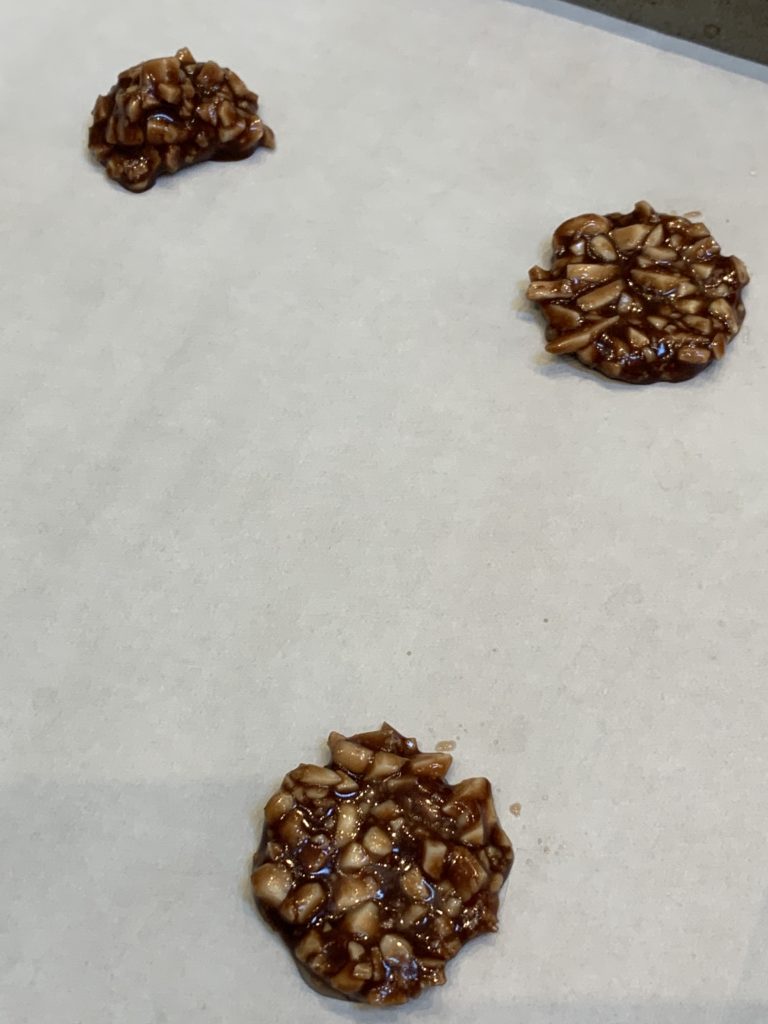
Social distancing makes for better cookies too!
Drop the dough on the sheet and then use a wet finger to flatten it down into an even circle.
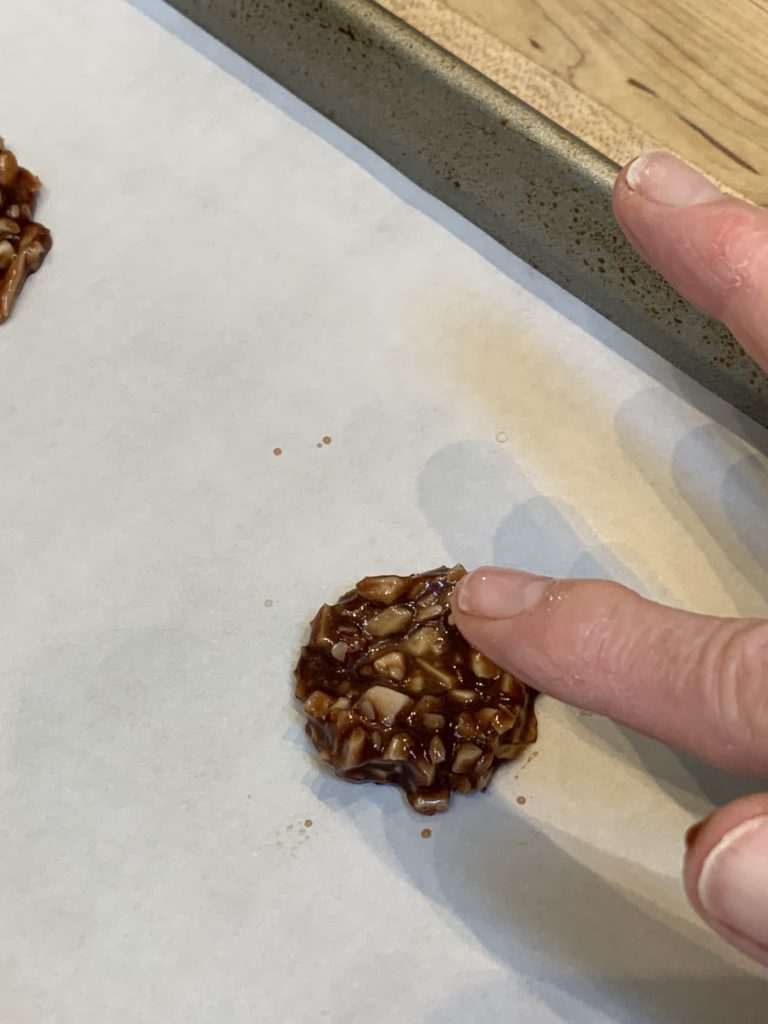
Bake the cookies until they spread out and are starting to brown around the edges. To be honest, it’s hard to tell if they are browning because of the chocolate so you may want to try some test times. I found 8-10 minutes was best for my cookies. You want them to be crisp when they have cooled not floppy!
If the cookies spread a lot or are very oddly shaped you can use your spatula or a knife to push them into shape. Do this immediately while they are still hot. Once they set it’s too late.
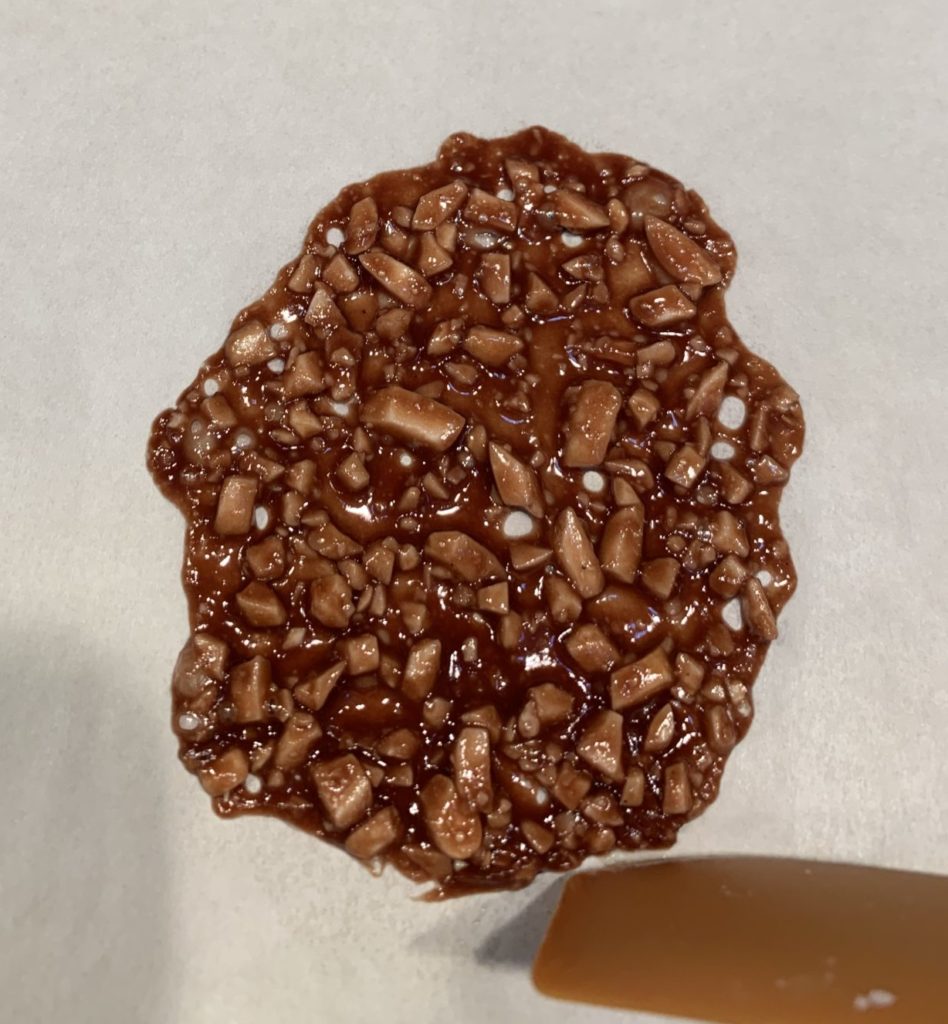
Continue making cookies in small batches, with fresh parchment paper for each batch, until the batter is used up.
Let the cookies cool completely.
Ice the cookies with Chocolate
Melt semi-sweet chocolate over a double boiler or in the microwave, stirring until smooth. This takes a lot more chocolate than you think. I used at least 8 ounces per batch and sometimes more.
There are three different methods of decorating the cookies you can use.
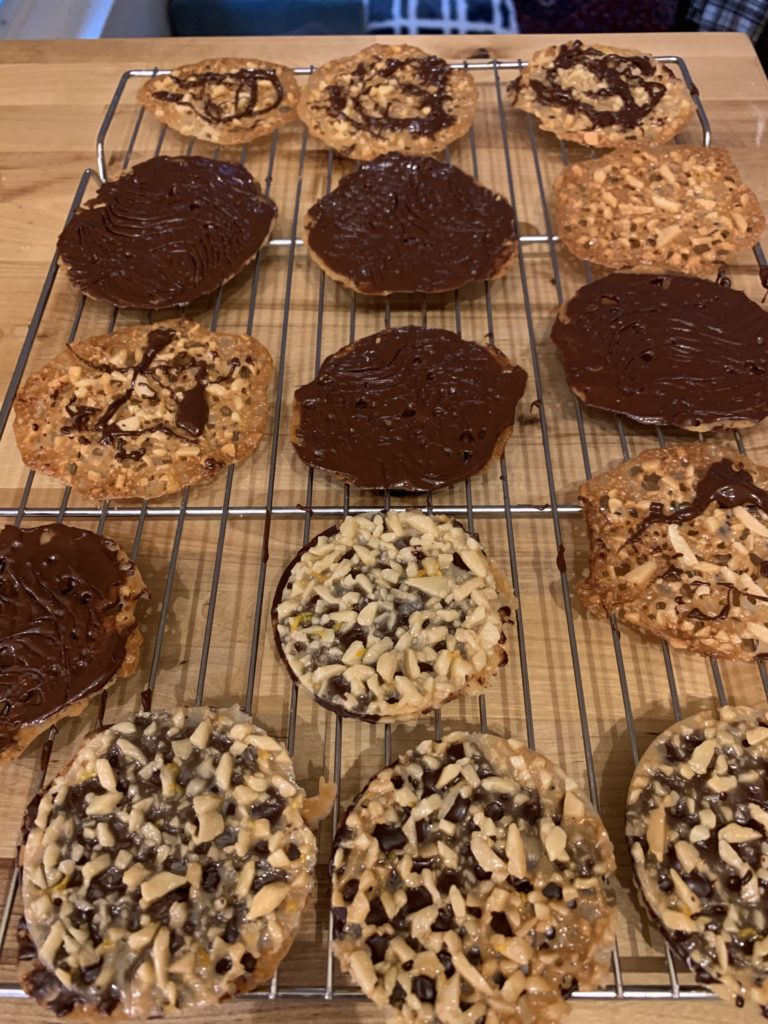
These were made using Giada’s recipe without cocoa powder but you get the idea! (I put them on the wire rack after they cooled.)
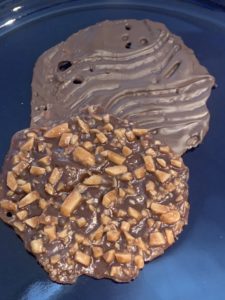
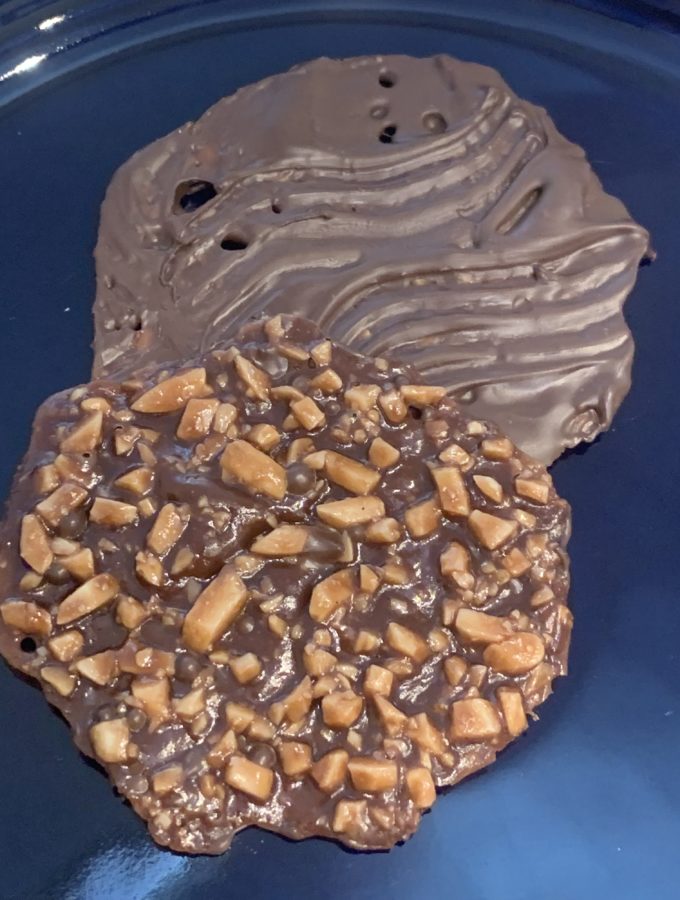
- Use a spoon to put a good dab of chocolate on the back of the cookie and then spread it with an off-set spatula or knife. It’s best to hold the cookie in your hand as you do this as chocolate will leak through the lacy surface of the cookie. Put the cookie chocolate side up on a piece of parchment paper. Don’t use a wire rack to rest the cookie on while the chocolate sets. The chocolate that comes through the holes will harden on the rack and the cookie will break when you try to pick up. Parchment paper is more forgiving. Stop every third cookie or so and use a fork to make a wavy pattern in the chocolate.
- Make a sandwich cookie. This is best if you have a number of cookies which are generally a match in size and shape. Spread chocolate on the back of one cookie, as above and then place a second matching cookie on top creating a sandwich.
- Drizzle chocolate across the front of the cookie. This makes a less chocolatey cookie. It also makes less mess. If you are a real chocolate lover, you can do this on a chocolate-backed cookie. Once the chocolate has set on the back, turn the cookie over and drizzle chocolate over the front.
CHOCOLATE ORANGE FLORENTINE COOKIES
Ingredients
- 2 ½ c slivered almonds
- ¼ cup flour
- 2 tbsp unsweetened cocoa powder
- 1 tbsp orange zest
- ¼ tsp nutmeg
- ¾ c sugar
- ½ c butter
- ¼ c cream
- 8-12 oz semi-sweet chocolate
Instructions
- Chop the almonds into small pieces.
- Stir the flour, cocoa powder, nutmeg and orange zest together in a bowl. Add the nuts and stir to mix.
- Melt the butter with the sugar, cream and honey in a medium saucepan over low heat. Remove from the heat and stir in the nut mixture.
- Let the batter cool for 20 minutes stirring occasionally.
- Preheat the oven to 325 degrees and line your cookie sheets with parchment paper.
- Using 1 teaspoon of batter for each cookie place six dabs on the parchment paper. Use a wet finger to flatten them and make them circular.
- Bake the cookies for 8-10 minutes until they are just beginning to brown around the edges. You want the cookies to snap when they are cooled so you may need to make a test cookie or two to get the time right.
- Remove the cookies from the oven and use a knife or spatula to reshape any cookies which have baked in an odd shape.
- Let the cookies cool on the parchment paper for 1-2 minutes and then move them to a wire rack to cool completely.
- Repeat, using fresh parchment paper each time, until all the cookies are made.
- Once the cookies have cooled, melt 8-10 ounces of semi-sweet chocolate over hot water or in the microwave.
- Spread chocolate on the back of each cookie and leave to set, chocolate side up on parchment paper. If you like you can make sandwich cookies or drizzle additional chocolate on the top of the cookies after the back has set.


Did you enjoy this post? Leave a comment below. If you tried the recipe, let me know how it turned out!