It was a jumbleberry weekend at our house. We were getting together to throw a bridal shower for Abby, my youngest, and all of my daughters were coming home, including my lovely granddaughter. My brothers and sisters would be there as well as Abby’s future in-laws, and that meant it was time for pie! Jumbleberry Pie, a delicious concoction of blueberries, blackberries, raspberries and strawberries (or as Abby would say, “All the berries!!).
Pie is deeply ingrained in my memory: My mother made pies for every occasion and many happy hours were spent in the kitchen helping her peel fruit and prepare the fillings. My children did the same with me. Pie means party and family and yummy food and laughter and celebration. And nothing makes me happier than putting on my apron and taking out my rolling pin to bake a pie for the people I love.
Jumbleberry pie is a pie for summer. Use whatever berries you have available. Don’t worry if you have more of one than another. It’s a jumble. And it will be delicious.
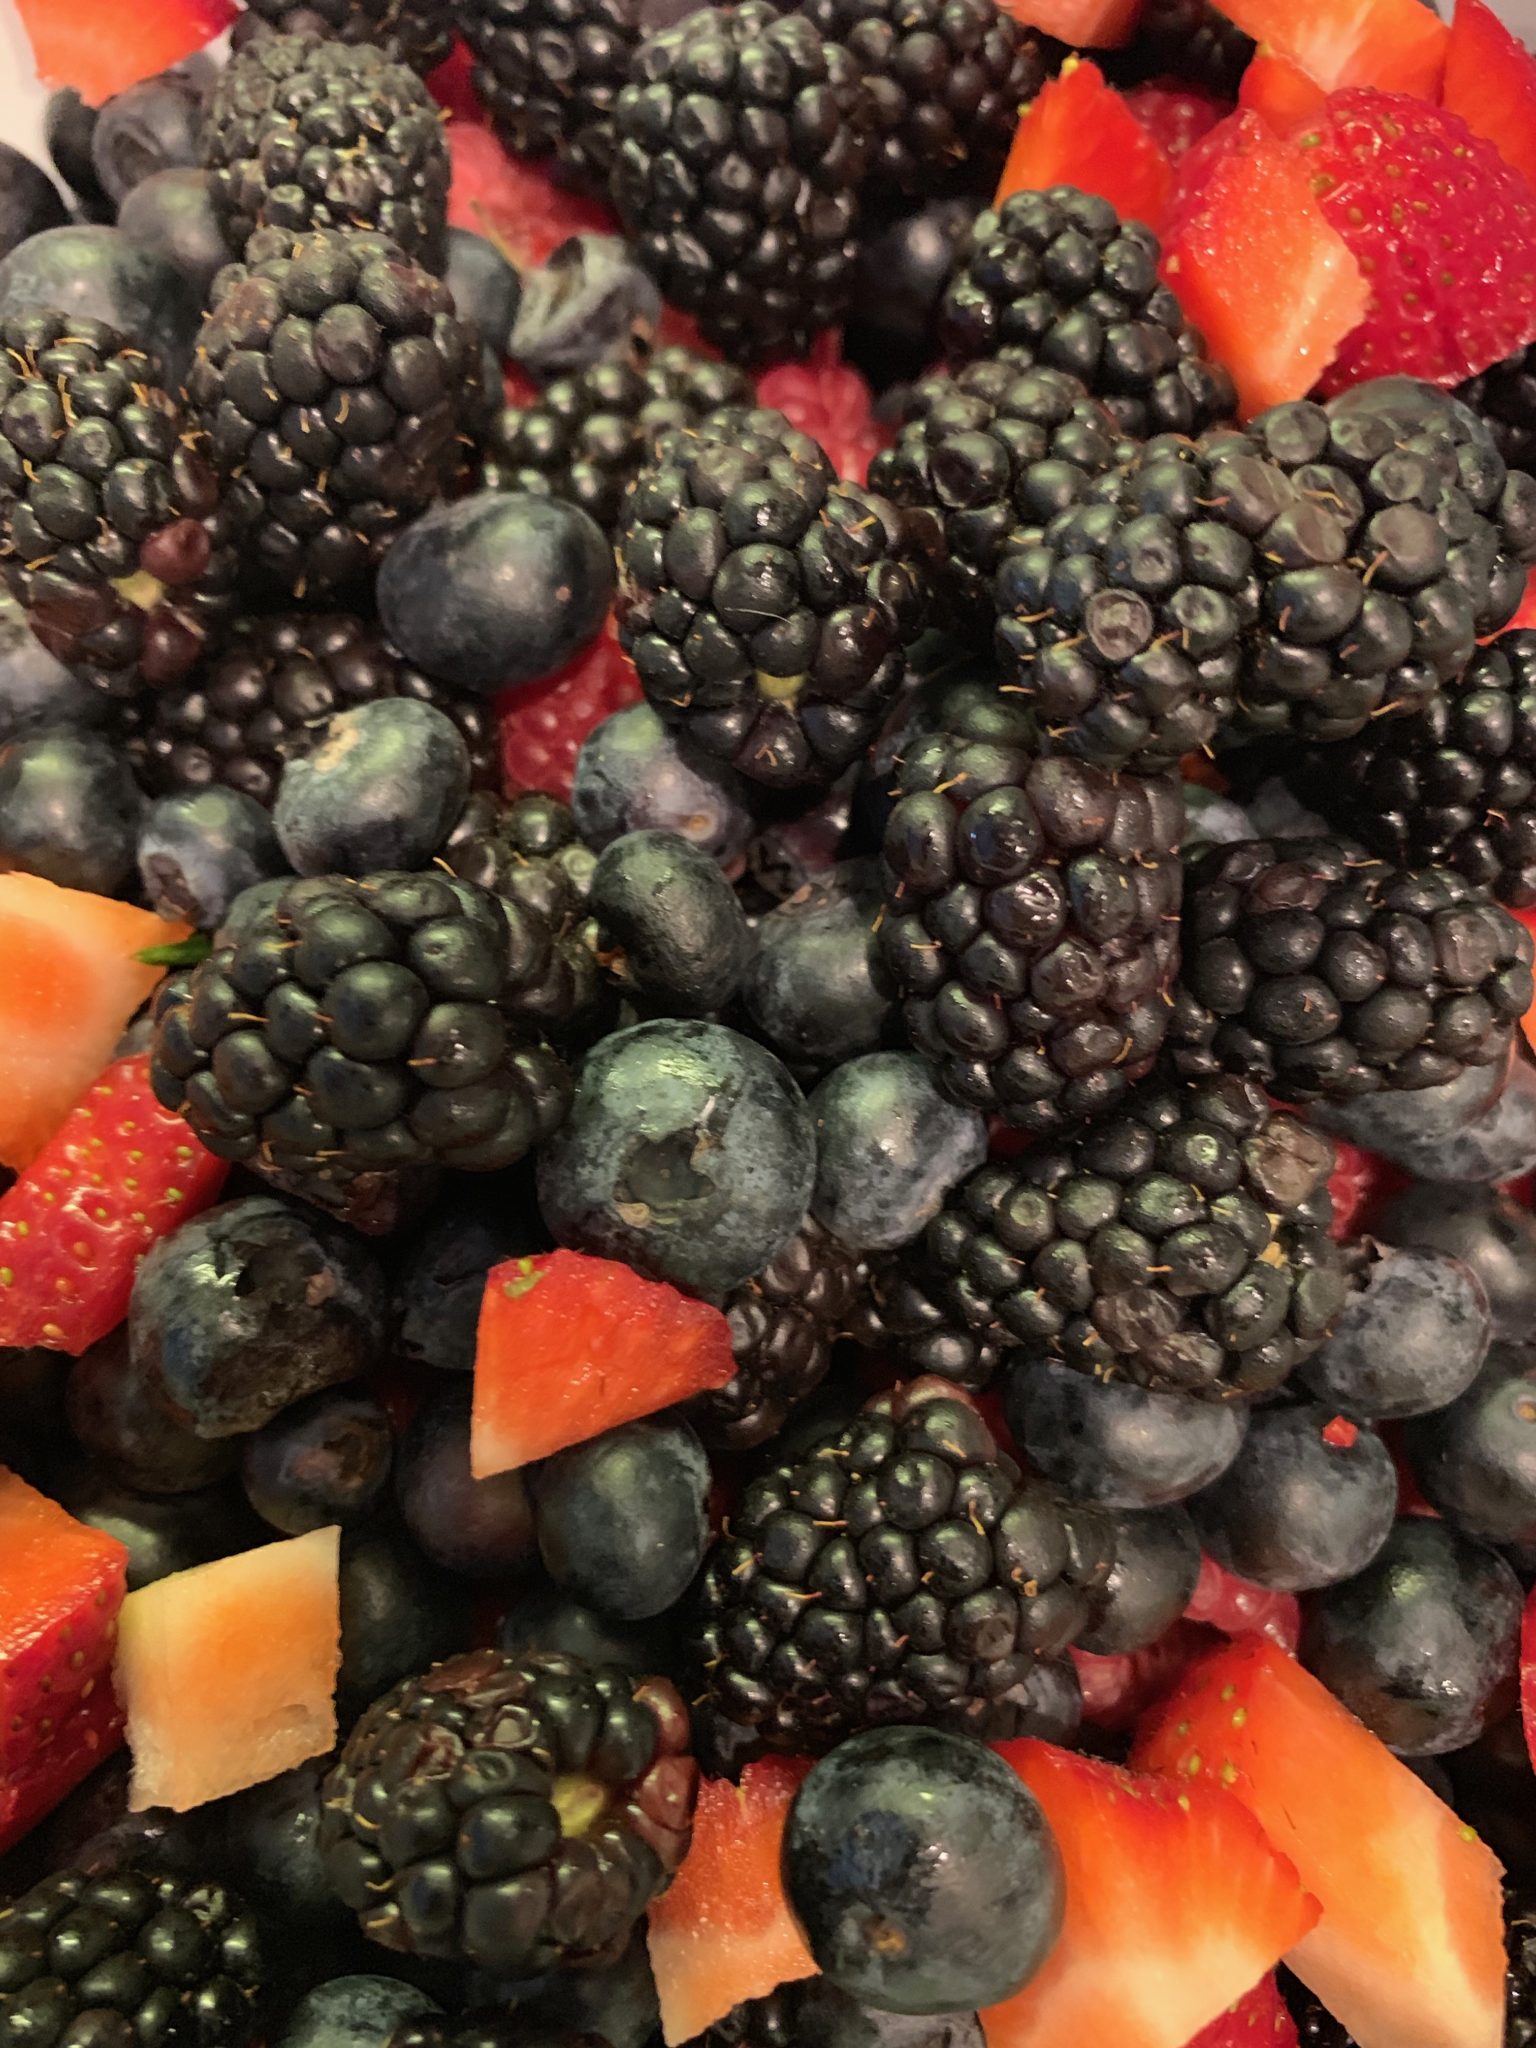
The beautiful berries of Summer.
If you are using strawberries cut them into pieces about the same size as the rest of the berries.
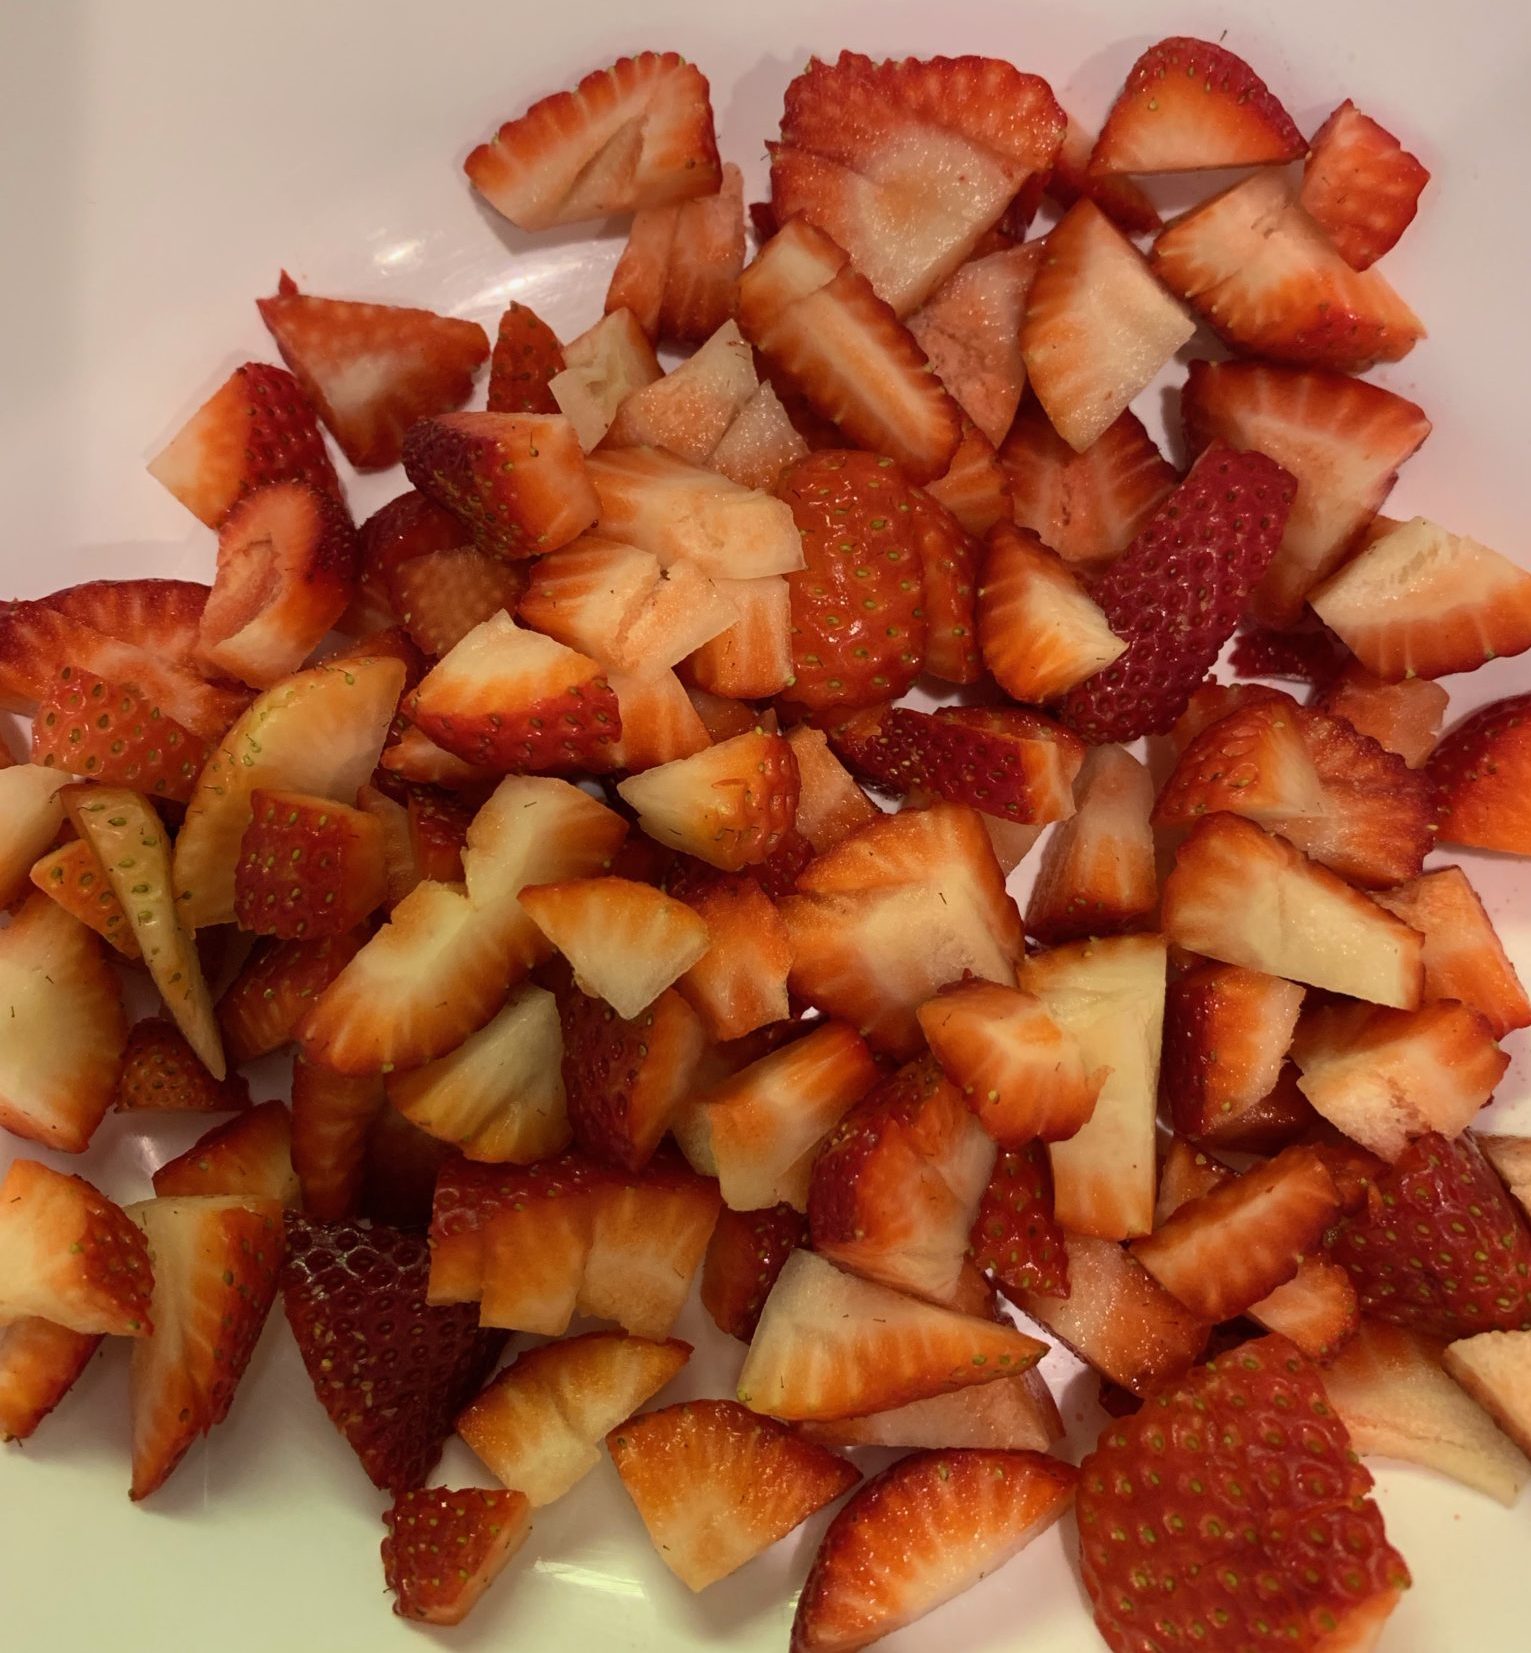
Put all the berries in a big bowl and add some sugar, lemon juice and tapioca. Give it a good but gentle stir until each of the berries is coated. If it looks a little dry add a teaspoon or two of water. Then set it aside to sit for at least fifteen minutes while you prepare your pie crust. (Click here for a how-to on your pie crust or use a good commercially prepared crust.)
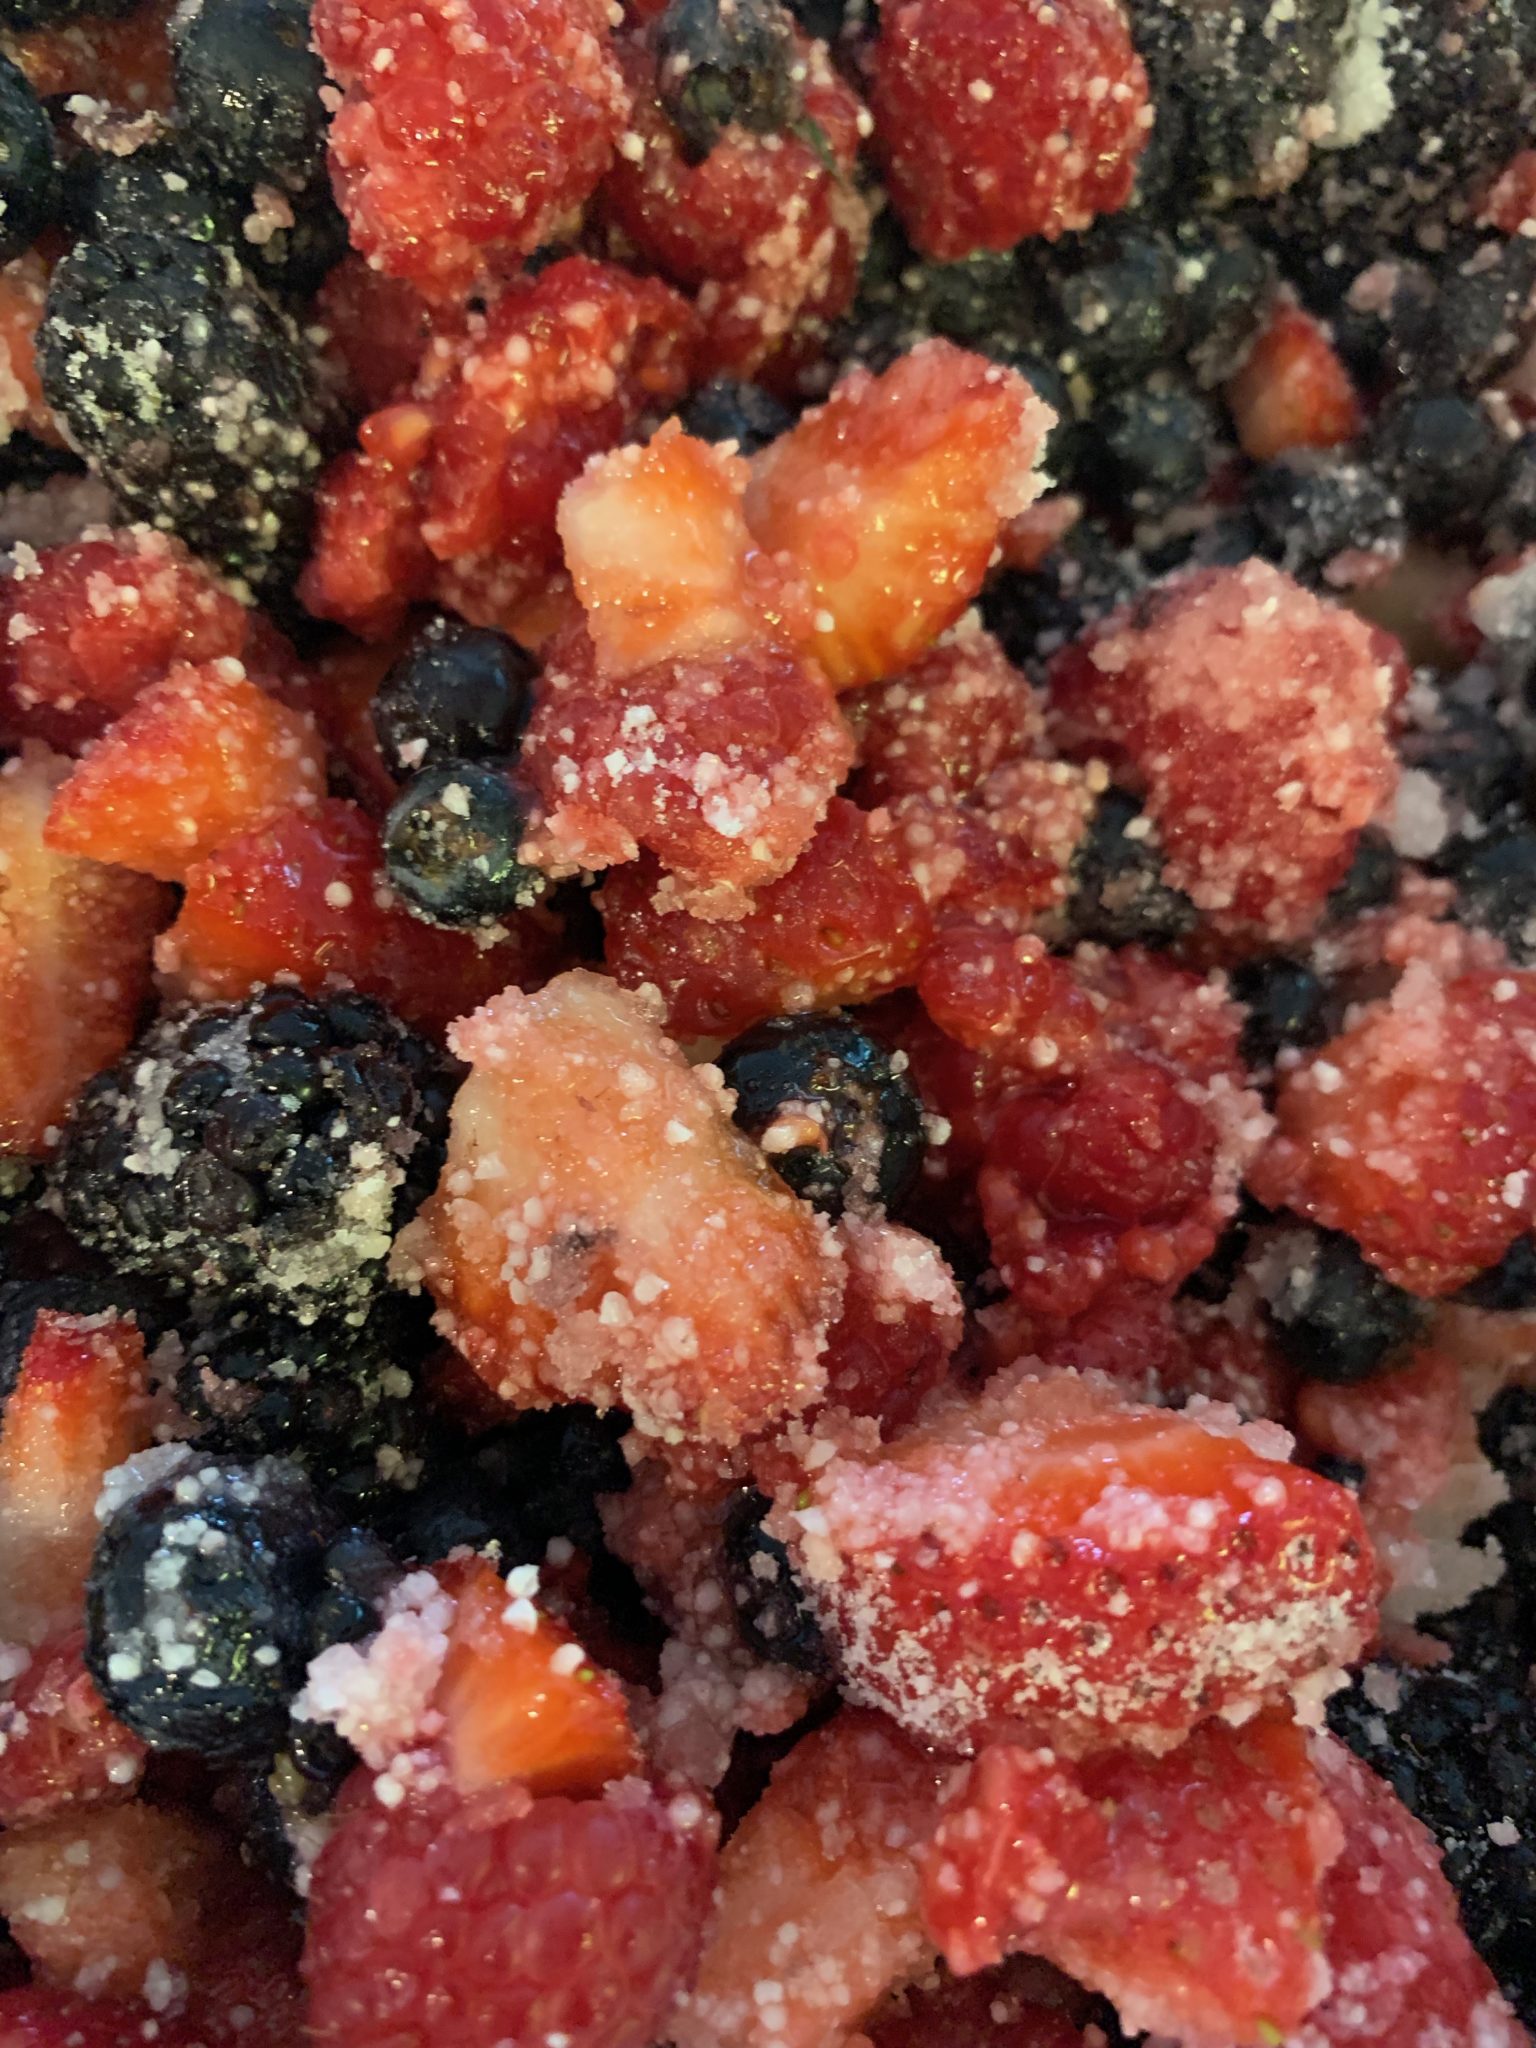
Try and make sure all of the berries are coated with sugar and tapicoa
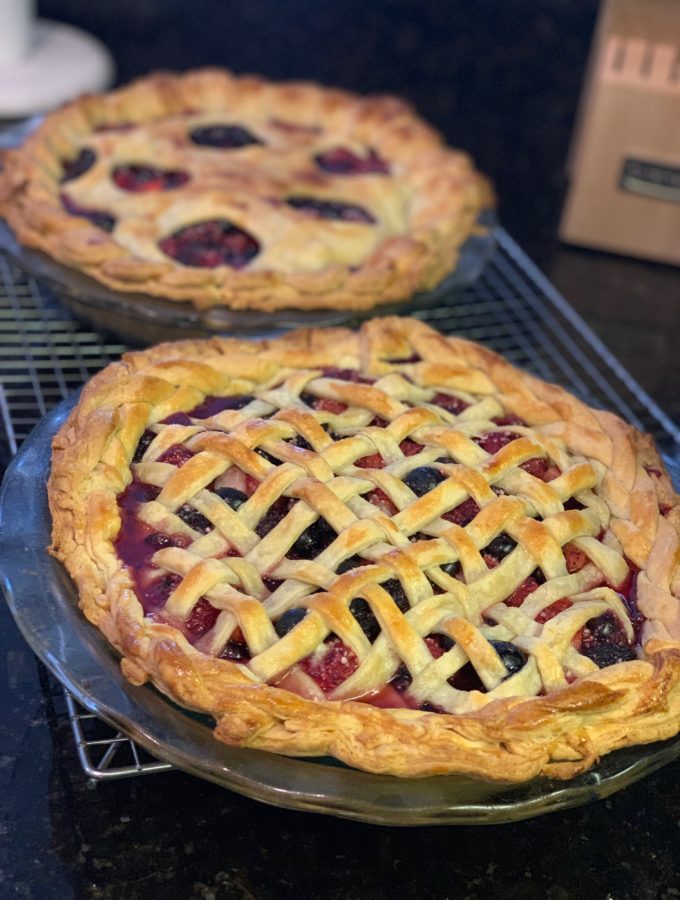
You can be fancy with the pie crust or simple. I like to make a lattice so the fruits peep through the top, giving a hint of the flavor inside. Making a lattice is not hard. You can weave it on the counter and then pick up the woven piece and place it on top of the pie if you like. I like to weave mine on the pie itself.
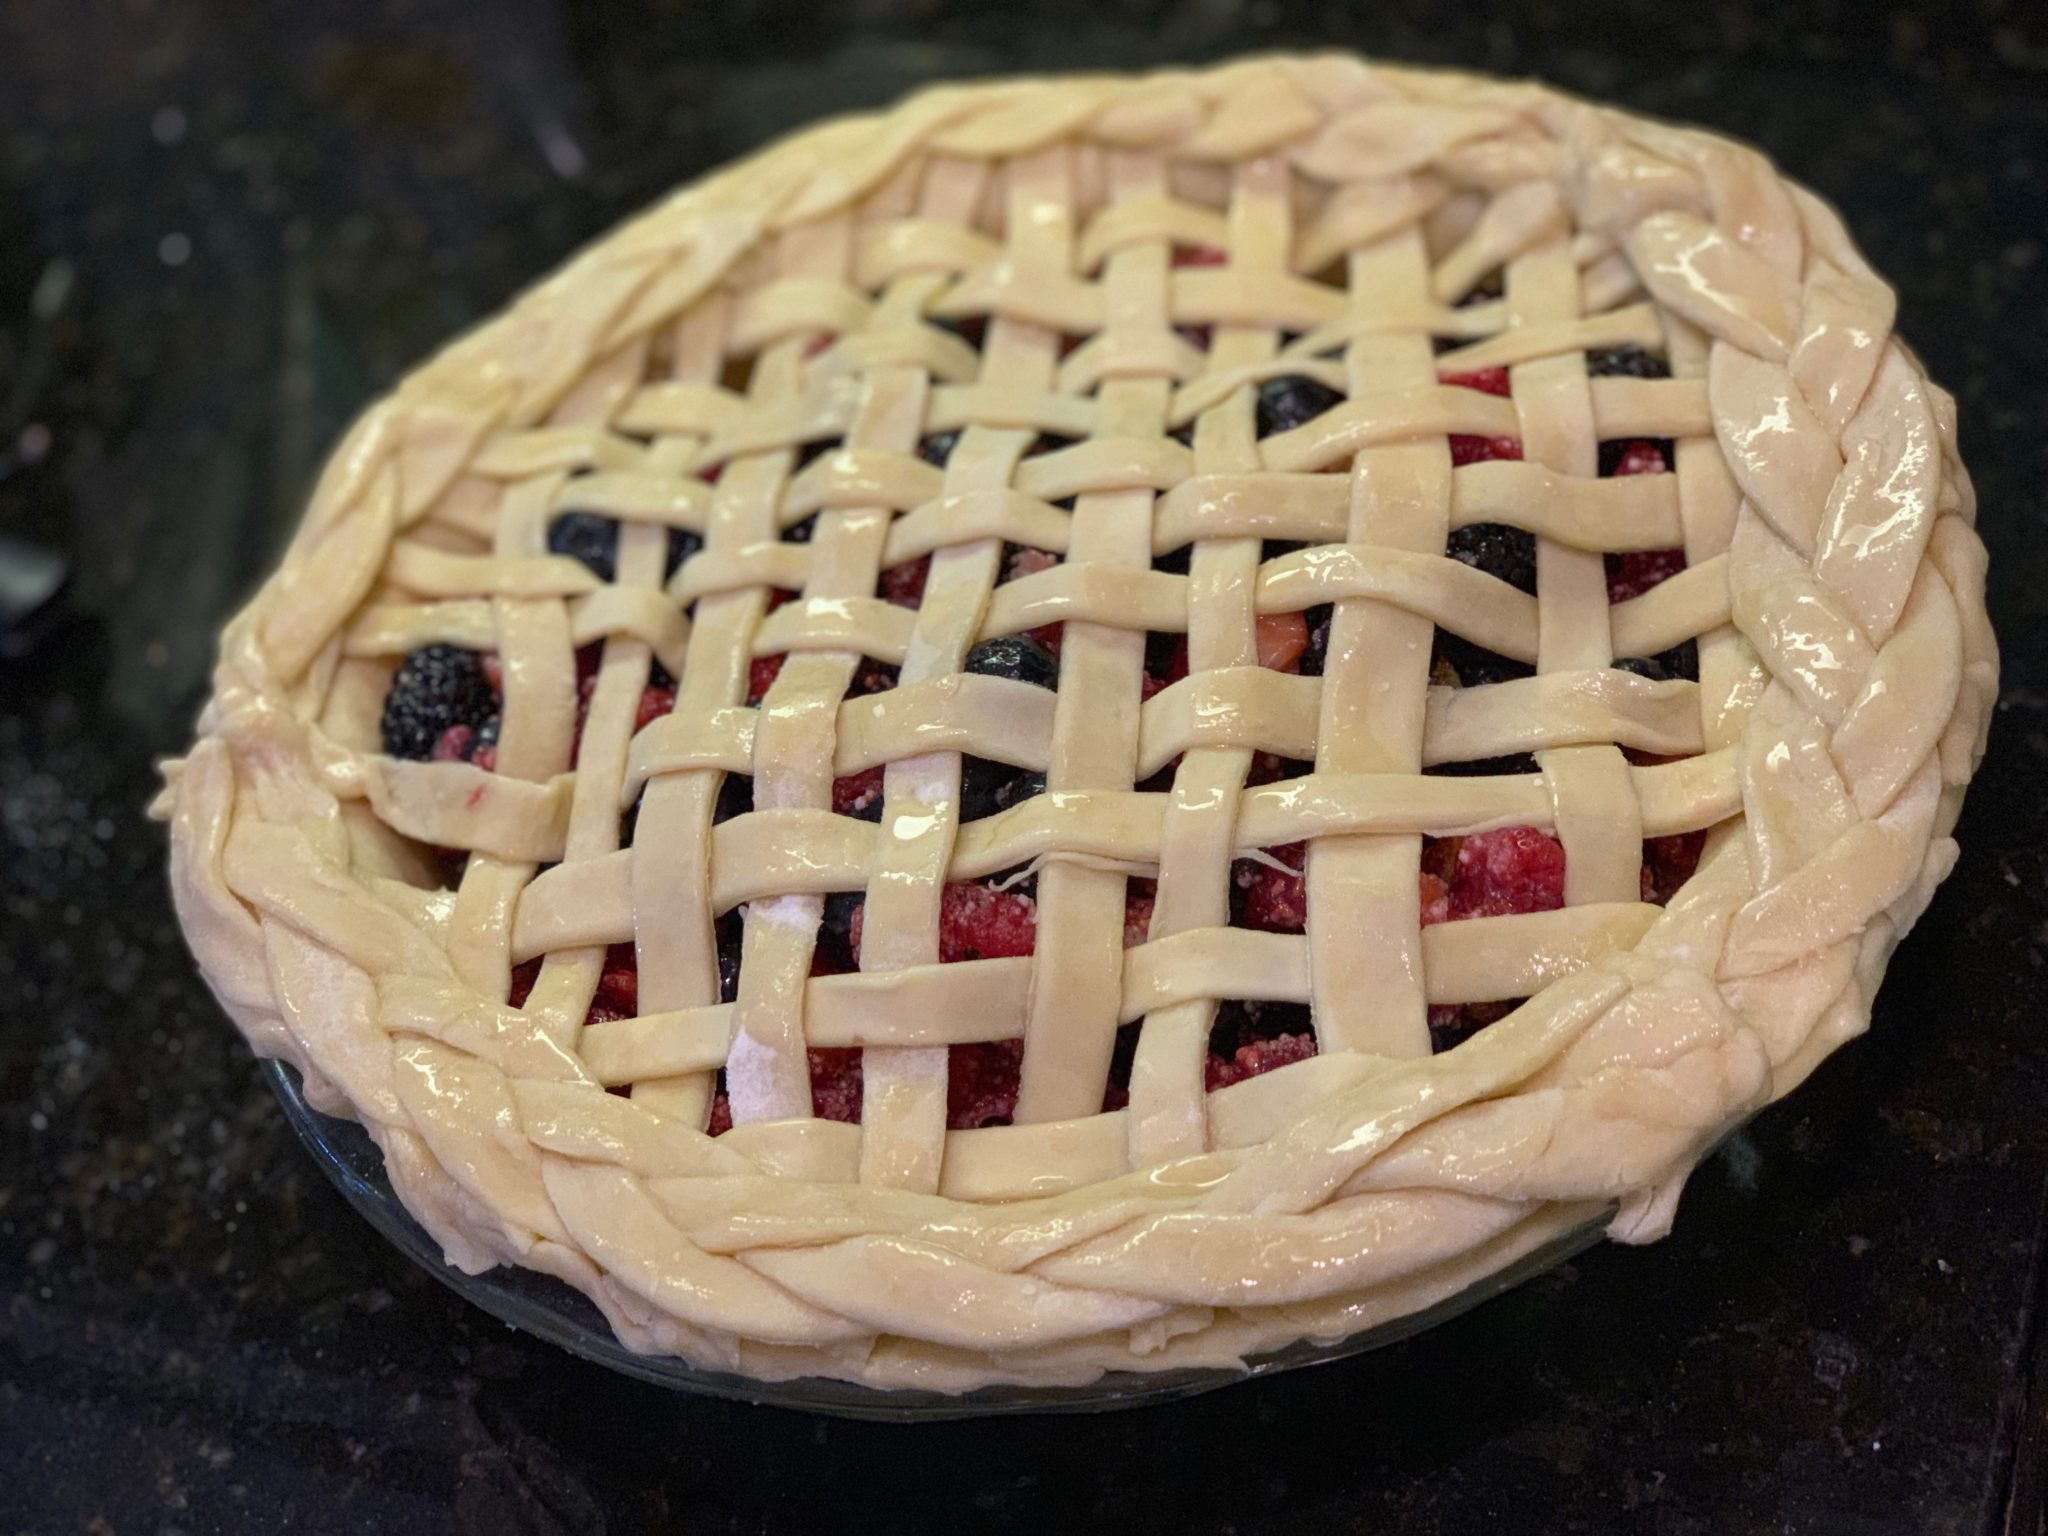
To weave the lattice, place half the strips on the pie, evenly spaced apart. Now fold every other strip halfway back on itself. (You are going to weave one half at a time). Place a long strip down the middle covering the strips left on the pie.
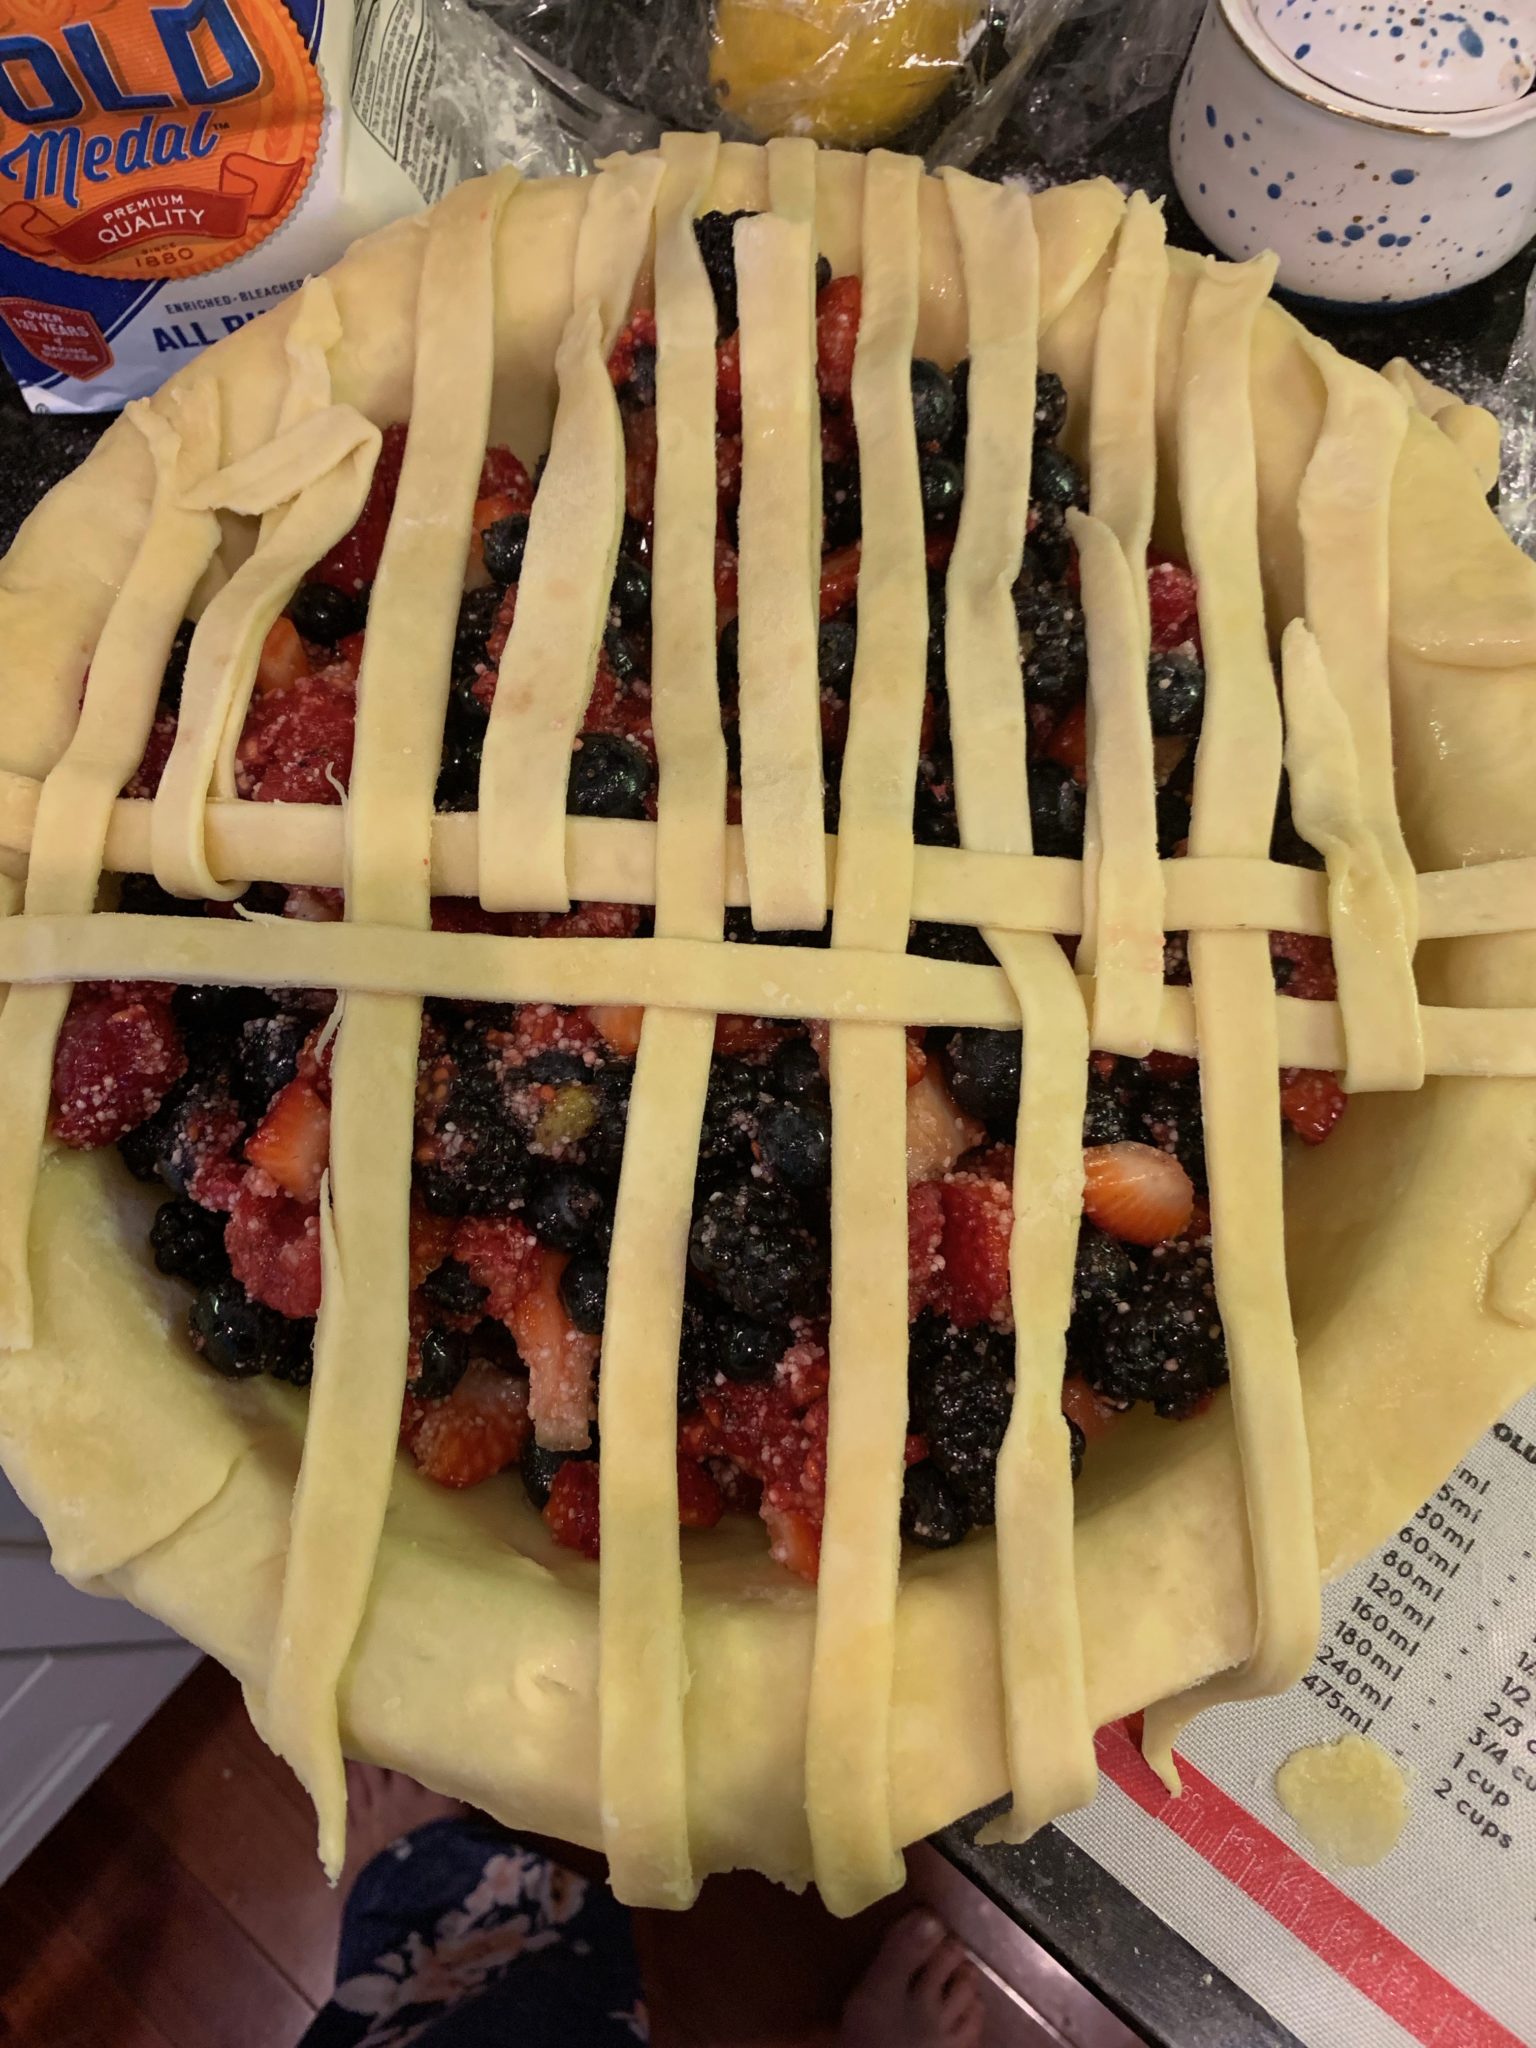
A picture is worth a thousand words!
Now fold the strips which were covered up by the piece you just placed on the pie back and bring down the ones which were not covered. Place another strip on the pie and repeat until the first side is finished. Do the same thing on the other side. This sounds harder than it is. Just dig in and do it.
For my second pie, I think I may have been looking at too many pies on Instagram since I also decided to try cutting out some circles and using them to decorate the rim.
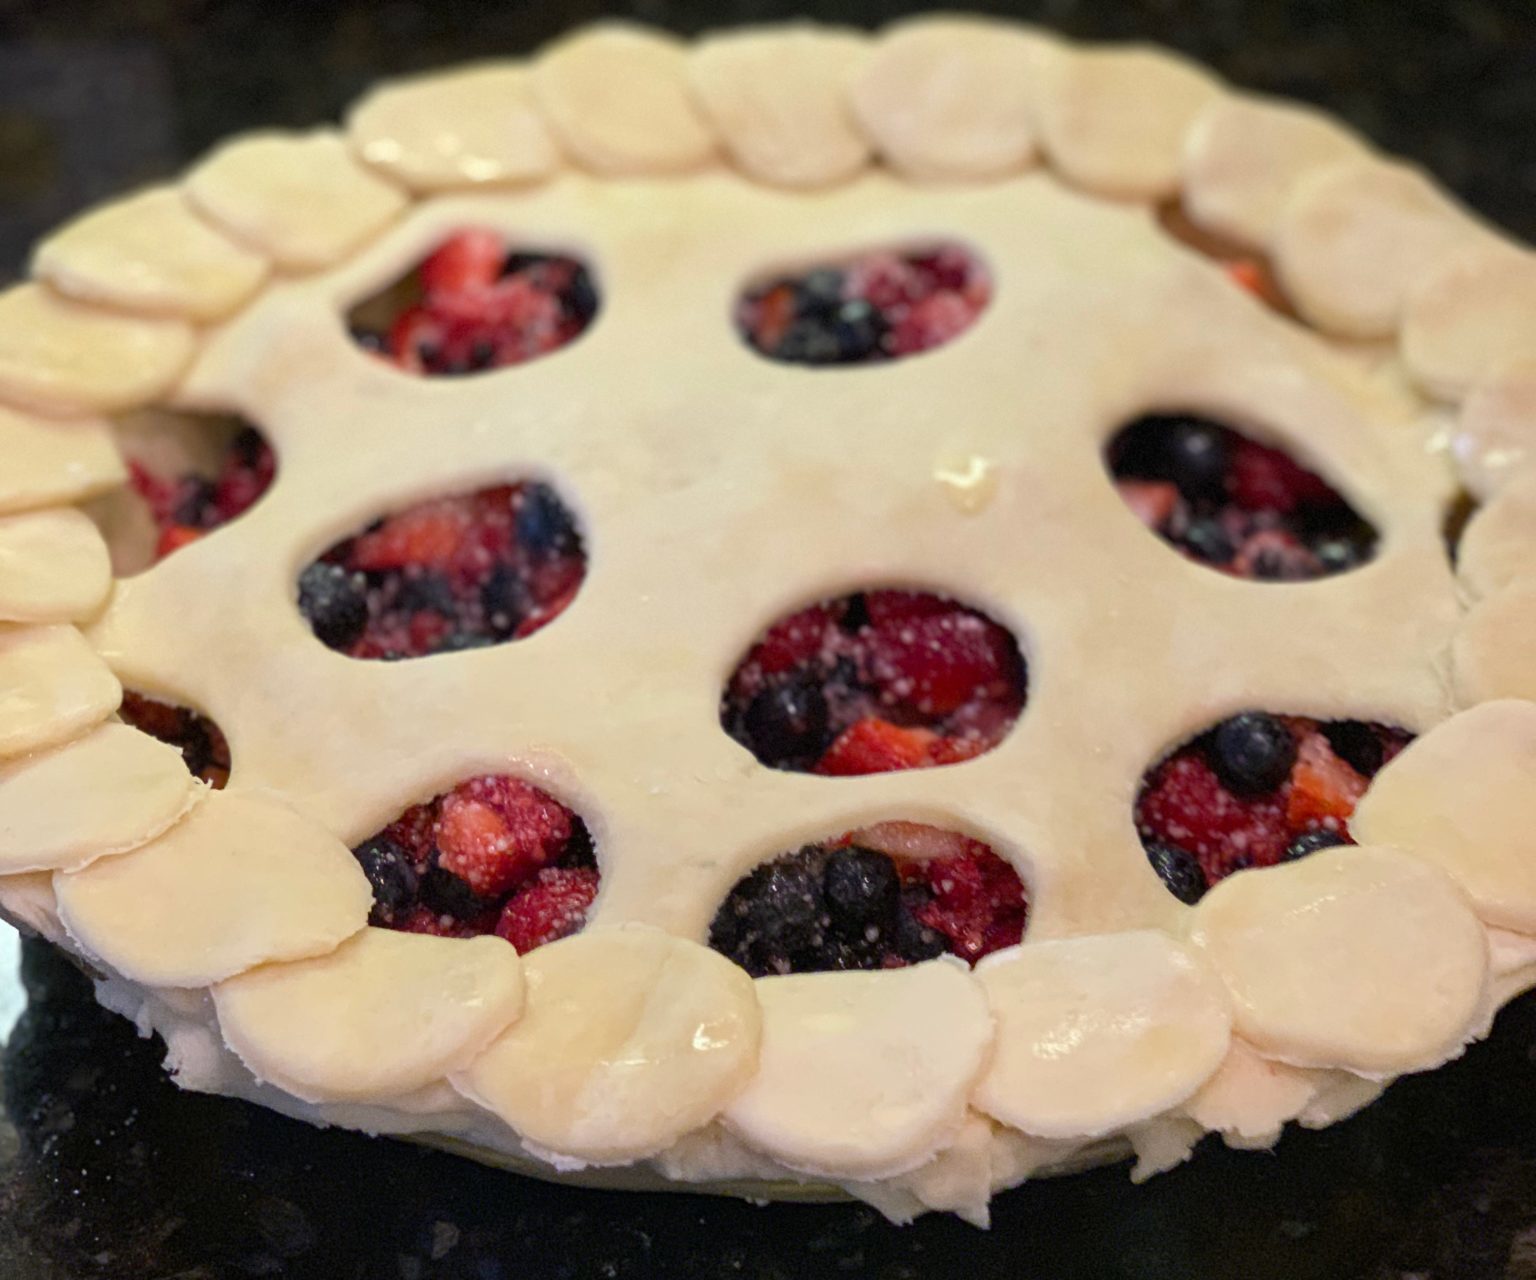
Then I was careful to take a picture of the pies before they went into oven when they still looked neat and fancy! But it when the pie comes out of the oven that they are best—the juices of the fruits bubbling up around the edges and the smell is divine!
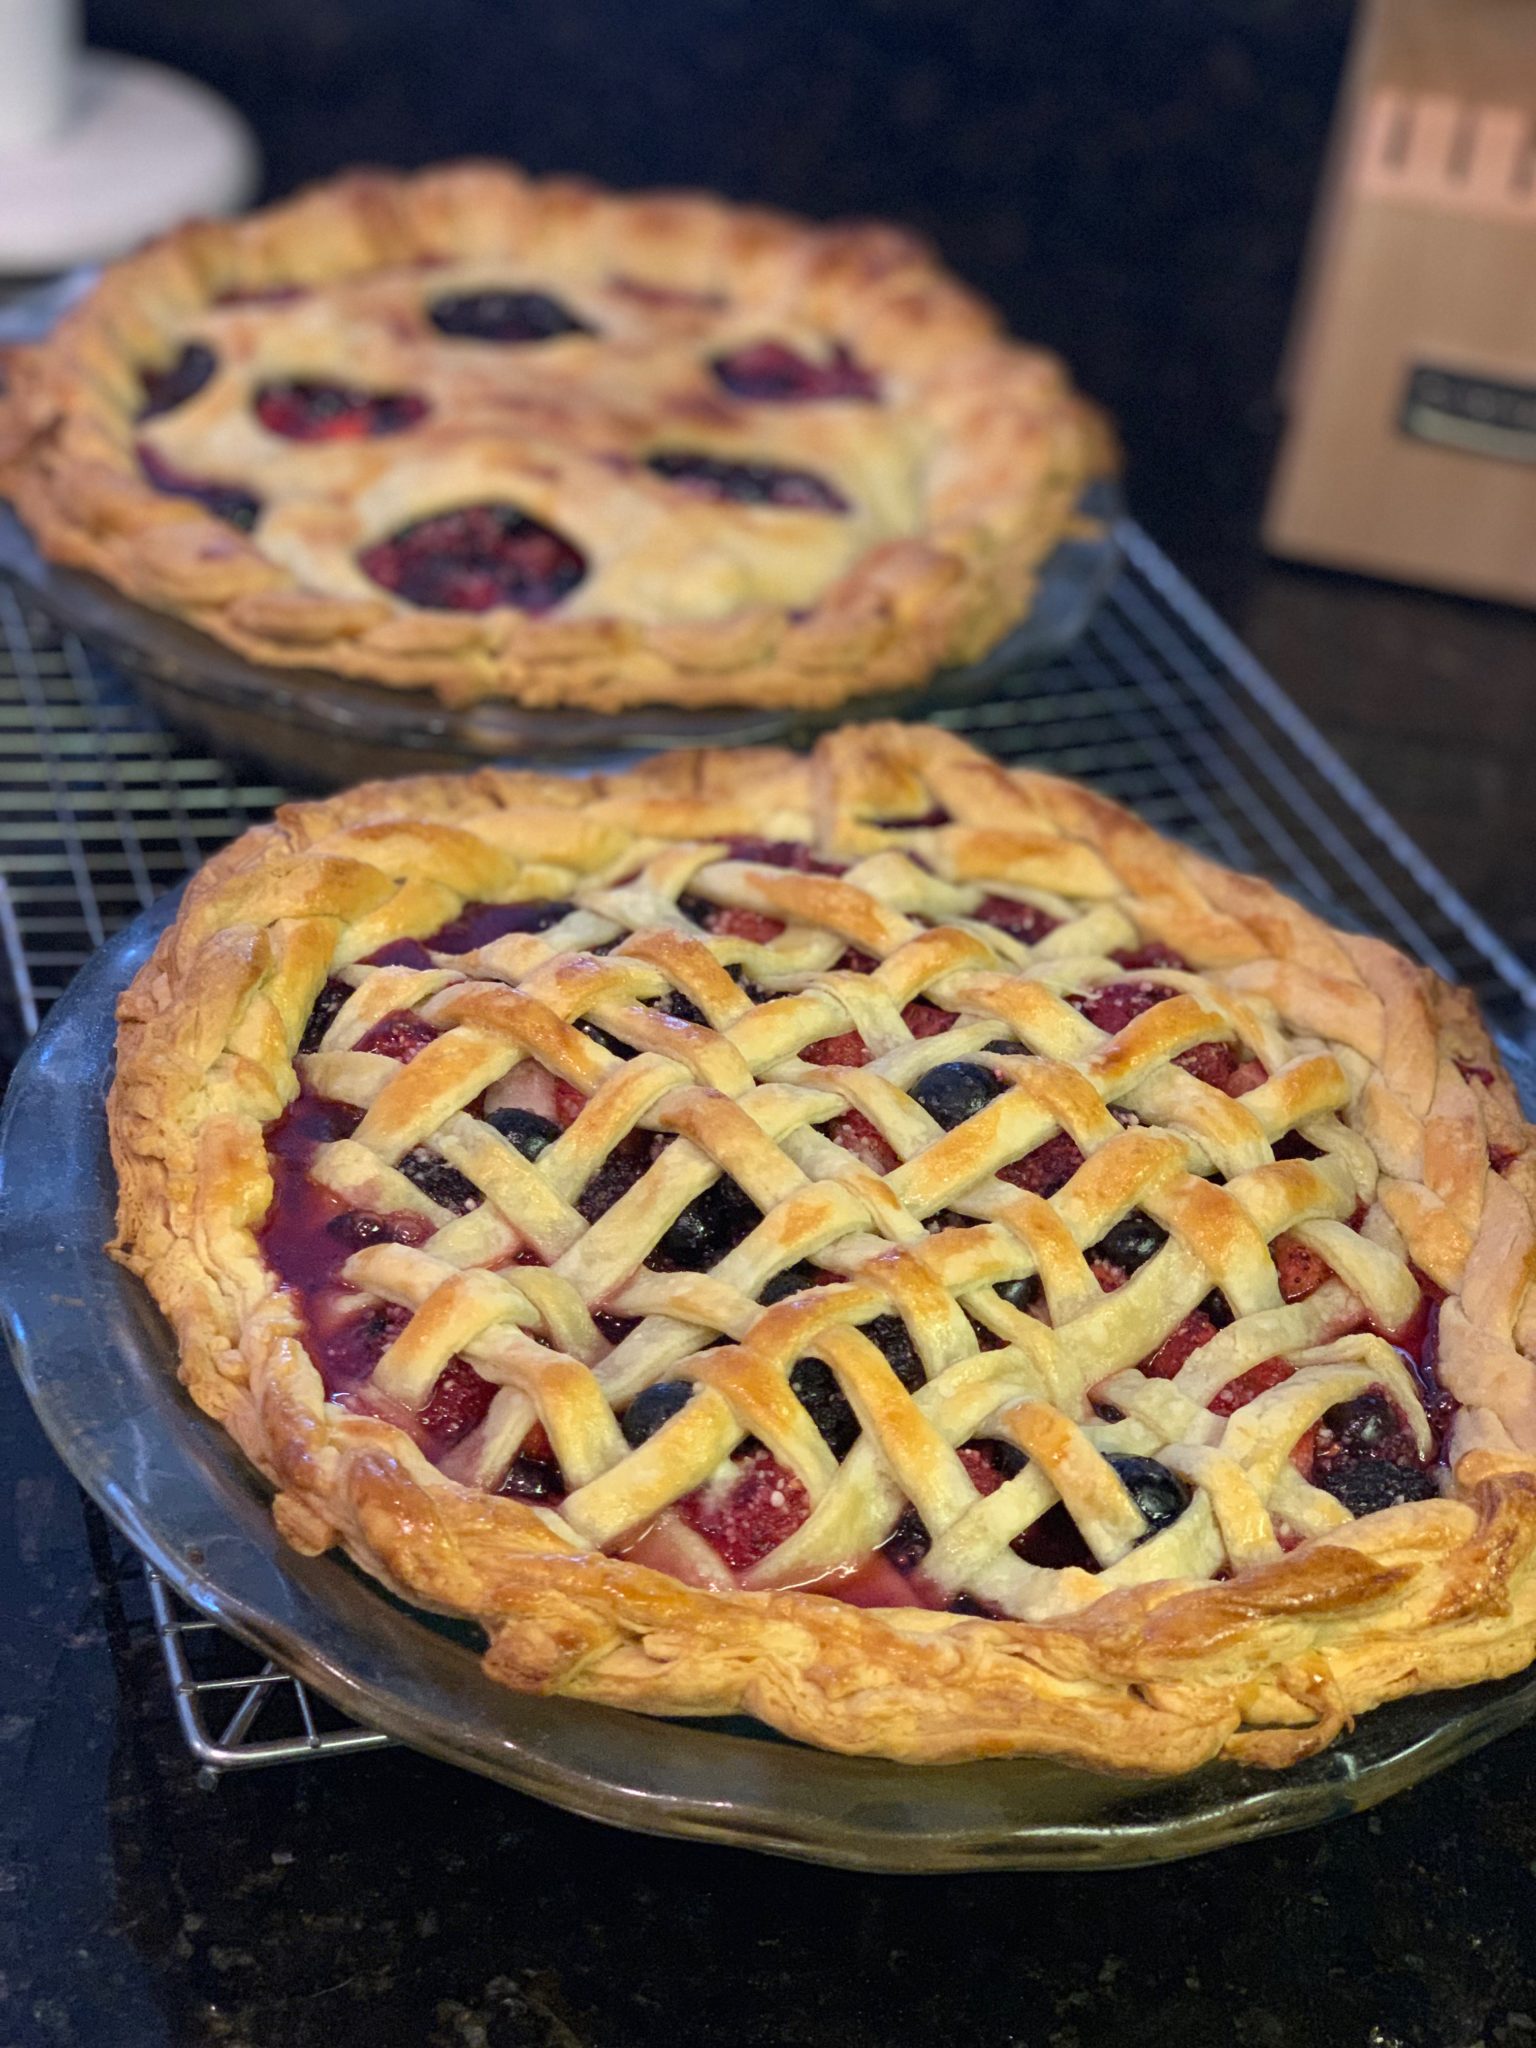
It may look prettier before it goes in the oven but its better when it comes out!
You know the nice thing about food? It’s always a celebration.
JUMBLEBERRY PIE
Ingredients
- 1 pie crust
- 5-6 cups fresh berries
- 2 tsp fresh lemon juice
- ¼ cup quick cooking tapioca
- ¾ to 1 cup of sugar
- 1 egg beaten with 1 tsp milk or water
Instructions
- Preheat the oven to 400 degrees.
- Place all the berries together in a bowl. If you are using strawberries cut them into pieces about the same size as the berries. Add the lemon juice, tapioca and sugar. The quantity of sugar depends on how tart the berries are. Toss the berries lightly together, coating them with the sugar and tapioca. If it looks dry add a little water.
- Line a deep-dish pie tin with pie dough and fill with the berries, spreading them out evenly. Cover with a top crust. Brush the pie liberally with the beaten egg.
- Place in the center of the preheated oven and cook for 30 minutes. Turn the oven down to 350 degrees and continue cooking until the crust is golden brown and the fruit juices are bubbling up around the edges.
- Remove from the oven and let cool.
Recipe Notes
Notes: You can make your own pie crust (here) or use a commercially prepared crust. Suggested berries: blackberries, strawberries, blueberries, raspberries in whatever quantity available.



Did you enjoy this post? Leave a comment below. If you tried the recipe, let me know how it turned out!