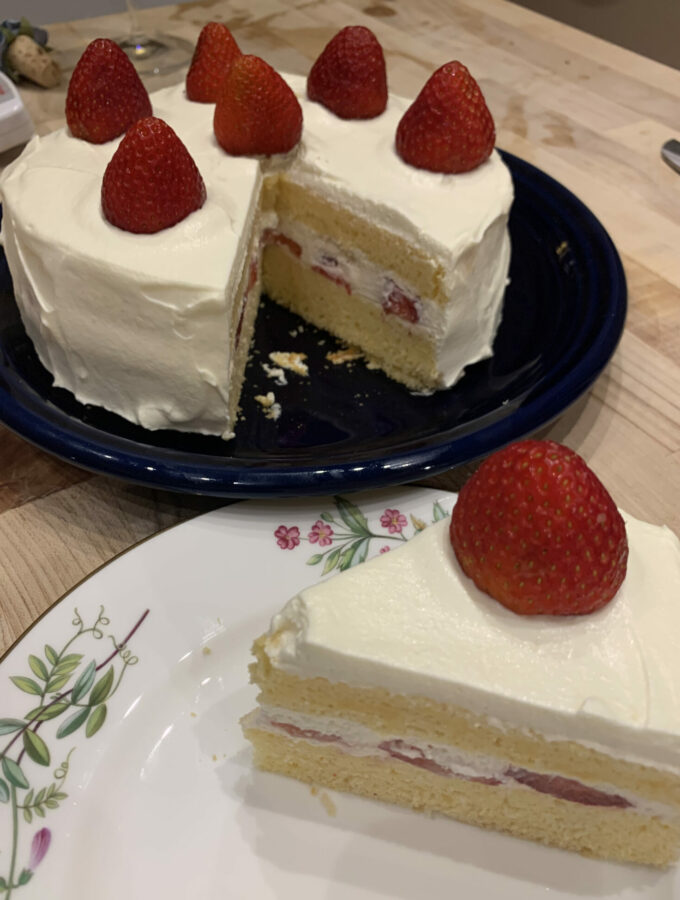
A delicate sponge cake containing a layer of fresh strawberries and a gelatin stabilized whipped cream icing, made in the Japanese style.
What is a Japanese Cake and how is it different from any other cake?
If you have traveled to Asia and spent any time at all walking through markets and towns, chances are you have passed a bakery. The shelves hold beautiful confections, shiny with fruits glazes, filled with fruit flavored custards and mousse. They look familiar but somehow not. And that’s what they are.
They are an Asian fusion of European style cakes using fruits and flavors common to the area and tailored to the taste of the populace, fruit forward and slightly less sweet than their Western Counterparts.
This cake is light in texture and sparing of the icing. It is completely satisfying without being “sinful”. It will surprise you.
There are a number of techniques which are used in making this cake that you may find useful in your own baking.
The cake can be made entirely in one day or spread out over two days.
Make the Sponge Cake
You will need an 8” springform pan. Line the bottom with a circle of parchment paper and wrap the outer bottom of the pan with aluminum foil. You will bake the cake in a water bath.
Make the batter with butter, milk, cake flour and egg yolks. If you don’t have cake flour, sift regular flour four times before measuring it.
Put the egg whites in the bowl of a mixer and whisk them together until they start to get foamy. Continue beating the egg whites while adding the sugar a spoonful at a time. The whites will get glossy. Don’t overbeat them. Stop when they form a soft peak. Test this by lifting a spoon out of the mixture. The top of the peak should flop over.
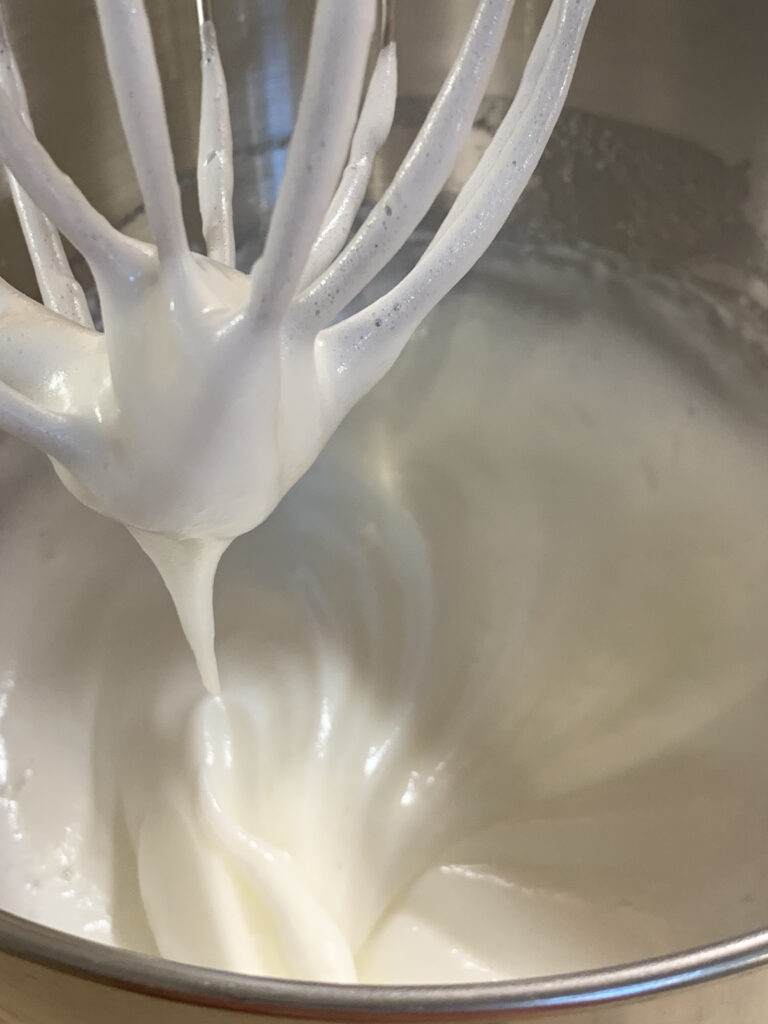
The eggs whites are glossy and hold a gentle peak
Take a big spoonful of the eggs whites and stir it into the egg yolk mixture. This will lighten the batter so that when you add it to the remaining eggs whites it doesn’t deflate them.
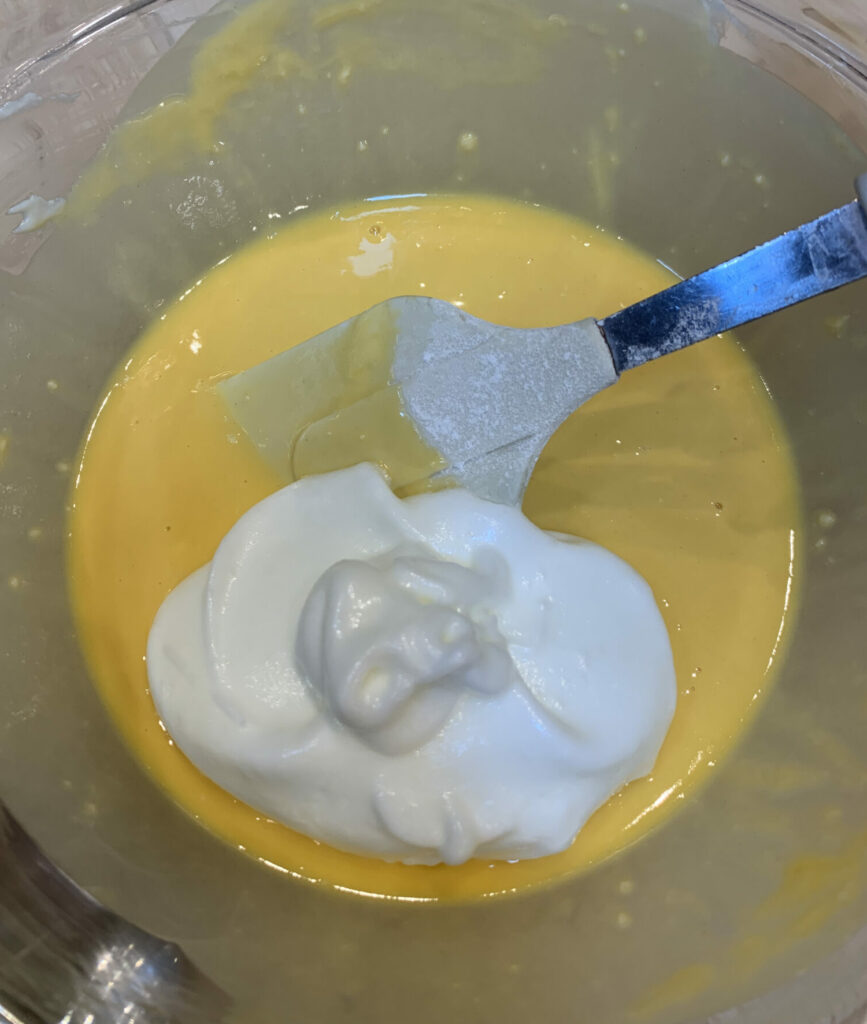
Stir about 1/4 of the beaten egg whites into the batter before added it to the rest of the whites
Fold it together until just mixed in.
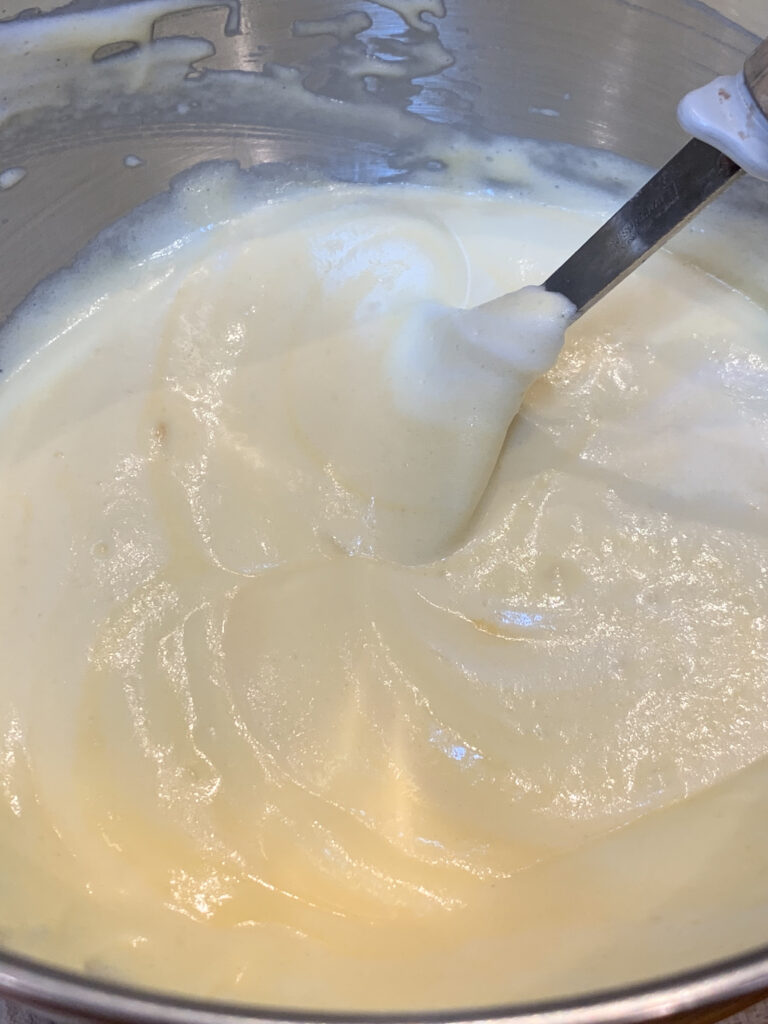
Don’t over mix the egg whites when folding in to batter. It’s okay if there are a few streaks as long as there are no large clumps
Pour it in the prepared pan and spread it evenly. Lift the pan about two inches off the counter and drop it back down once or twice to break any bubbles inside.
Put the pan into a larger baking pan and add boiling water up to about an inch or so on the side of the cake pan.
Put it in the oven and don’t open the door to look at it until at least an hour has gone by. The cold air and motion may make the cake collapse. It should cook for about 90 minutes.
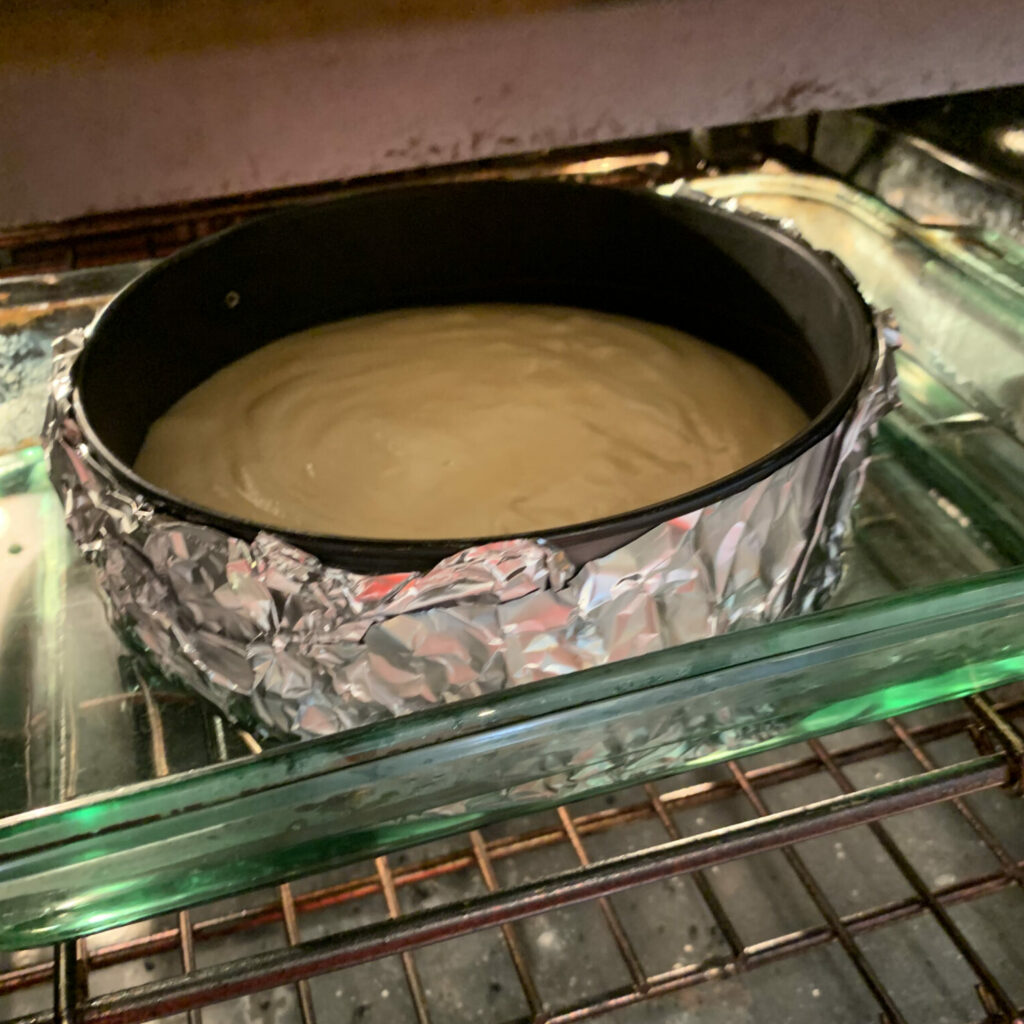
Once it has baked, release the sides from the pan and remove the bottom, leaving it to cool completely.
Create a Soaking Syrup
Toss the strawberries in sugar and let them sit for at least an hour and up to two hours. Then remove them from the liquid and place them on a paper towel lined plate to dry a bit. Save the liquid. This serves two purposes: it draws the juices out of the strawberries so they won’t make the cake soggy, and provides you with a strawberry flavored liquid to add to the soaking syrup.
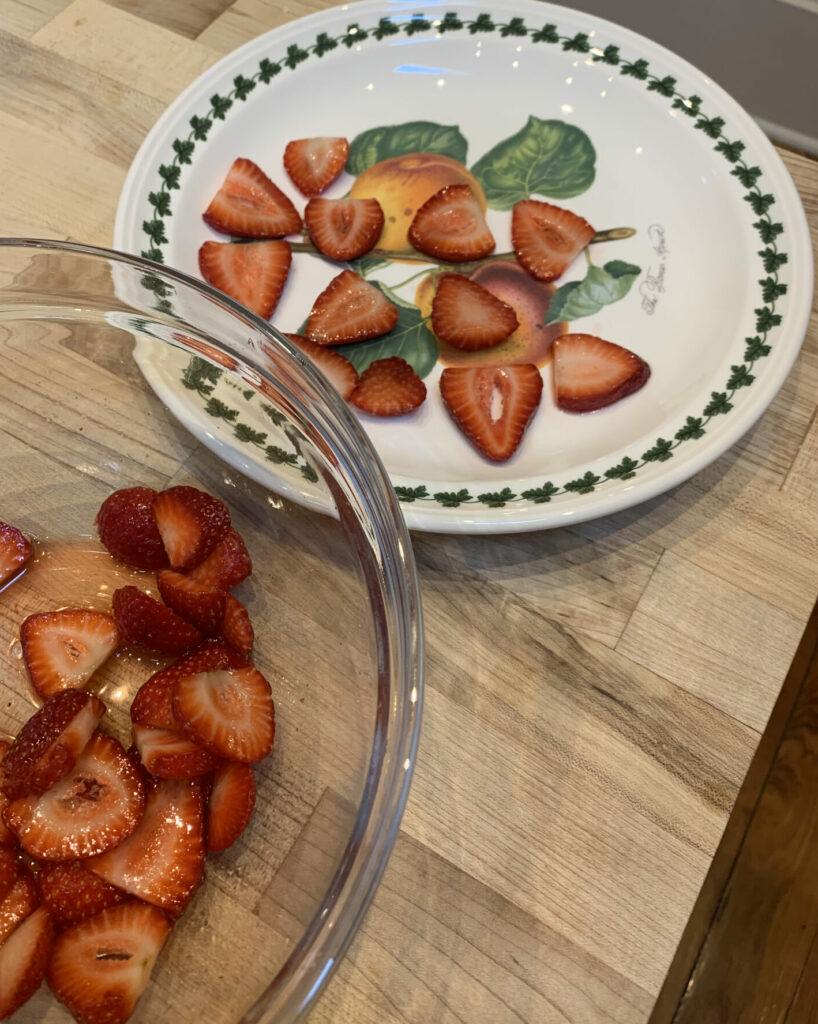
Slice the strawberries into even thicknesses for macerating
Soaking syrup was something I learned about this year. It’s a flavored liquid which is brushed over the inside layers of a cake before you assemble it. It helps moisten the cake and bumps up the flavor.
Make the Stabilized Whipped Cream Frosting
This is genius. If you have ever made whipped cream at home, you know that it starts to break down after a couple of hours, releasing liquid. Adding some gelatin to the cream as you whip it allows you to make an icing that will be stable for a day or more in the refrigerator.
Put the Cake Together
Cut the cake in half. I used a ruler to measure it and stuck toothpicks halfway up the cake to help guide my knife to cut two even layers.
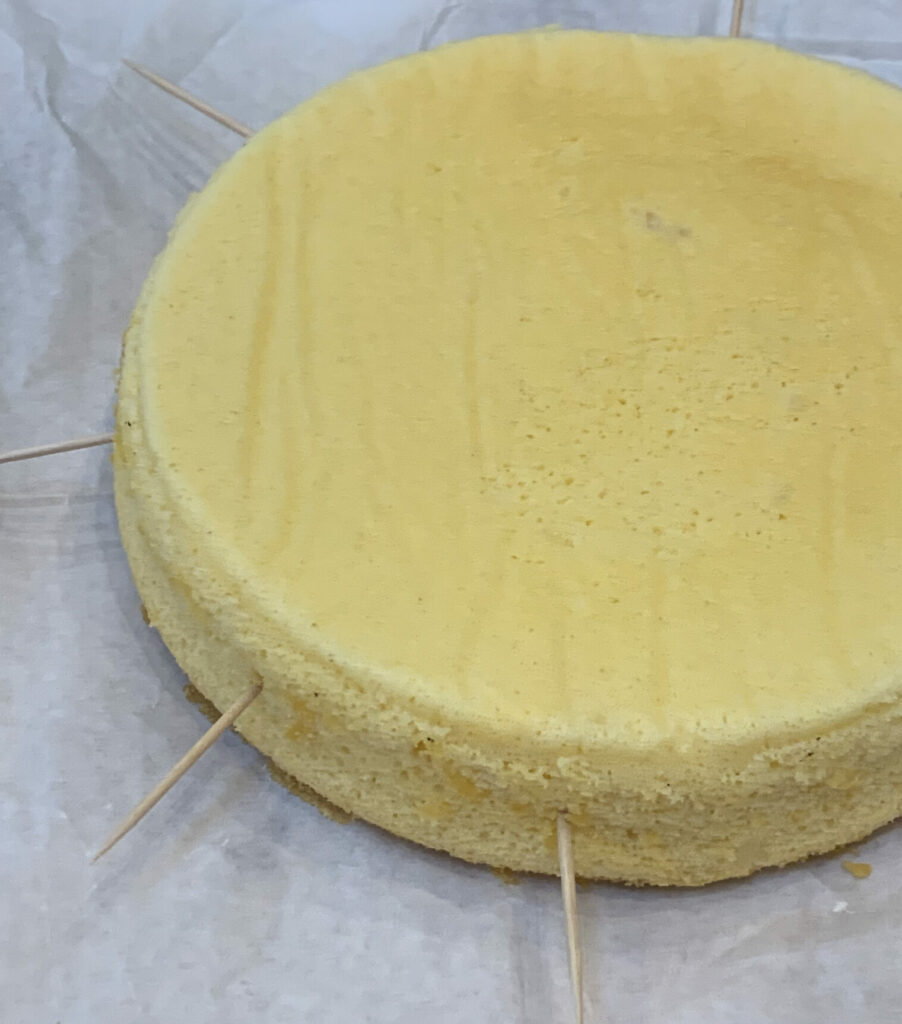
It looks a bit like a spaceship but it’s just the cake with toothpicks in it to guide my knife!
Brush each of the layers evenly with the strawberry soaking liquid.
Put a large spoonful of the icing on top of one layer and spread it thinly and evenly to the edges.
Arrange as many strawberries as you can on top of the cream.
Put another spoonful of icing on top of the strawberries and spread it out.
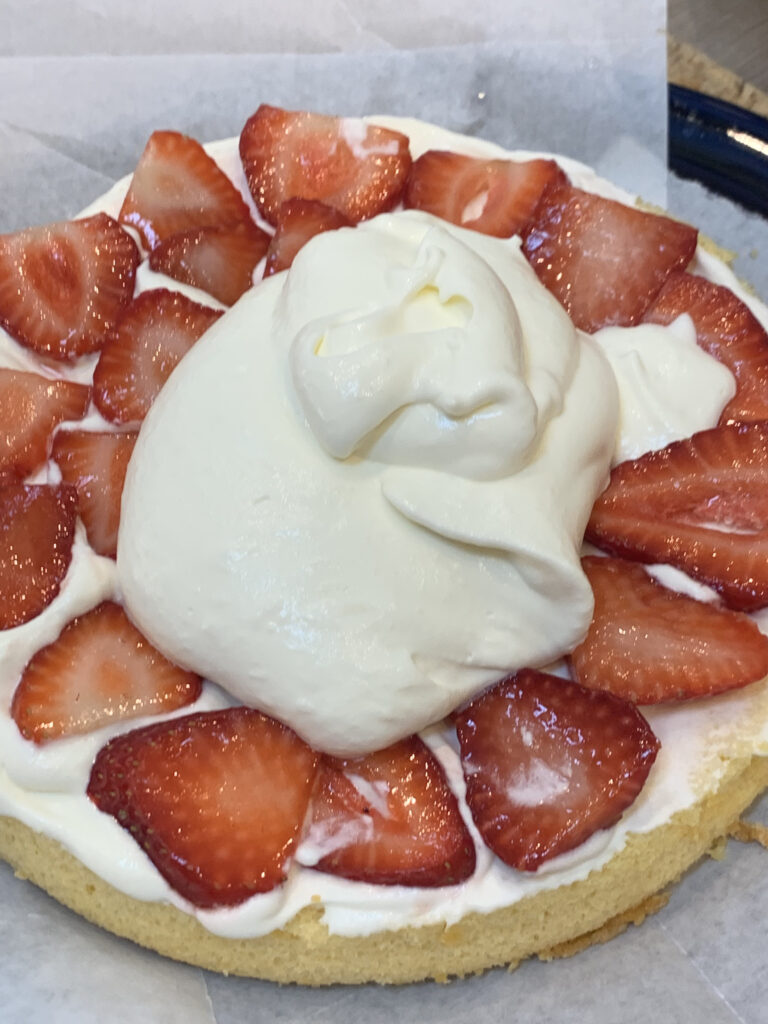
Cream, strawberries, cream. Could it be any simpler?
Place the second layer on top of the finish the cake by frosting the sides and top. Be sparing with the icing as there is just enough to cover the whole cake in a thin layer.
Garnish as desired with whole strawberries.
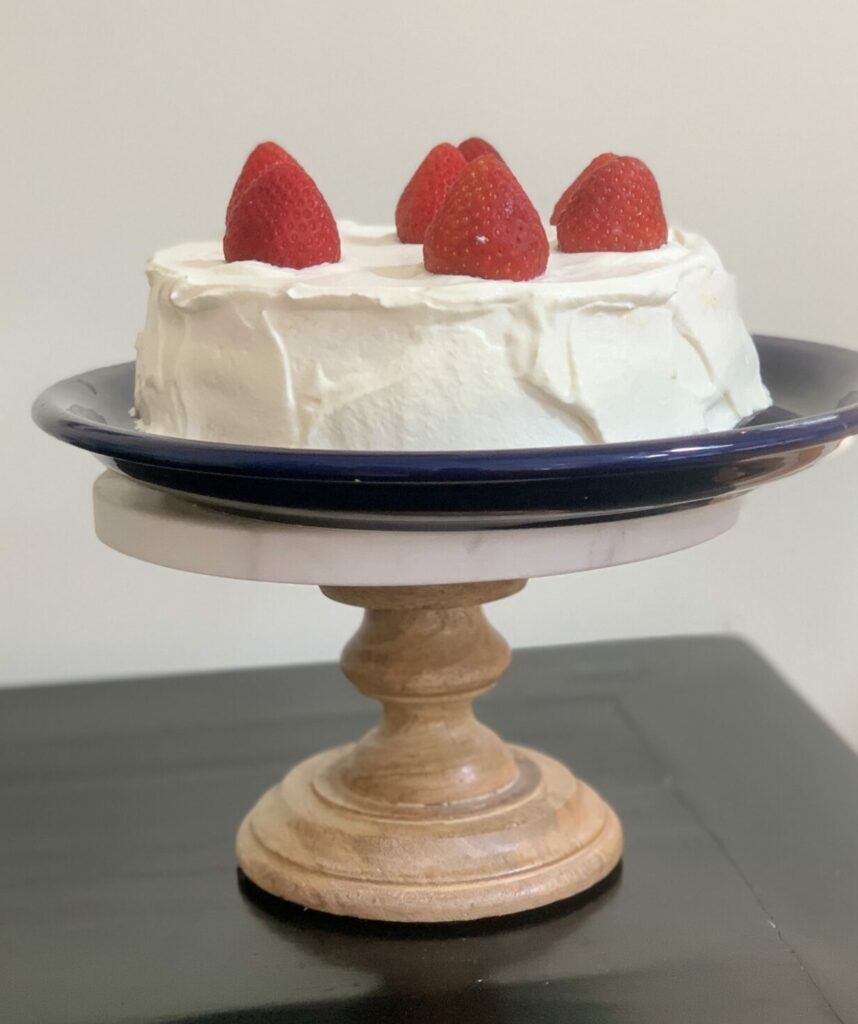
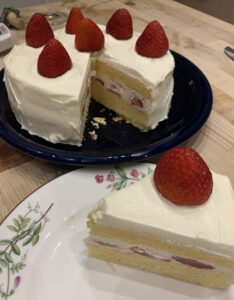
JAPANESE STYLE STRAWBERRY SPONGE CAKE
Ingredients
For the Cake
- 1/3 c milk
- 4 tbsp butter
- ½ c cake flour
- 4 large eggs separated
- ½ c sugar
For the Strawberries
- 1 lb strawberries
- 1 ½ tsp sugar
For the Soaking Liquid
- 2 tbsp sugar
- 3 tbsp hot water
For the Icing
- 1 ¼ c whipping cream
- 2 tbsp powdered sugar
- ¾ tsp gelatin
- 2 tbsp cold water
Instructions
Make the Cake
- Preheat the oven to 325 degrees and position the rack in the center.
- Line the bottom of an 8” round springform pan with parchment paper and wrap a layer of aluminum foil around the bottom to prevent leaks.
- Ready a high-sided oven proof pan or dish for a water bath. The springform pan should fit in it easily and the water will need to be high enough to come 1” up the sides of the springform pan. Boil some water to use for this.
- Heat the butter and milk together gently until the butter has melted. Put it into a medium size bowl.
- Add the cake flour to the butter and milk and stir until smooth (there may be a few small lumps).
- Add the egg yolks and stir until well combined.
- Beat the eggs whites on high speed until they are frothy. Slowly add the sugar one spoonful at a time while continuing to beat the whites. The eggs whites should turn shiny and glossy and hold a soft peak. (The top of the peak will flop over instead of standing stiffly).
- Put a large spoonful of egg whites (about ¼ of the amount) into the milk and flour mixture and fold it in until it is smooth. Add the batter to the remaining egg whites and fold it in until it is just mixed. Do not overmix it or you may deflate the batter.
- Scoop or pour the batter into the prepared pan. Spread it evenly then pick up the pan and drop it from a height of 2-3” to release any large bubbles.
- Put the cake pan in the pan you are using for the water bath and pour in hot water up to 1” high.
- Place the pan in the water bath in the center of the pre-heated oven and cook for 90 minutes. DO NOT OPEN THE OVEN FOR AT LEAST AN HOUR. The cake may collapse if you do. It’s best not to check it until it has been in the oven for 80 minutes. The cake is done when it pulls away from the sides and a tester comes out clean.
- Once done, remove the cake from the oven and let it cool for 10 minutes before removing the sides and bottom from the cake pan. Let the cake cool completely before continuing. (You can stop here and finish the recipe the next day if you like.)
Prepare the Strawberries
- Slice the strawberries into 1/4”-1/2” slices. Sprinkle them with a little sugar and let them sit for an hour. Remove the strawberries to a paper lined plate or tray and save the liquid which they have extruded.
Make the Soaking Syrup
- Stir together 2 tablespoons of sugar and three tablespoons of hot water. Once the sugar has completely dissolved, stir in the liquid from the strawberries.
Make the Icing
- Put the gelatin and water together in a small bowl. Let it sit for 5 minutes and then microwave for 10-20 seconds until full melted.
- Sift the powdered sugar over the heavy cream in the bowl of a mixer. Start whipping on medium. Stop as soon as it is making soft peaks. Put a large spoonful of the whipped cream into the melted gelatin. Stir it until it is smooth. With the mixer at medium, slowly add the gelatin mixture to the whipped cream. Whip it only until soft peaks are formed. Do not overwhip it or it will separate.
Assemble the cake.
- Cut the cake into two even layers.
- Brush half the soaking liquid over the top of one layer. Spread a thin layer of icing over it then arrange as many strawberries as you can fit evenly on top. Spread another thin layer over the strawberries.
- Place the top layer on the cake and brush with the remaining soaking liquid.
- Ice the top and sides of the cake and finish with whole strawberries if desired.
- Store the cake in the refrigerator.



Did you enjoy this post? Leave a comment below. If you tried the recipe, let me know how it turned out!