TRICKS AND TIPS FOR MAKING A THREE LAYER “NAKED” CAKE
Pinterest Fail. We’ve all been there. Looked at something on Pinterest or Instagram and thought, “I could do that” but then it turns out harder than it looks. My most memorable fail? Mirror Glaze. That turned out to be much harder than it looked!
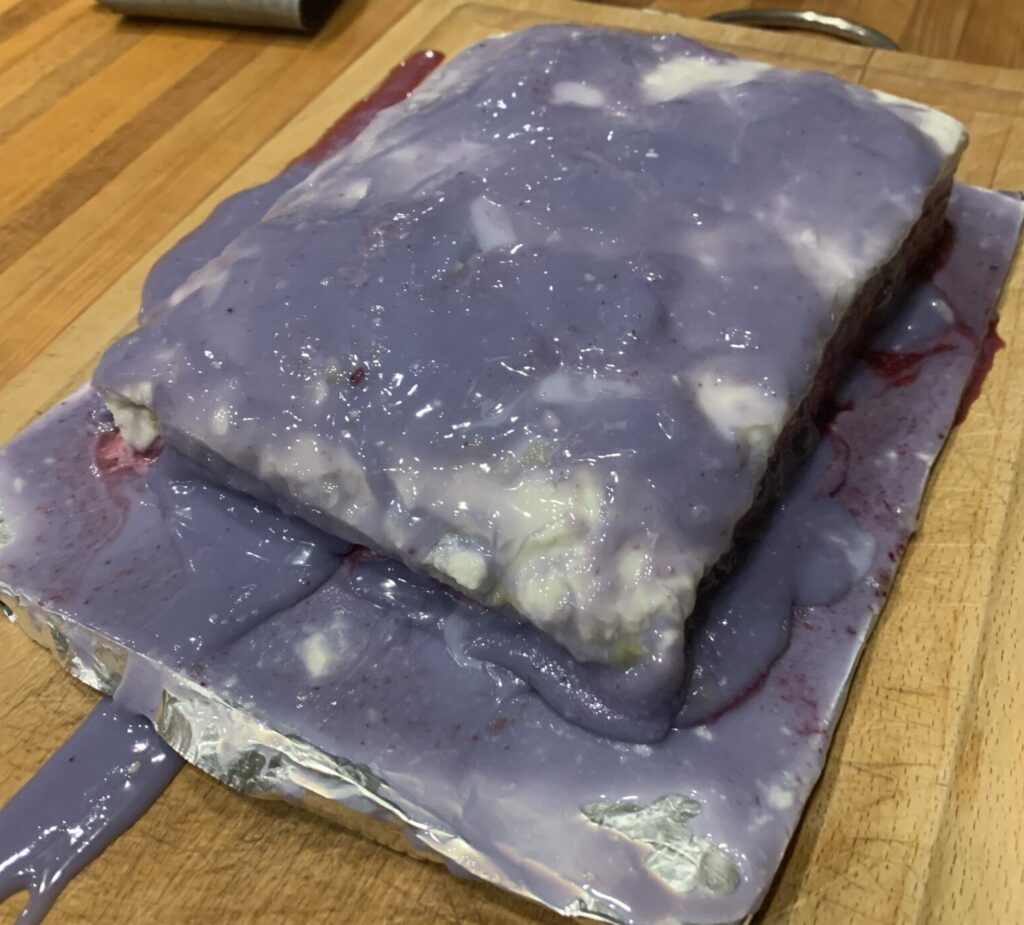
How not to make a Mirror Glaze.
Recently I took an online cooking class with Christina Tosi. Chef Tosi is widely credited with popularizing the Naked Cake, a cake with multiple layers and minimal icing. She says it’s because she isn’t a decorator, she is “just” a baker! In fact the icing is not all that minimal. There just isn’t any icing on the sides!
In the past I had wondered how to make a naked cake and made a few stabs at one. Now that Chef Tosi has showed me how, I just can’t stop conceptualizing and making Naked Cakes!
This Easter I made a three layer lemon cake with white icing and lemon curd filling.
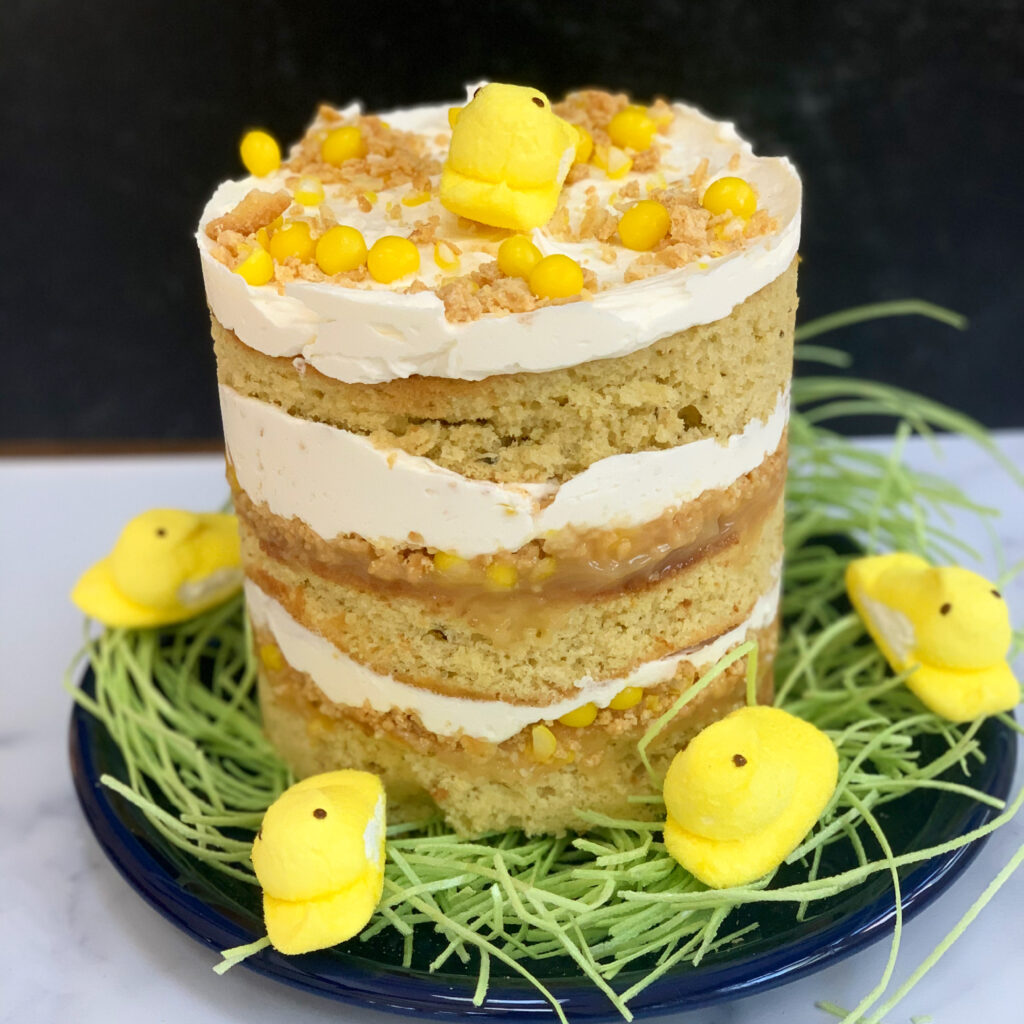
All the time I was making it, I was thinking about my readers and how I could make the recipe short and non-threatening. Eventually I decided that it wasn’t the cake that was threatening, it was the assembly. Which led me to this:
HOW TO MAKE A THREE LAYER “NAKED” CAKE.
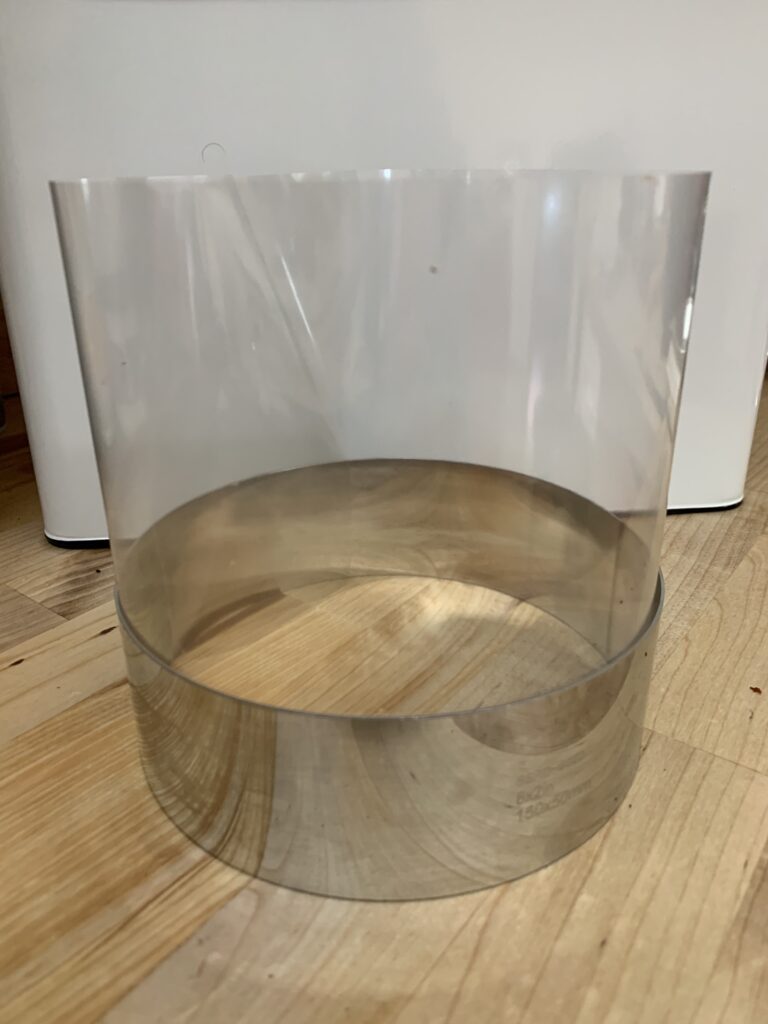
You will need three special pieces of equipment to make the cake: a 6” cake ring mold, a roll of 6” wide acetate and a bent teaspoon. I bought my cake ring and acetate online and used an inexpensive spoon to bend.
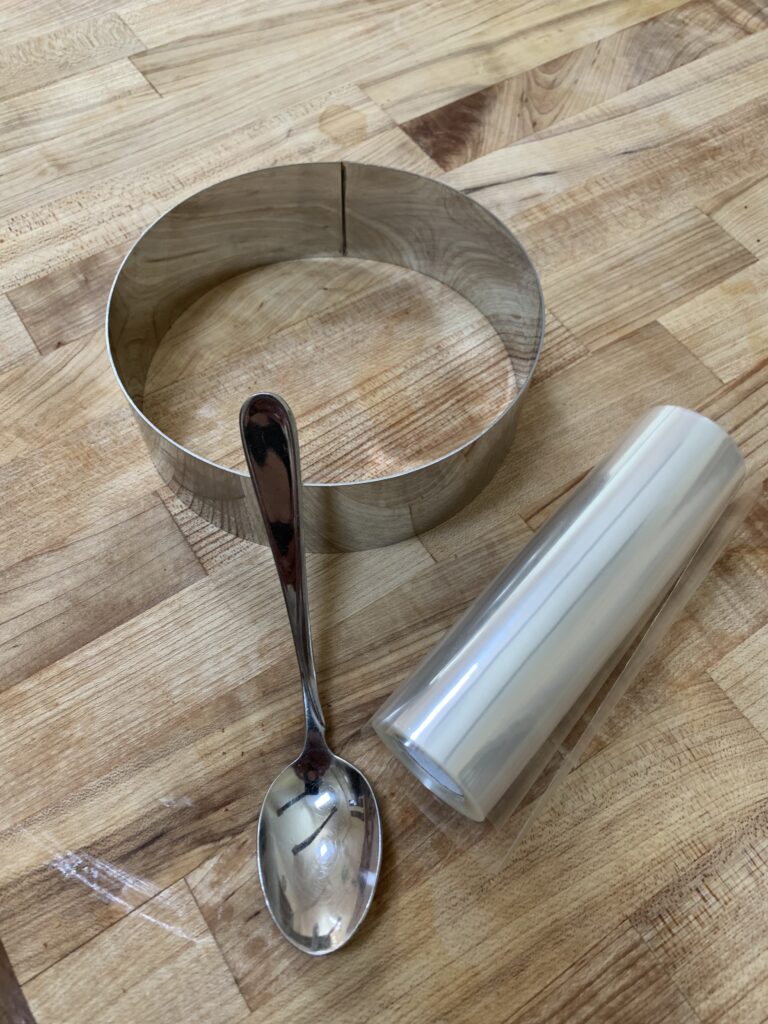
You can purchase these things online (and bend the spoon yourself!)
Start with your cake. Make the cake batter and bake it in a parchment paper lined quarter sheet pan (10″ x 13″).
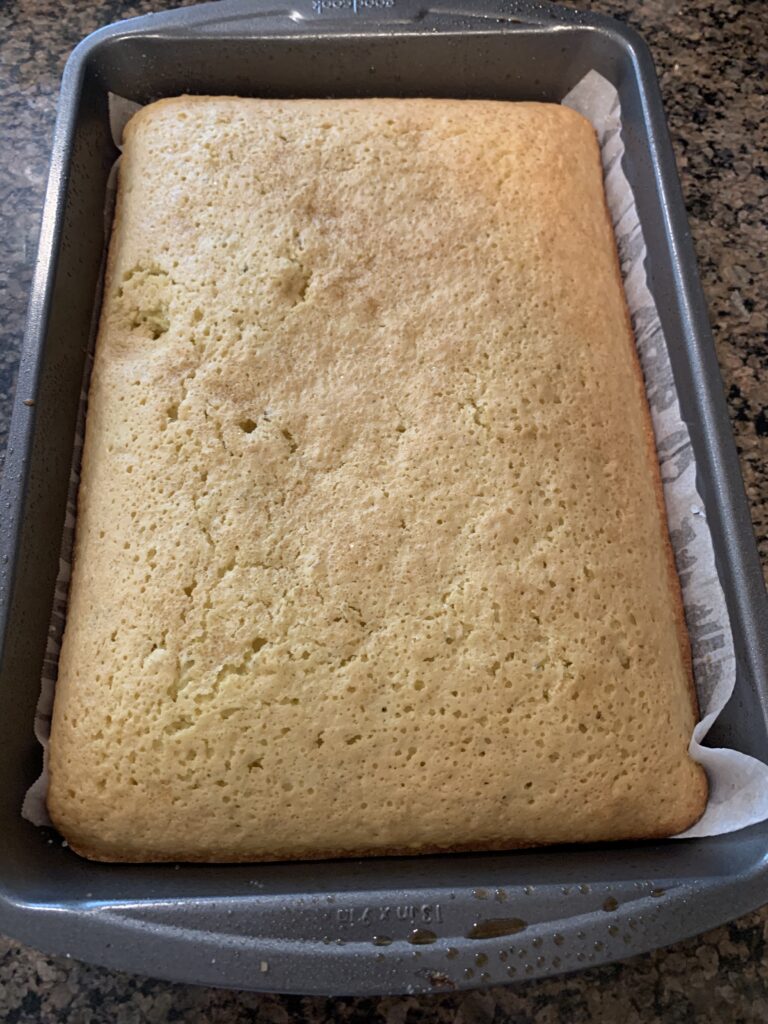
A quarter sheet pan measures 10″ x 13″
While the cake is cooling, make the icing and whatever other filling (if any) that you choose.
Once the cake is cool, turn it out onto a board or a piece of parchment paper. Use the ring to mark out two full circleS, one slightly offset from the other, and two half circles.
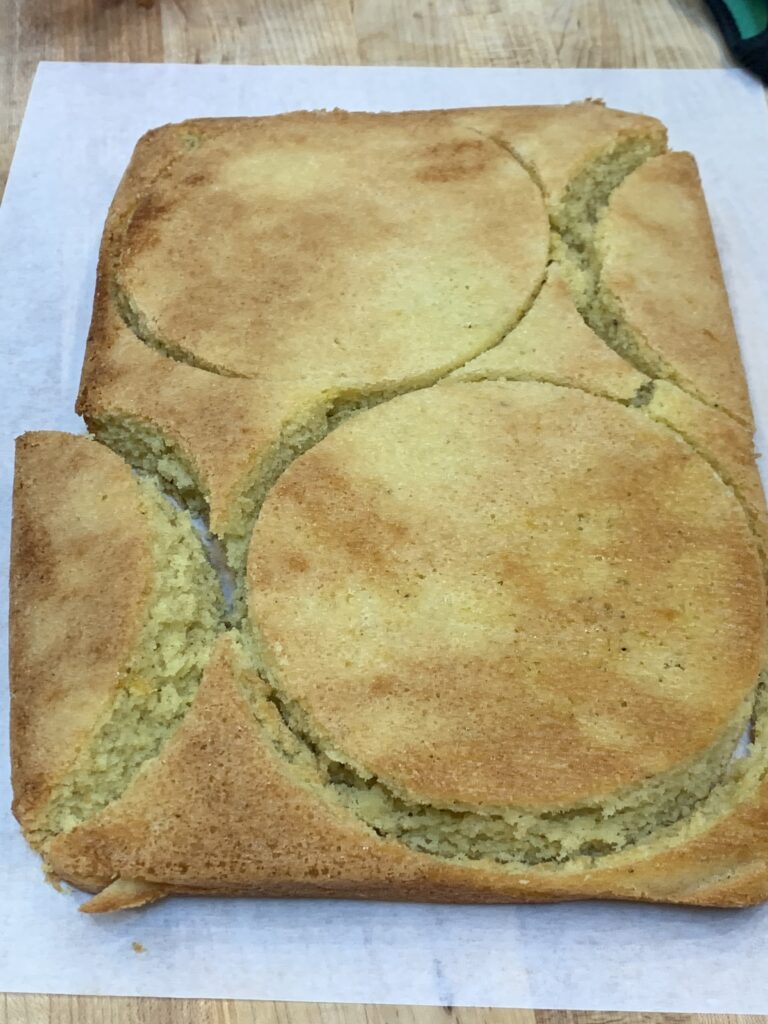
Use the ring mold to cut two full layers and two semi circles
Cut a piece of acetate about 20” long and place it in the ring mold. Then put the ring mold and the acetate on a plate or piece of foil lined cardboard slightly larger than the cake. You will be able to move the cake to its final surface later.
Take the two half circles and place them in the cake ring right up against the ring mold. There will be a gap between them in the center. Use some of the scraps of cake (not your whole circles!) to fill in the center gap.
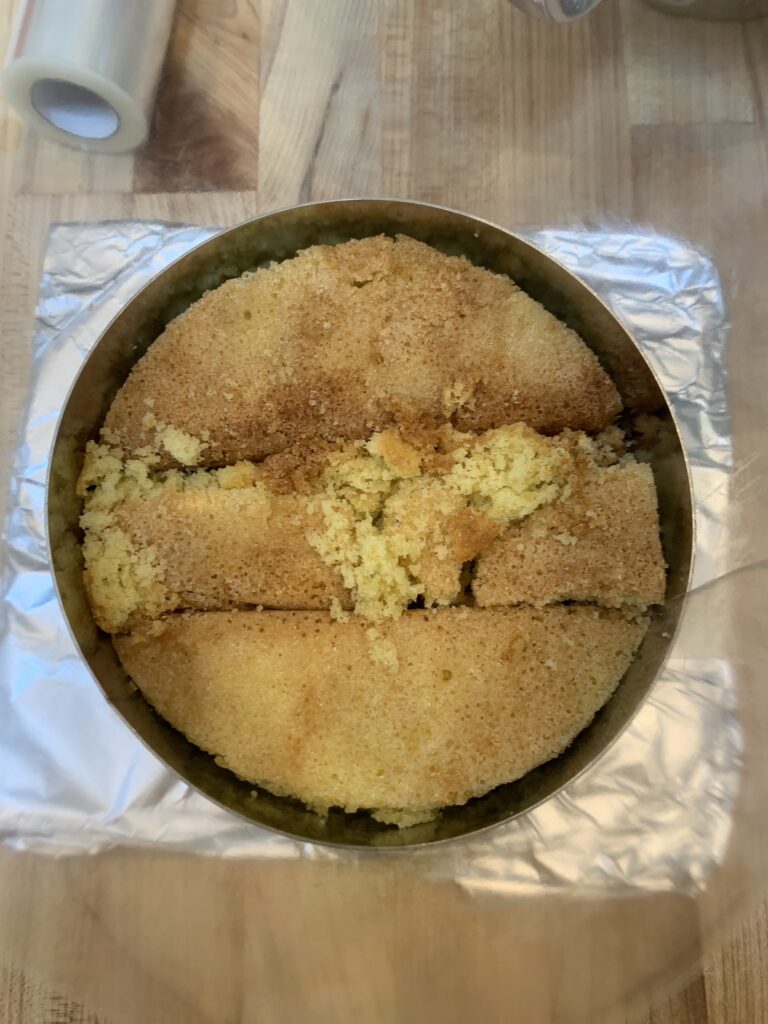
No one will see the center of the layer. Just make sure you fill in all the cracks around the edges.
I can hear you thinking that it is going to look terrible. But it won’t. The only part of the cake anyone will see is the edge and no one will ever know its cobbled together!
Drop about half of your filling on top of the layer in the mold. Use the back of the bent spoon to spread it across the layer. Move the spoon in a back and forth motion without lifting it up. This will help spread it easily with out bringing up crumbs. Once the filling is down, repeat with one third of the icing.
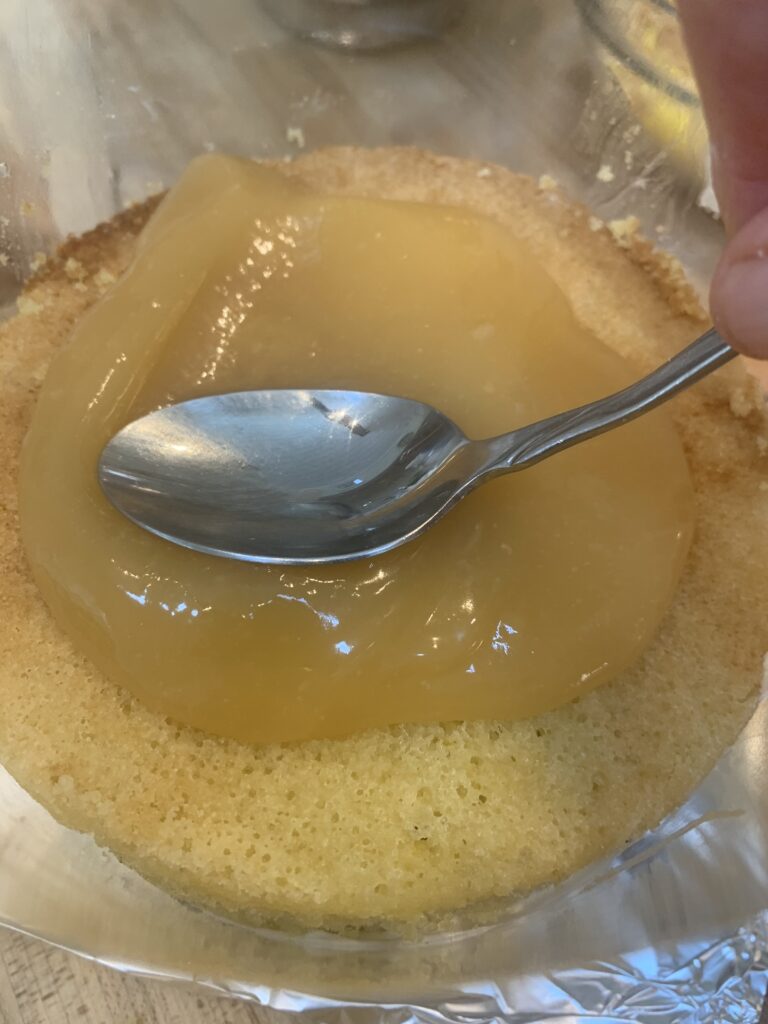
Because of the narrow opening and the low position of the layers, the back of a bent spoon is the best tool to spread the icing.
Save the best looking layer of the two remaining layers for the top. Place the other layer in the mold on top of the icing by inserting it on an angle, resting it against one side of the acetate and then dropping it carefully down flat on to the cake.
Repeat the filling and icing step. And then put the final layer on top and spread the remaining icing on top.
You can add some decorations now or wait until it is time to serve it. But you can’t serve it yet!!
First you need to place the whole cake in the freezer for at least two hours. When the cake is well frozen, lift it up off the plate and remove the ring. Place the cake on the plate or tray you will serve it from and peel off the acetate.
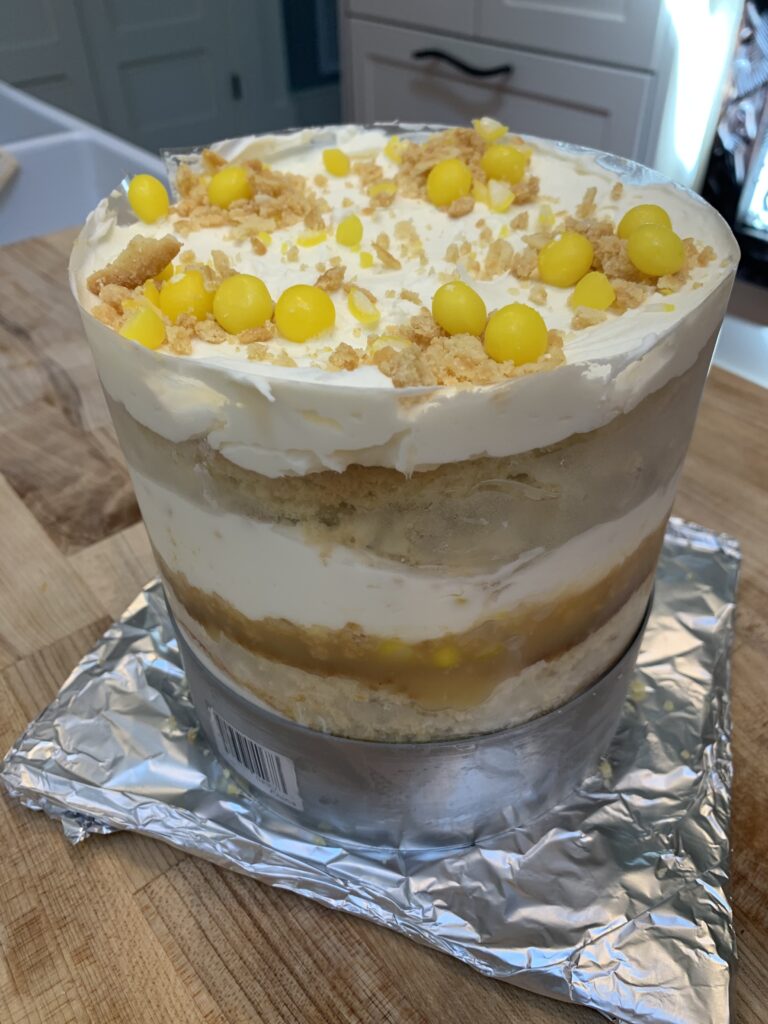
After you freeze the cake it will be easy to lift off the foil and remove the ring and acetate
It should look wonderful!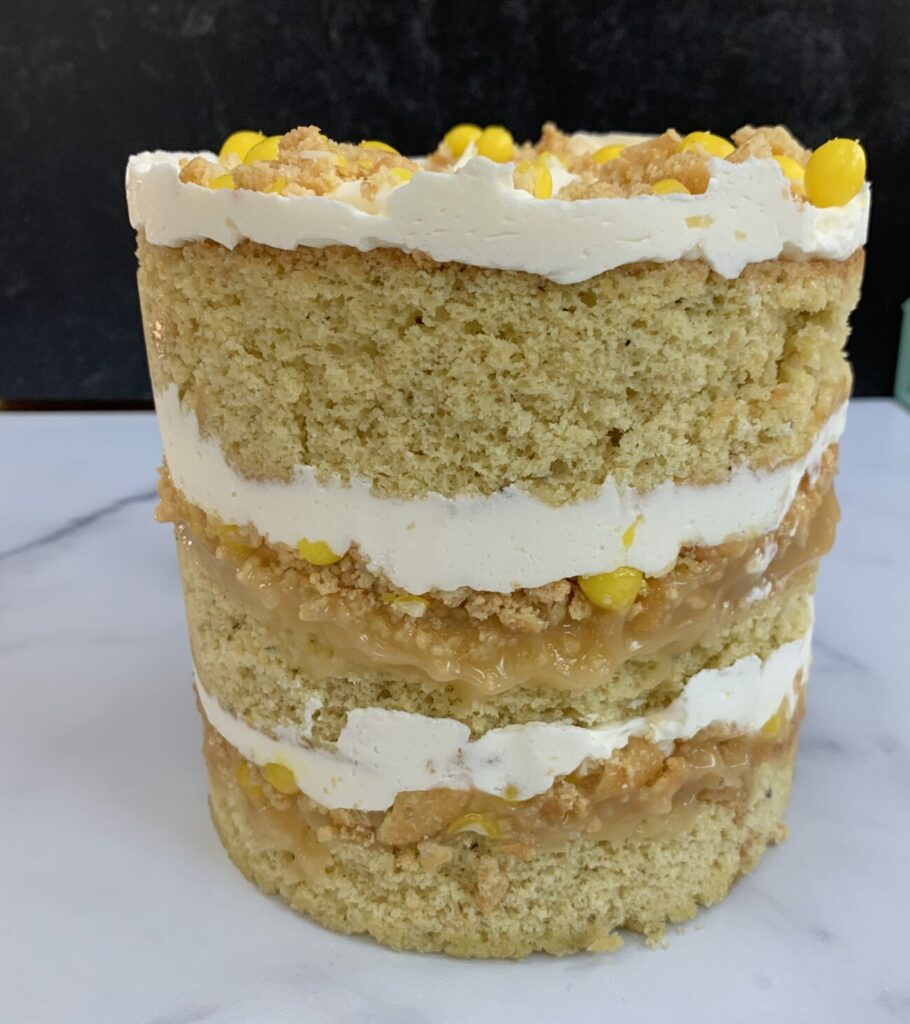
Let it come to room temperature and get ready to hear people cheer when you serve it!



Did you enjoy this post? Leave a comment below. If you tried the recipe, let me know how it turned out!