Welcome to part one of All About Pie! This is intended to be a fun way to get you to the Thanksgiving table with a lovely homemade pie. I promise I will always show you the finished cooked pie (because it always looks great before you put it in the oven) and I will share my mistakes and lessons learned as well as my successes.
On to pie!
Pies were an important part of my upbringing. My mother made wonderful pies for every occasion. My father loved her mince pie, a carry-over from the British traditions of her family. My oldest brother loved her lemon meringue pie with its tart lemon filling topped with a reasonable cloud of meringue. My older sister was all about blueberry pie. I favored peach. And we all loved her apple pie! As a matter of fact, the only type of pie I never had growing up was pumpkin.
The tradition has carried on for my family with the addition of jumbleberry pie, Abby’s favorite, and pumpkin pie for their dad. Emily and Sarah lay claim to peach pie. And pecan pie just because.
Now you can buy a prepared pie crust, chop up some fruit and throw it in the oven and that will be good. Believe me, I have done it! But the best pie is the one where you make the pastry yourself, use your imagination with the fruits and flavorings and go to town with on the decoration.
Which means we start with the pastry.
First, equipment. These are things you don’t need to make a pie.
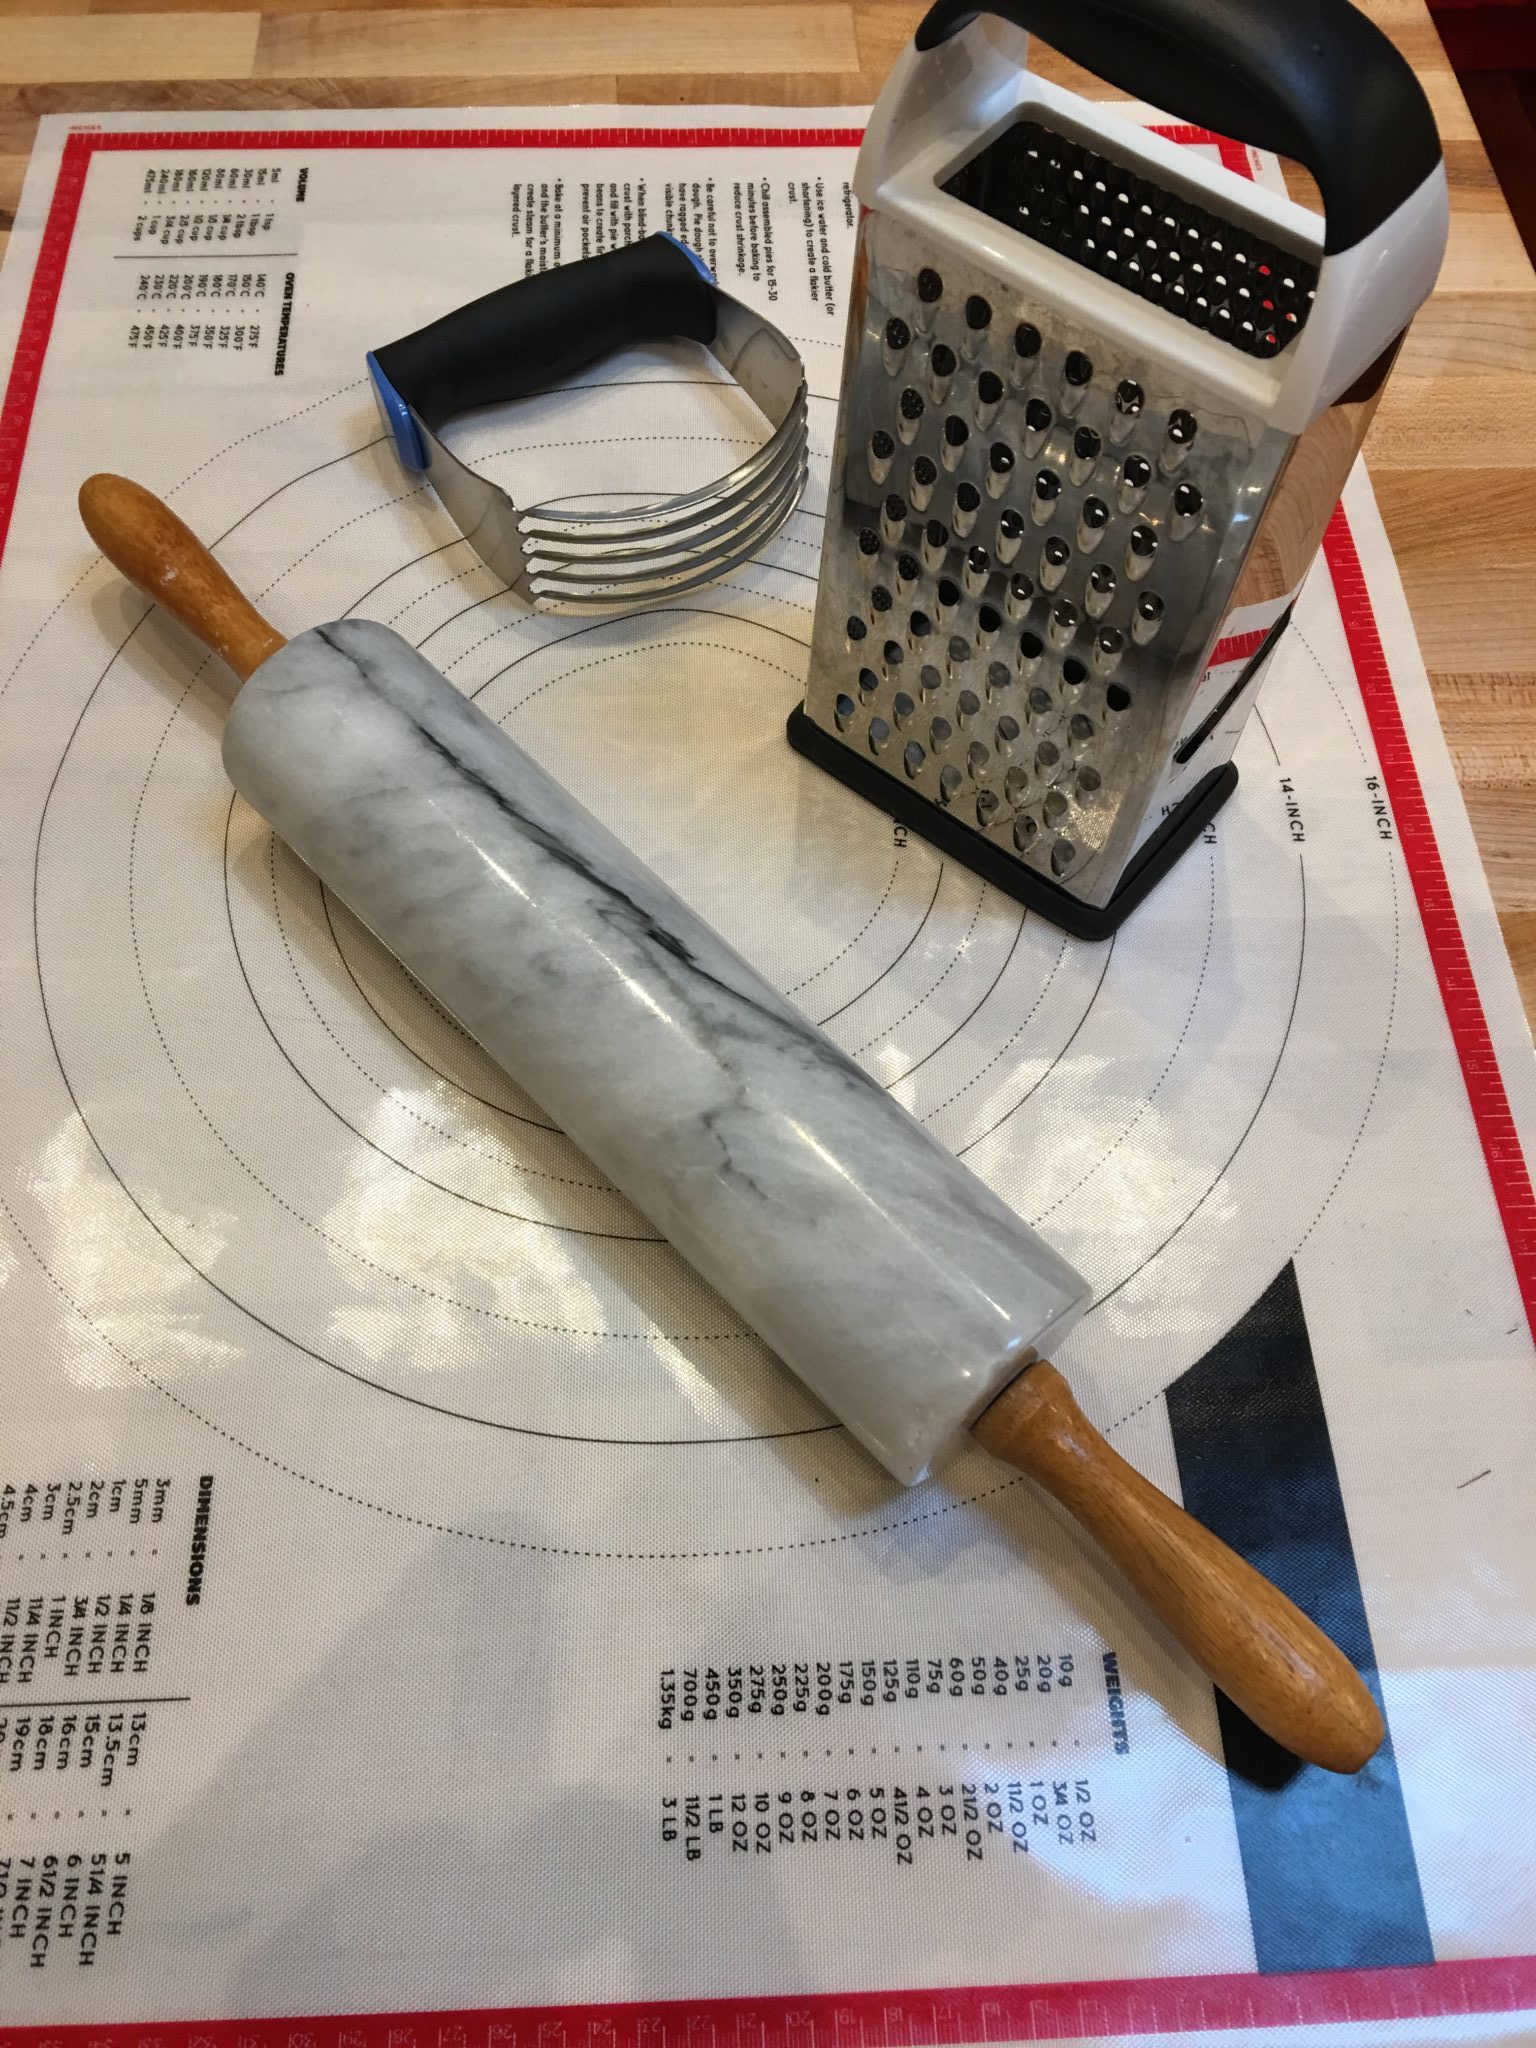
You do not have to have these things to make a pie!
They will make your life easier but you can do just fine without them. All you really need is flour, butter, salt, water, measuring cups and spoons and a bowl. Everything else is just icing on the cake (so to speak).
Let’s take these items one at a time:
This is grater.
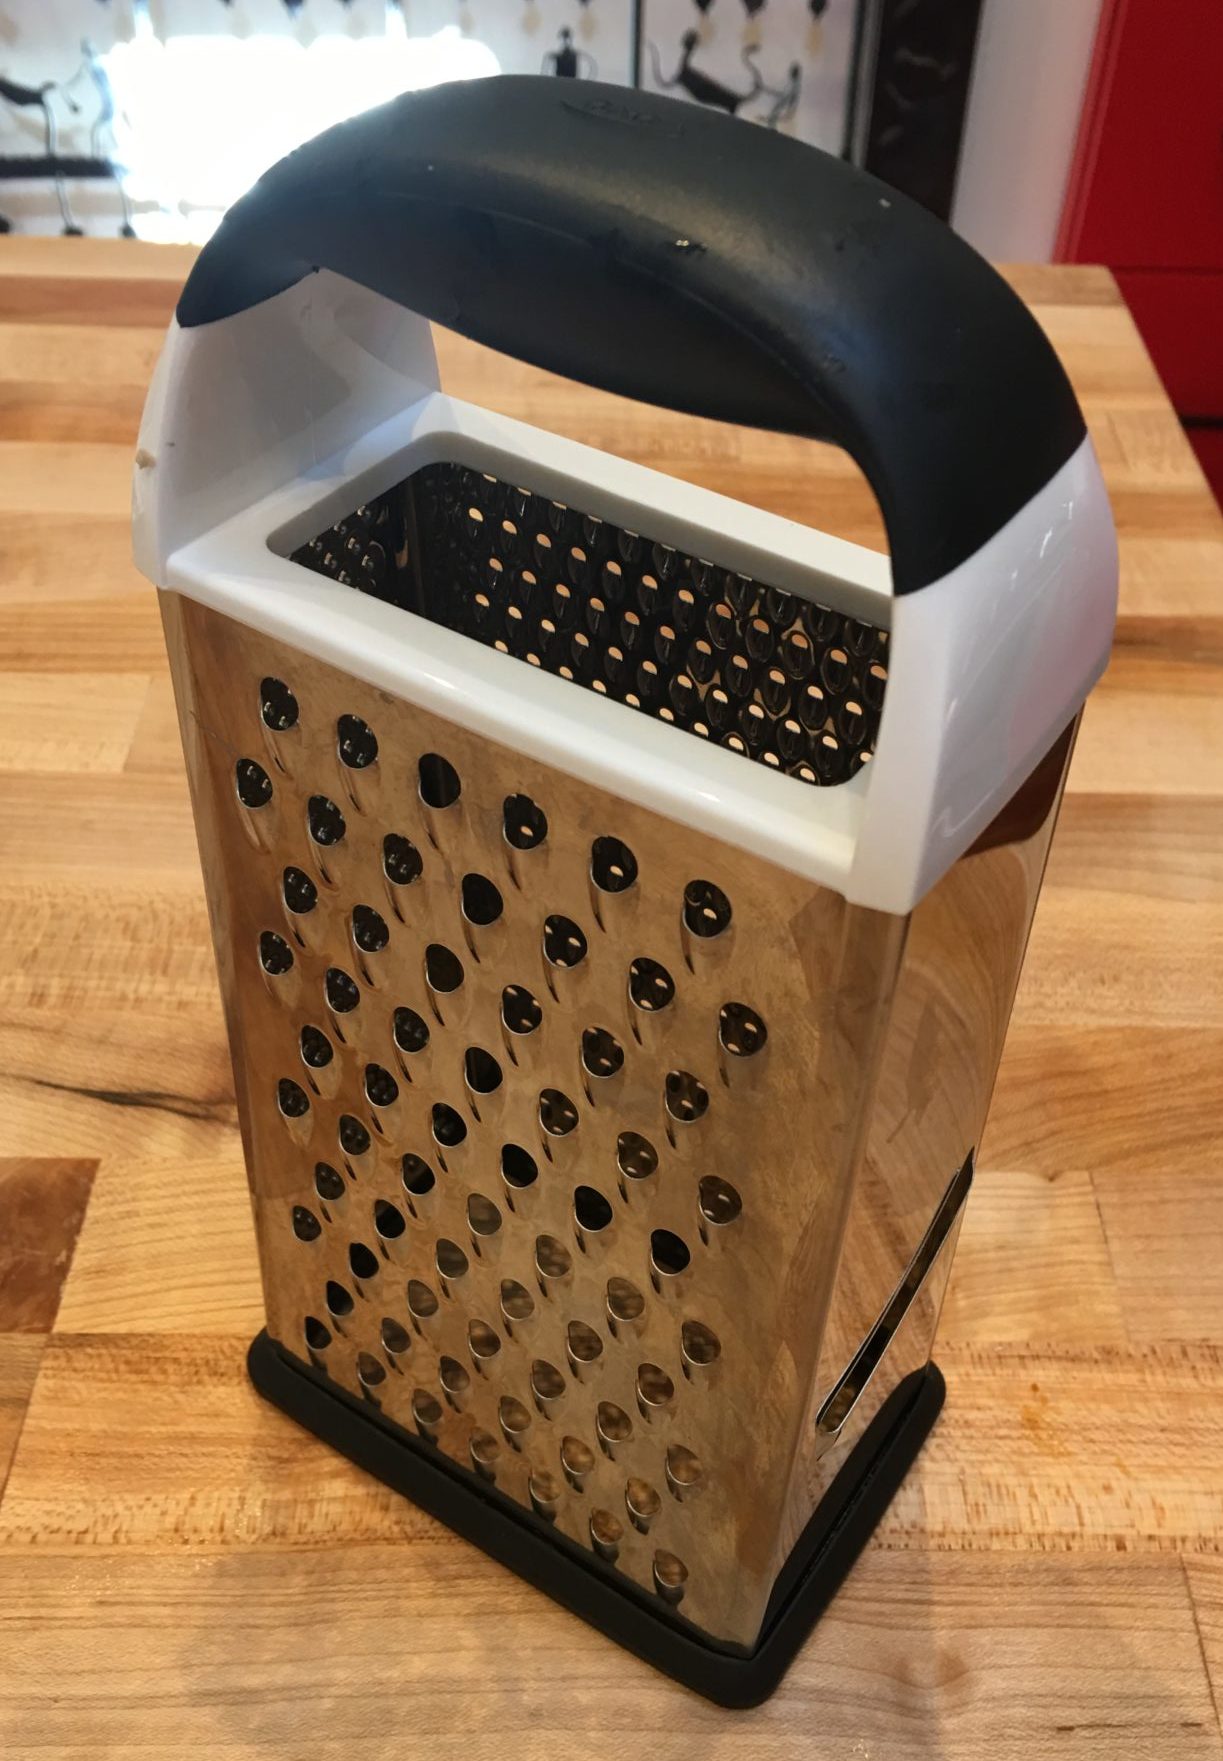
I use mine to grate my butter into small curls which I then place in the freezer for 10-15 minutes. This helps me to cut the butter quickly into the flour which in turn leads to the butter being better incorporated and coated with flour. If you don’t have a grater, you can cut the butter into small pieces and chill it well before mixing it into the flour.
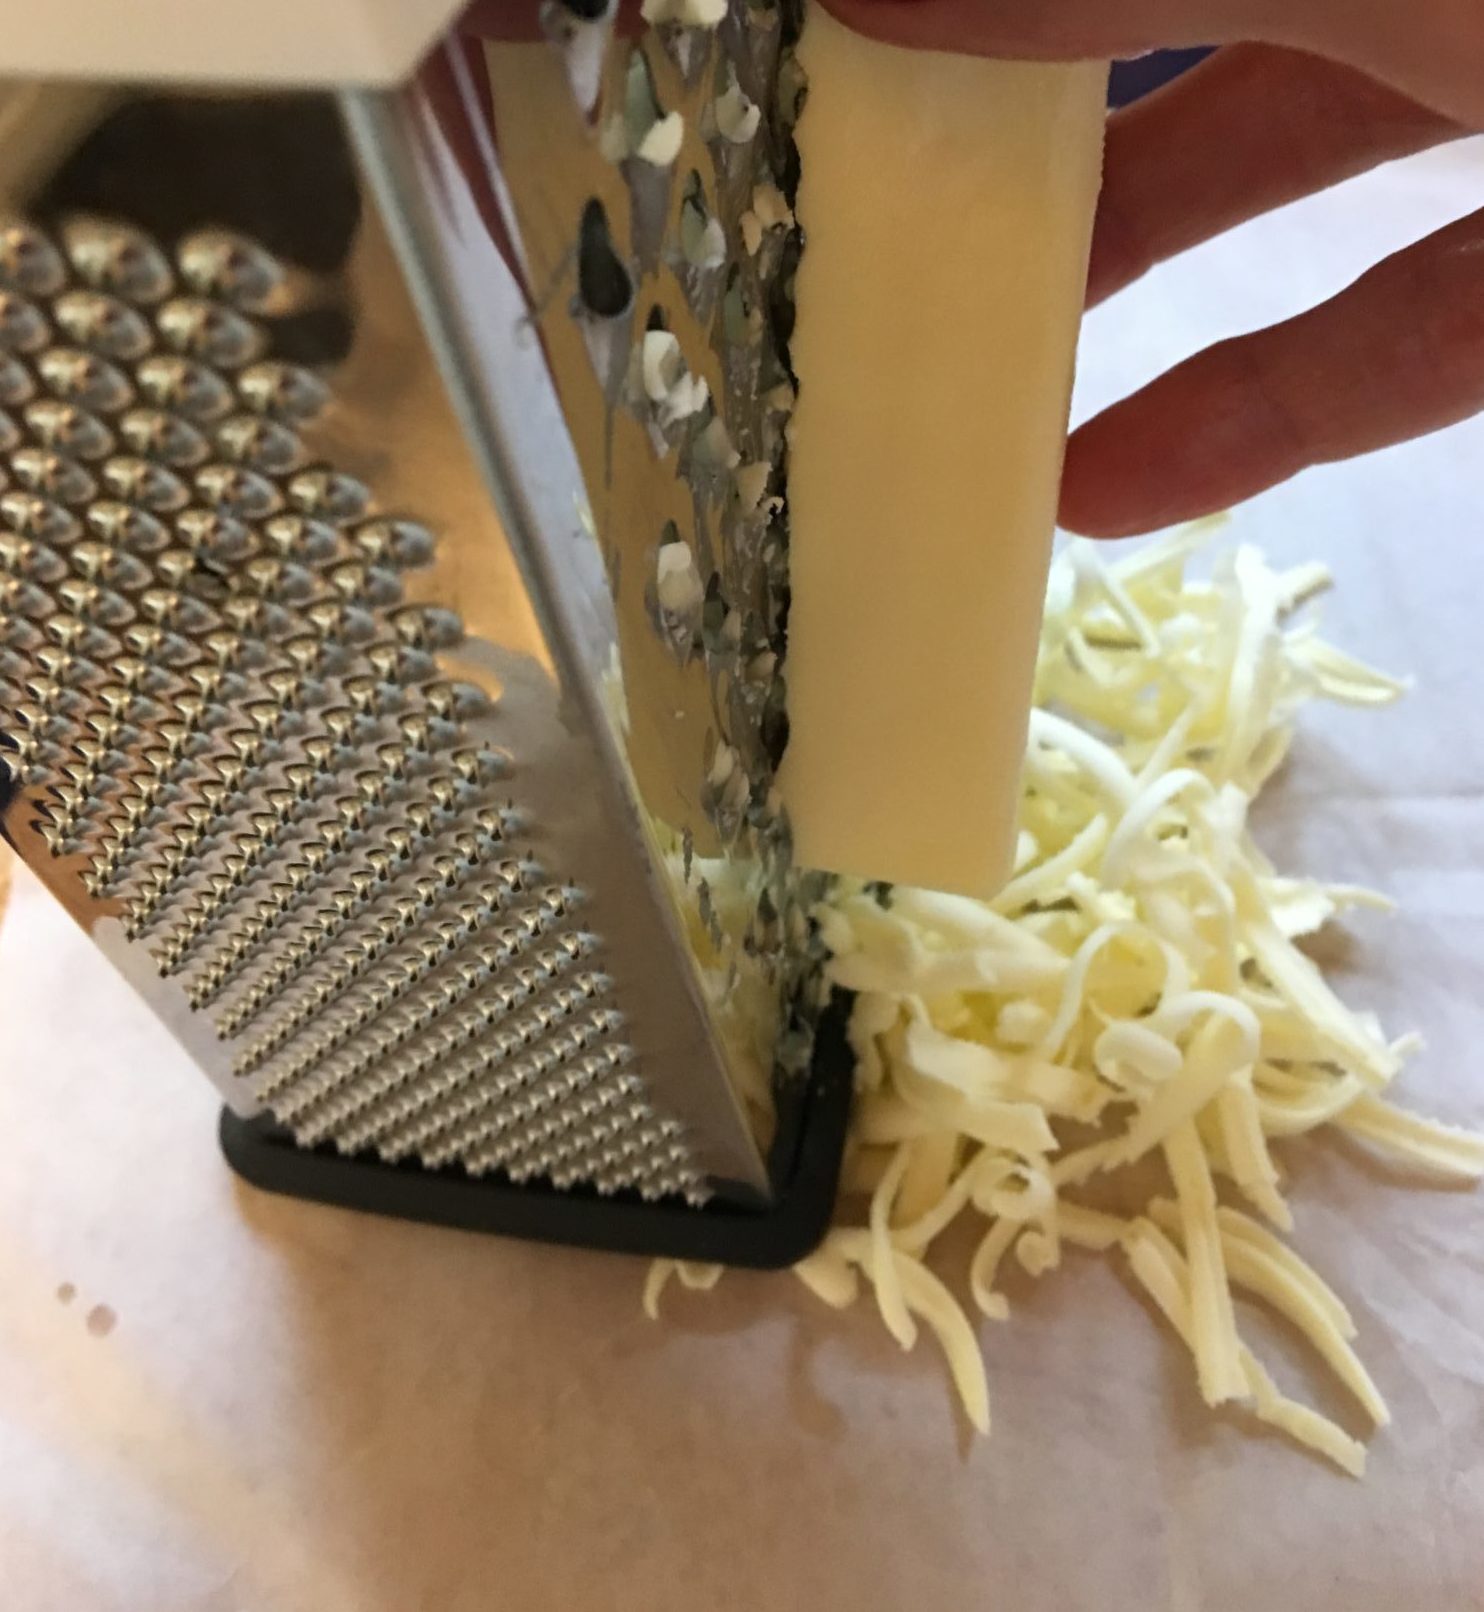
It is easiest to grate butter straight from the refrigerator
This is a pastry blender.
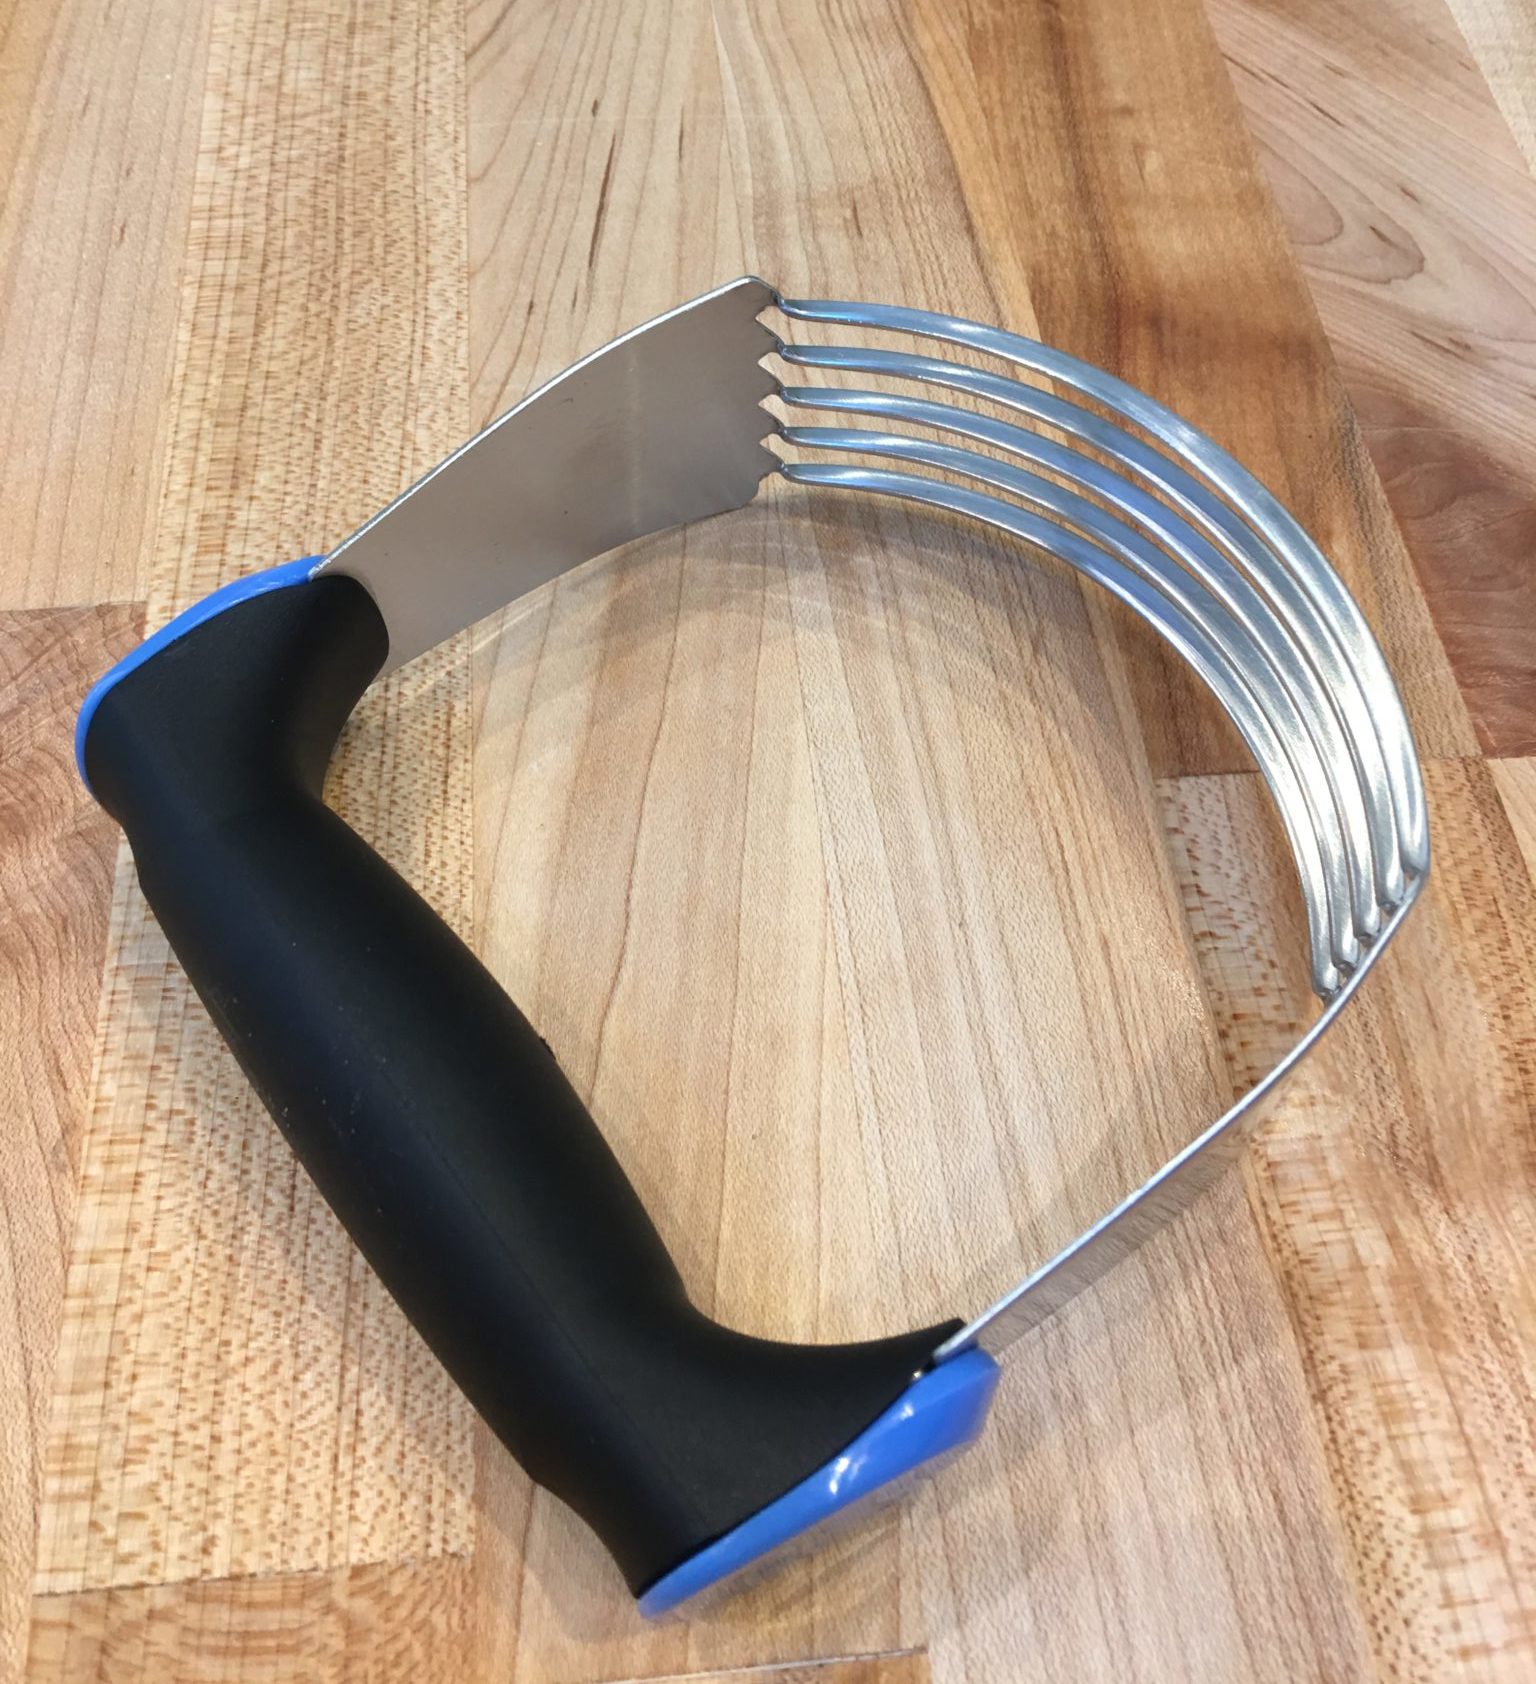
The sharp, closely spaced blades “cut” the butter into the flour. Years ago I used to do this with two knives, wielding them like scissors. It is possible to use a food processor for this step. I certainly have. But I like to do it by hand because I can control the end result better.
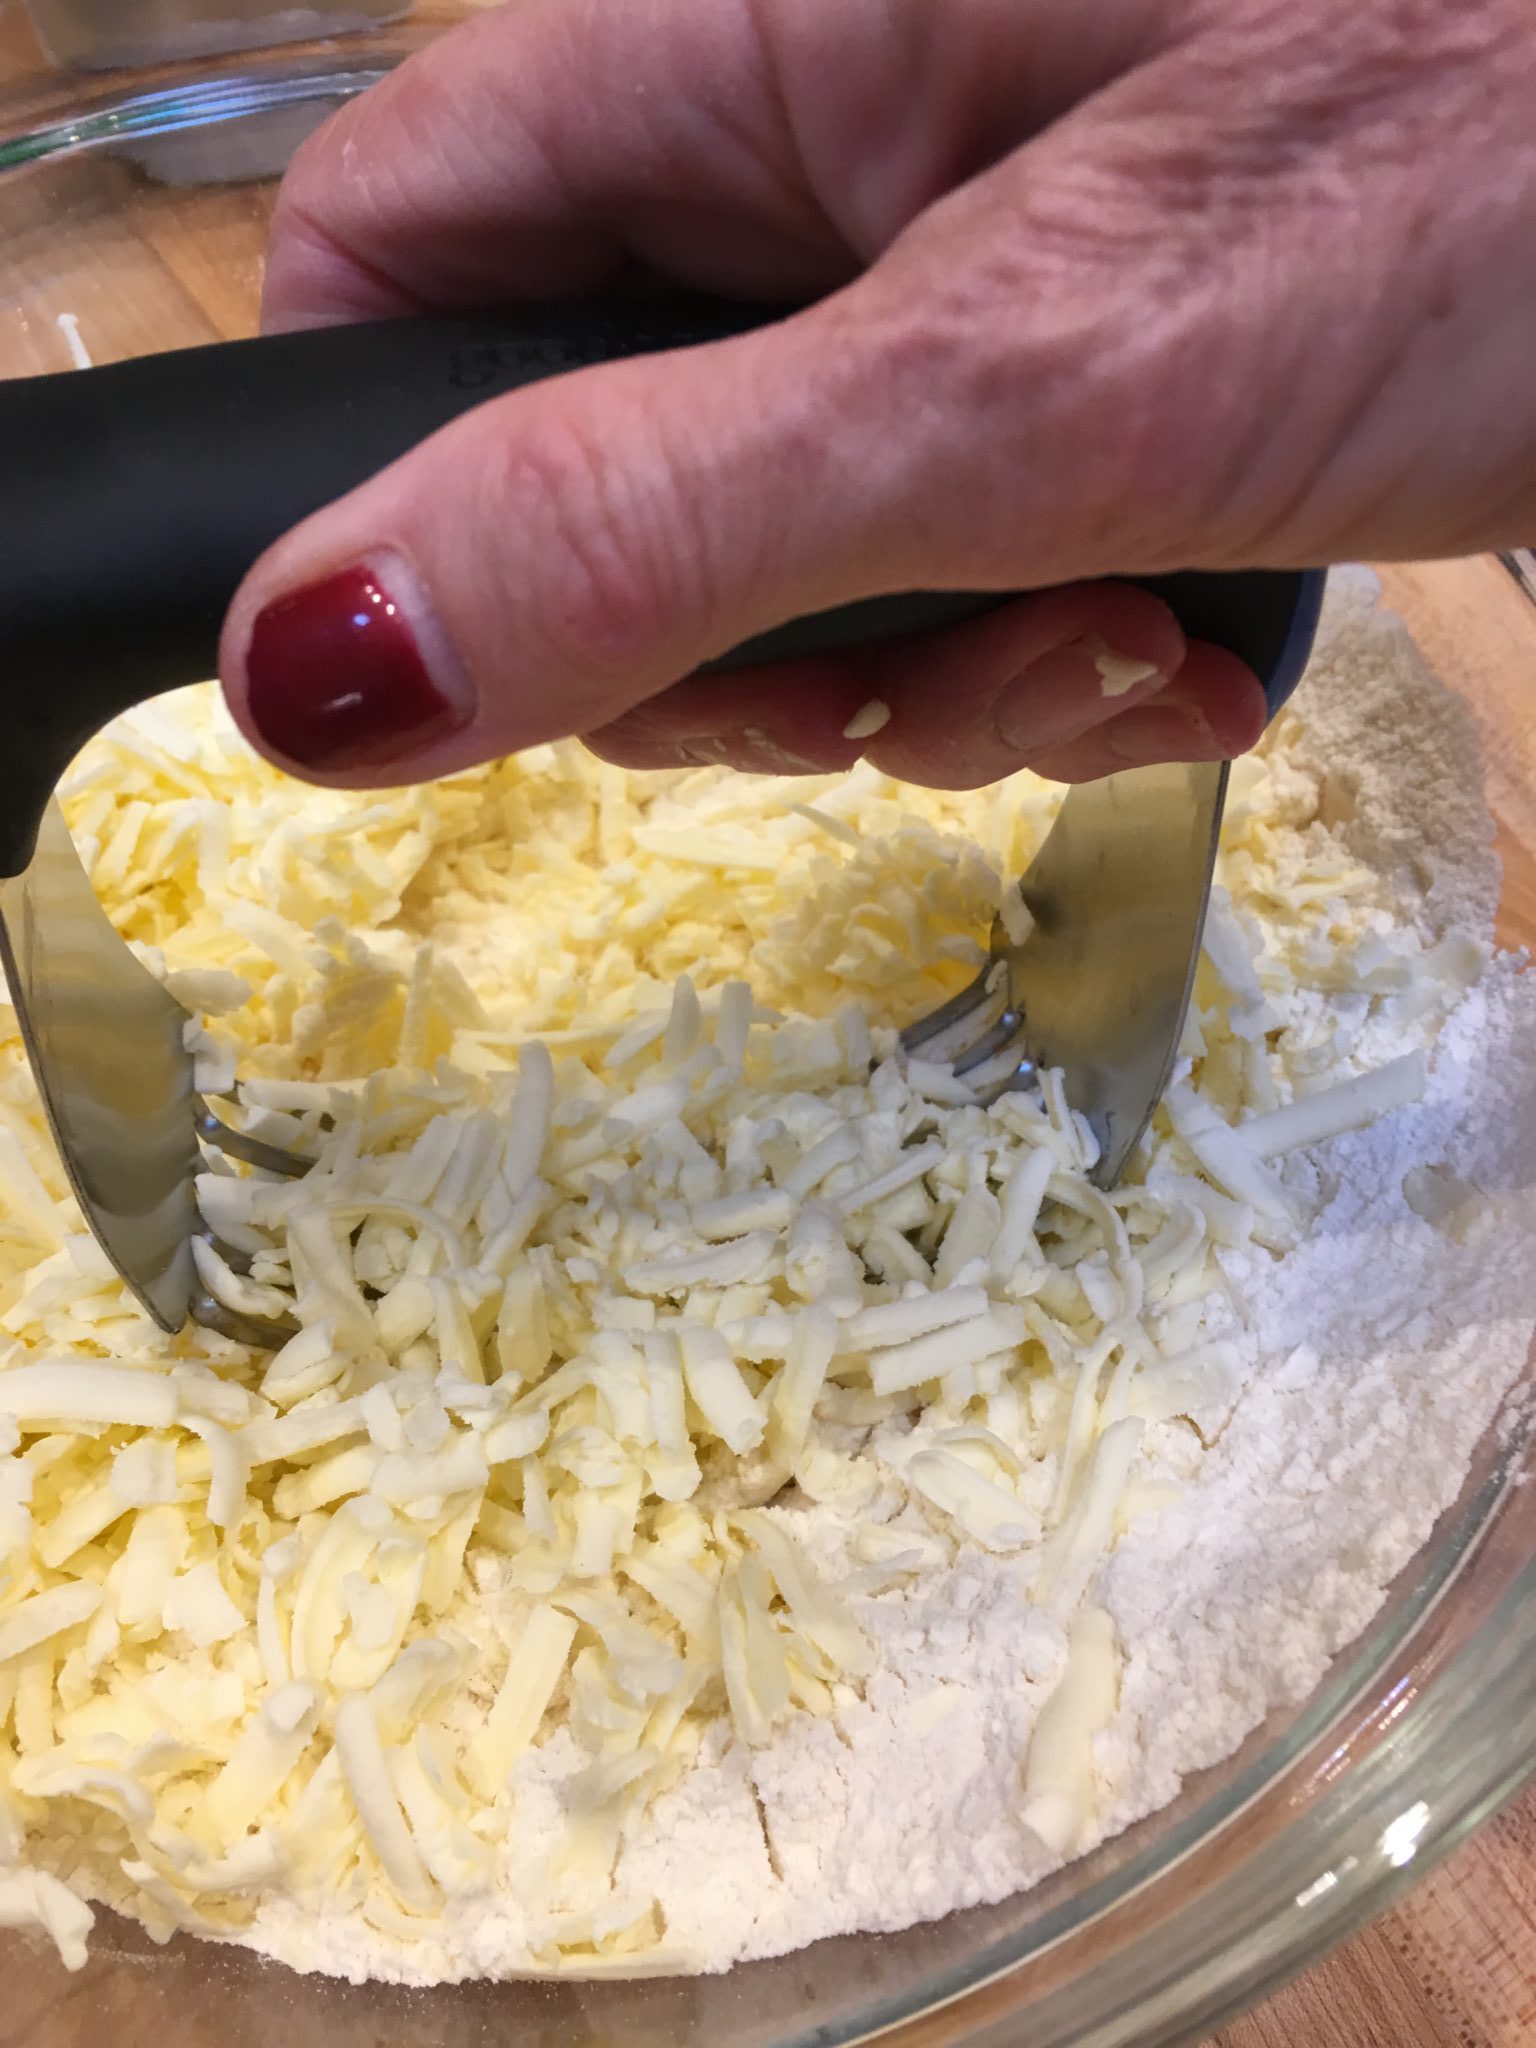
Use the blades to cut the butter into the flour
You want the butter and flour to mix together like coarse sand. Don’t worry if there are some bigger pieces, this will help make the pastry flake.
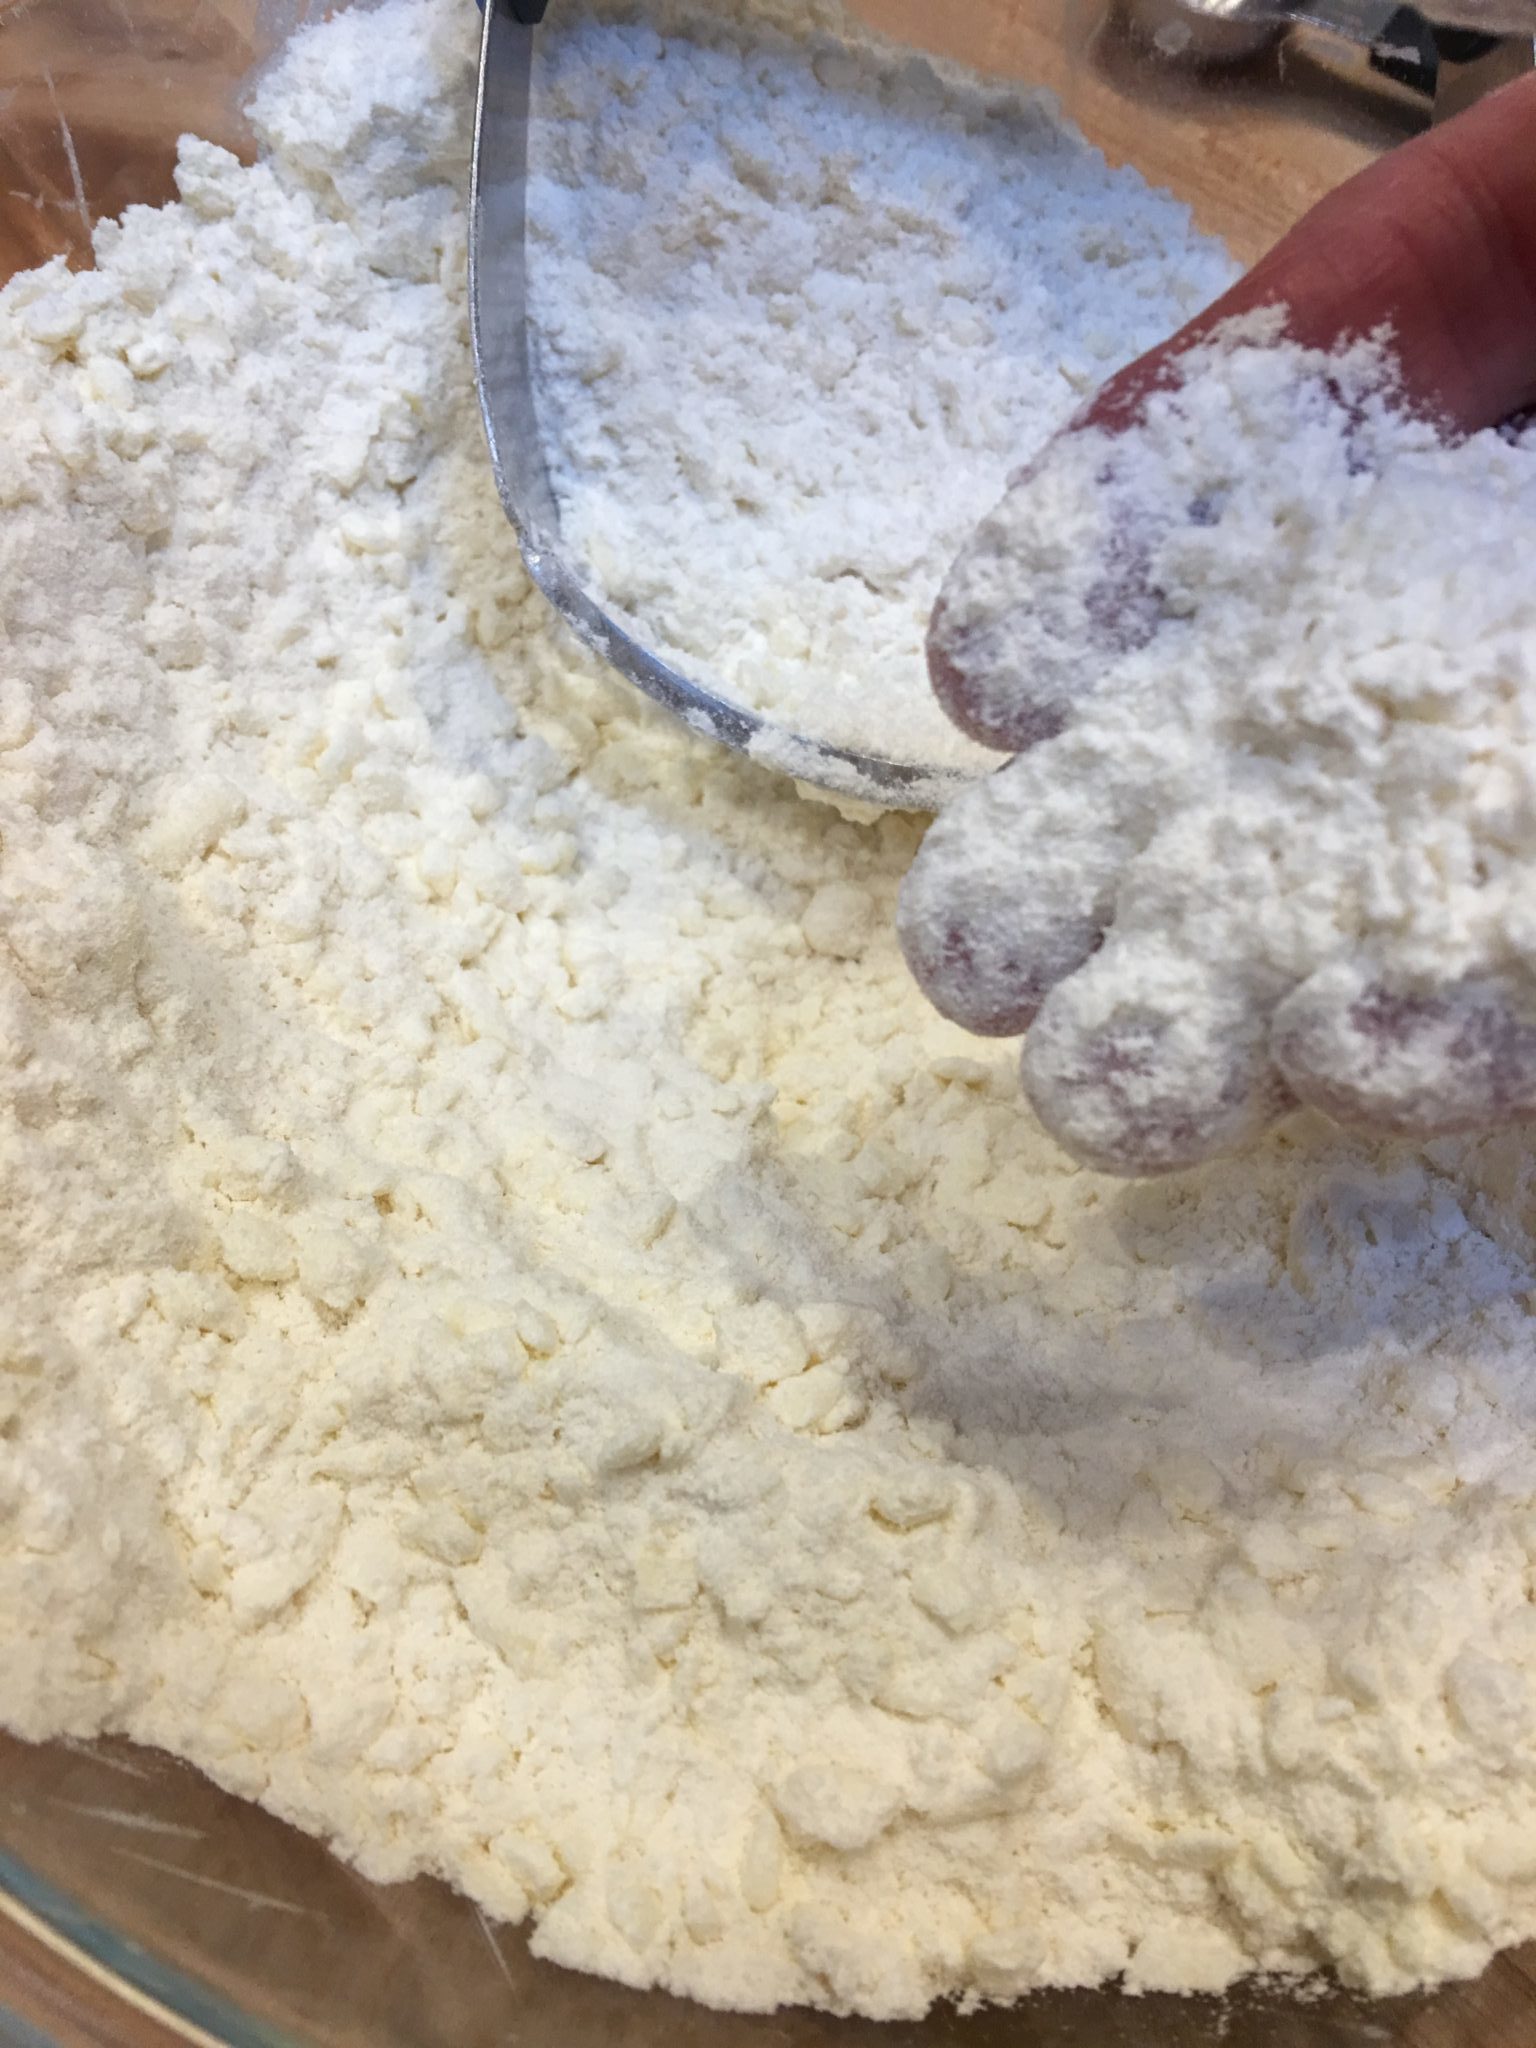
The flour and butter mixture will look like coarse sand. It is okay to have lumps of different sizes
Once the butter is cut in, add ice cold water a little bit at a time. The trick is to get just enough water to help the pastry come together in a ball, but no more than that. The water needs to be cold so the butter stays cold.
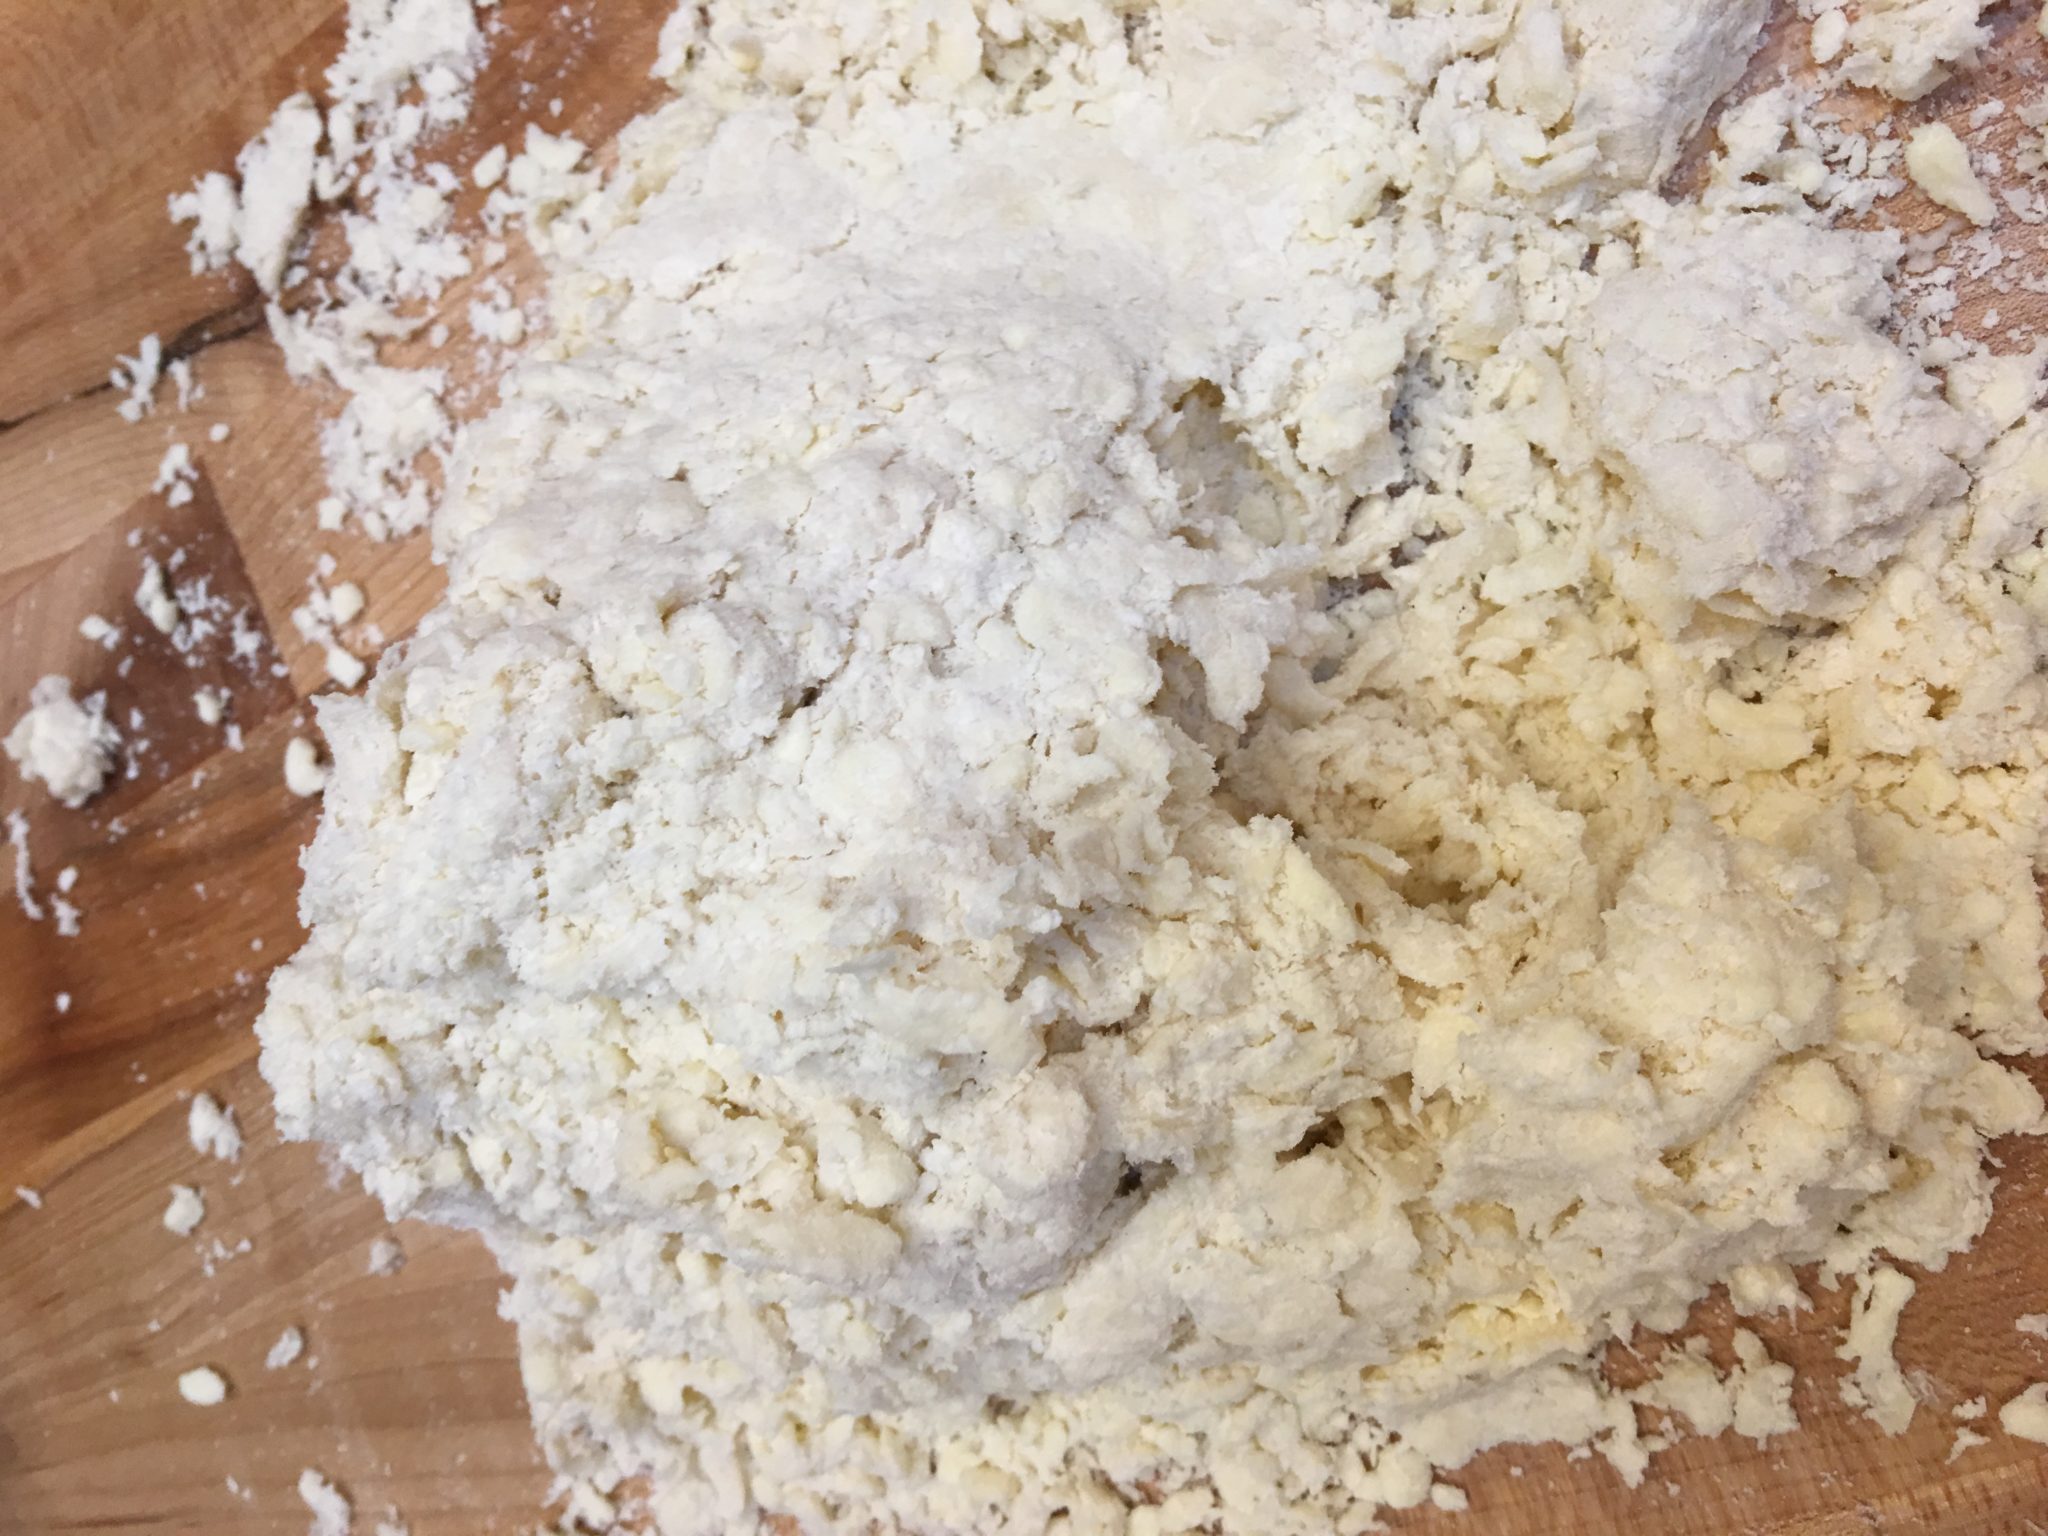
Slowly add water until the pastry comes together. Here it is just starting to stick.
Once it holds together, gather the pastry together into a ball, flatten it slightly and pop it into the refrigerator for at least an hour before you use it.
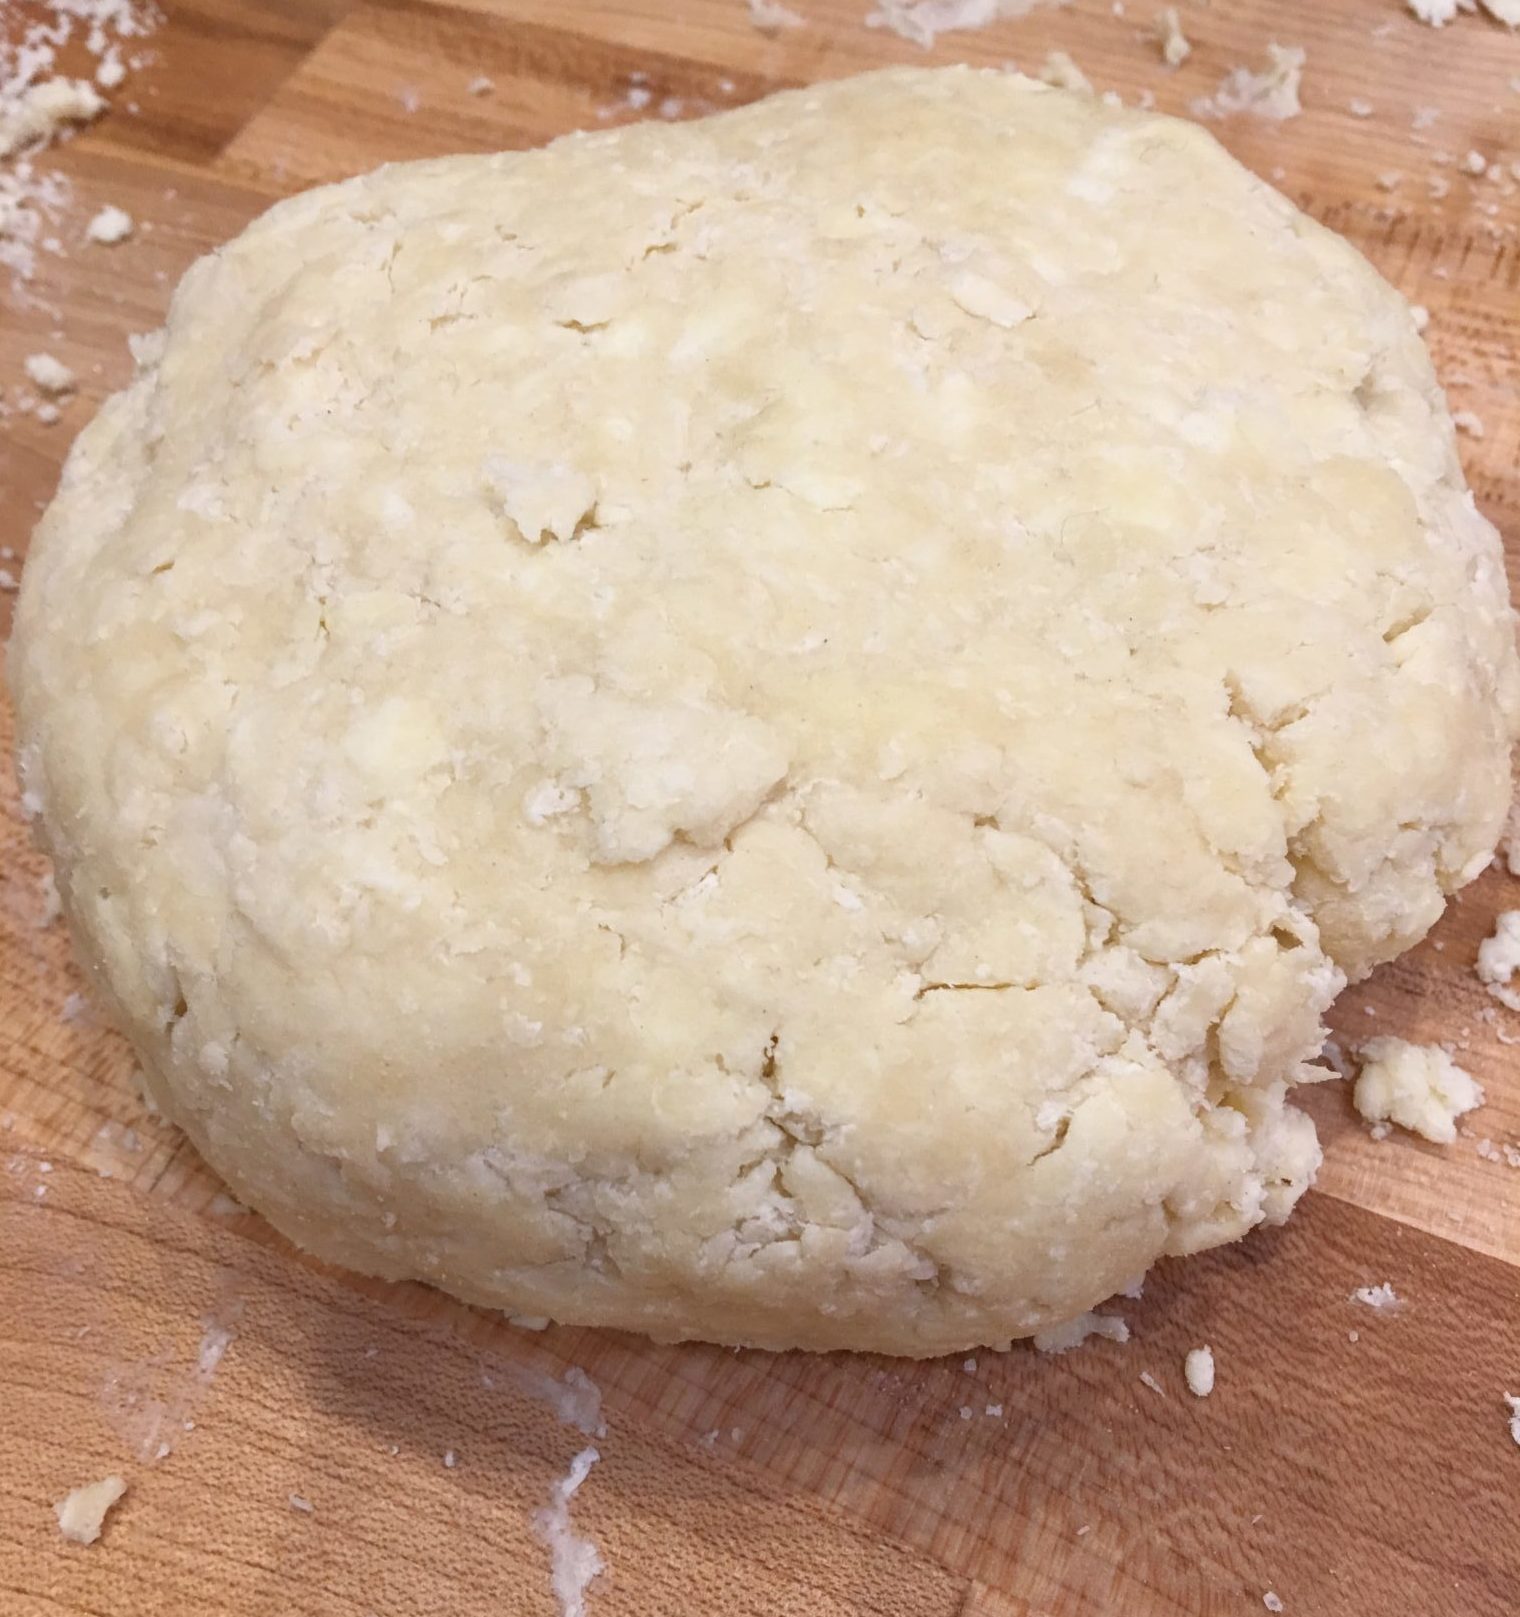
Just like with bread, the flour needs to rest and form gluten so the pastry isn’t heavy and dense. Try to handle the dough as little as possible. It doesn’t like being overworked. (Who does?)
I often make my pastry the day before. You can even make it and freeze it. It will stay good in the freezer for as long as three months. Defrost it in the refrigerator the night before you want to use it.
This is a pastry mat.

It is a non-stick mat which shows you the size of the circle you have rolled. Sometimes it has other information on it but that’s the important one. I only just bought one and now I ask myself why I waited so long! You don’t need to have it but it will make your life so much easier. Turn your pie tin upside down on the circles and add at least two inches to the size to know how big your circle needs to be. Flour the board mat lightly and you are good to go. (Added bonus: easy clean-up!).
This is a rolling pin.
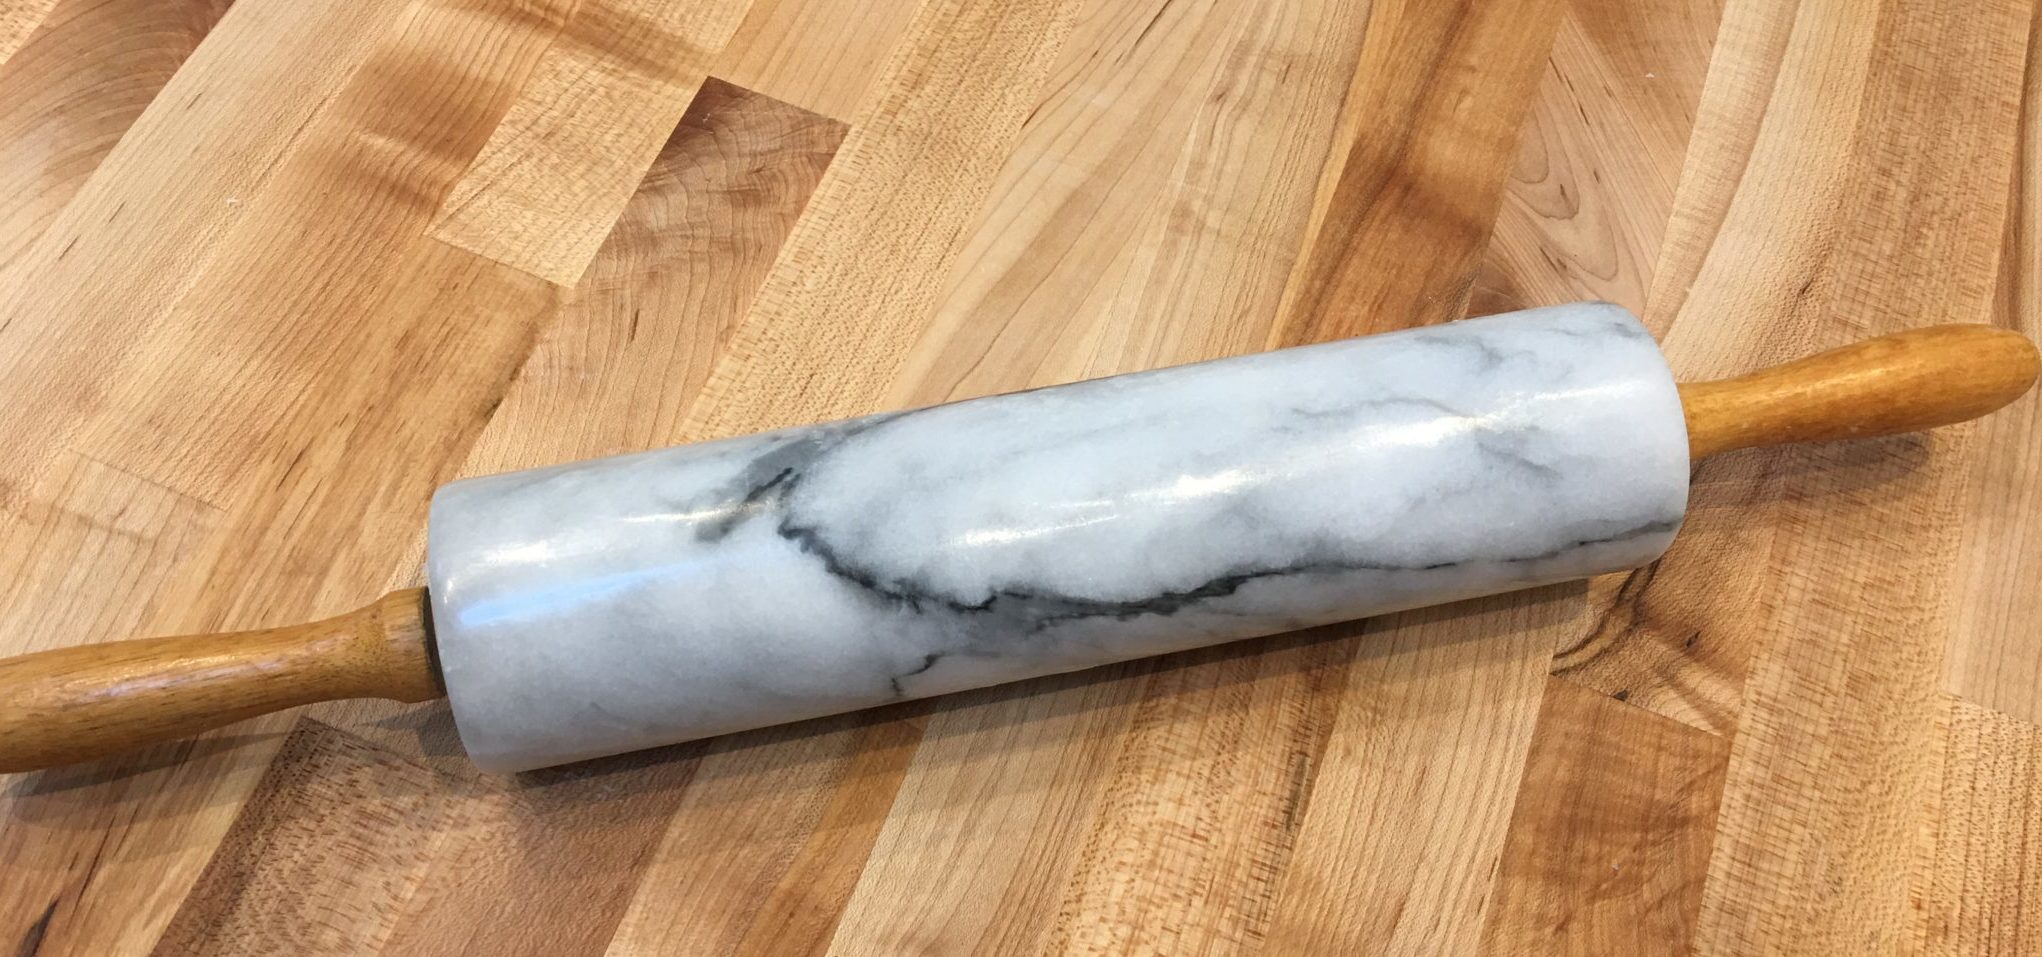
They come in a great variety of materials and sizes. I like this marble one because it’s a good weight. The heaviness of the marble makes rolling out cold pastry easier. But if you don’t have a rolling pin you can make do with a wine bottle!
Take the pastry out of the refrigerator about 15 minutes before you want to roll it out. This will allow it to soften (just a little) before you roll it. This is a good time to preheat your oven and start preparing your fruit.
The most important thing about this short crust pastry is not to roll it and re-roll it. Every time you do that you flatten out the butter pockets and blends them more into the flour. This will make your pastry tough. But don’t stress about this too much. It will still be good even if you make a mistake and re-roll it.
Place the pastry in the center of the circle (or on your counter) and roll it out, turning the pastry a quarter turn after each roll. Add flour as needed but sparingly!
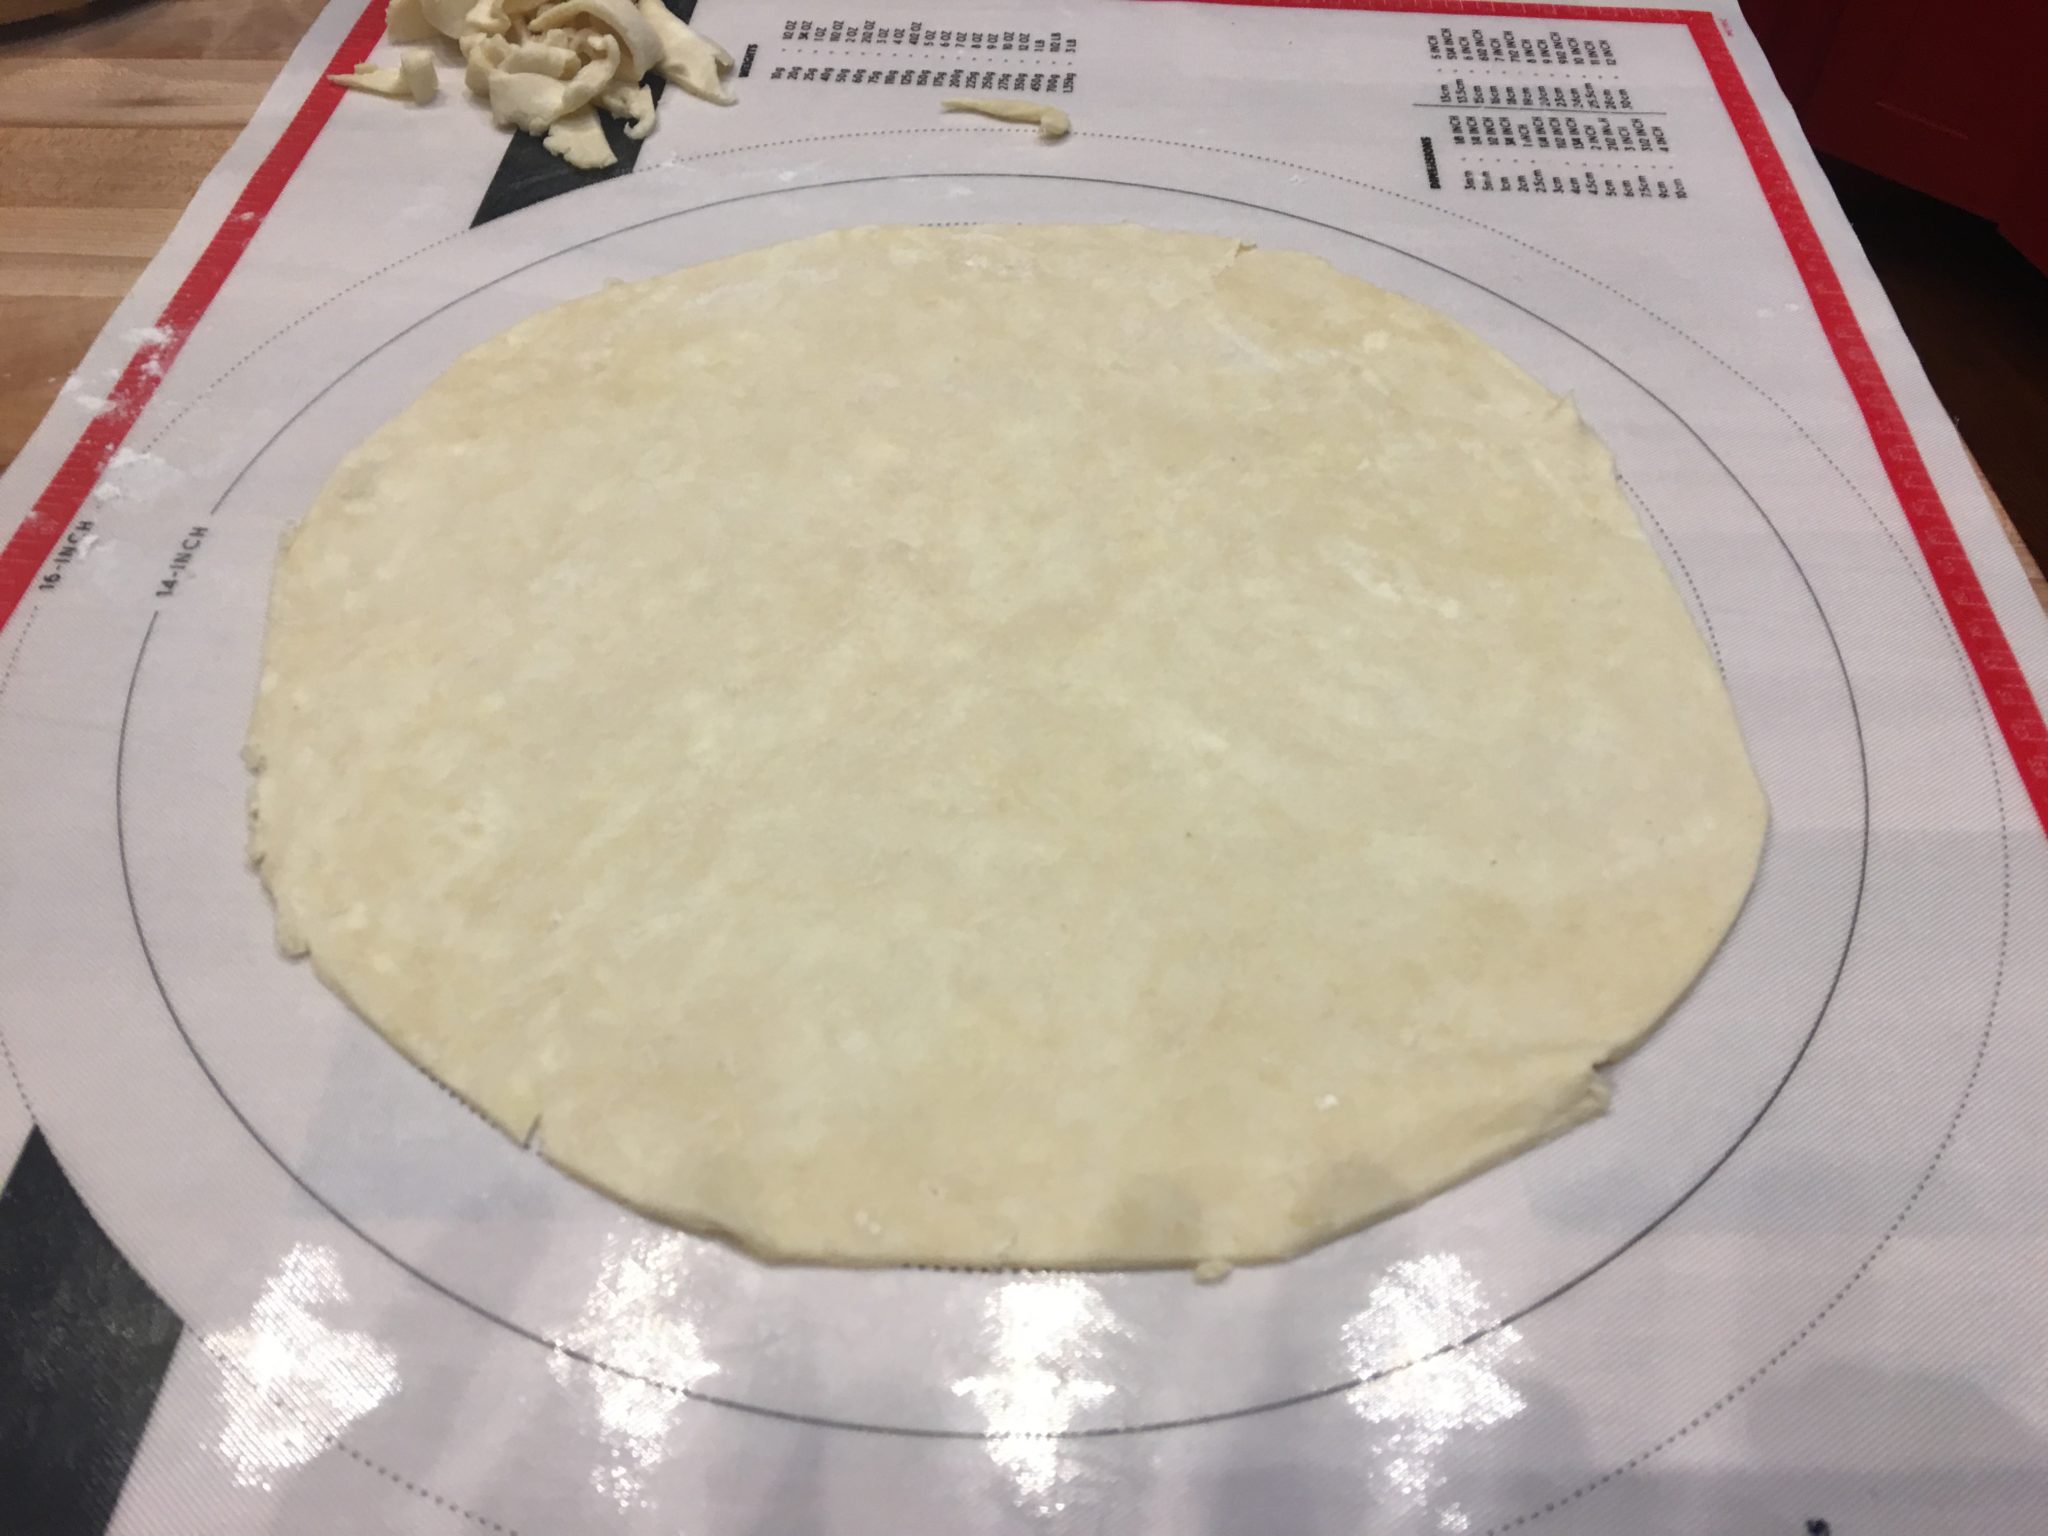
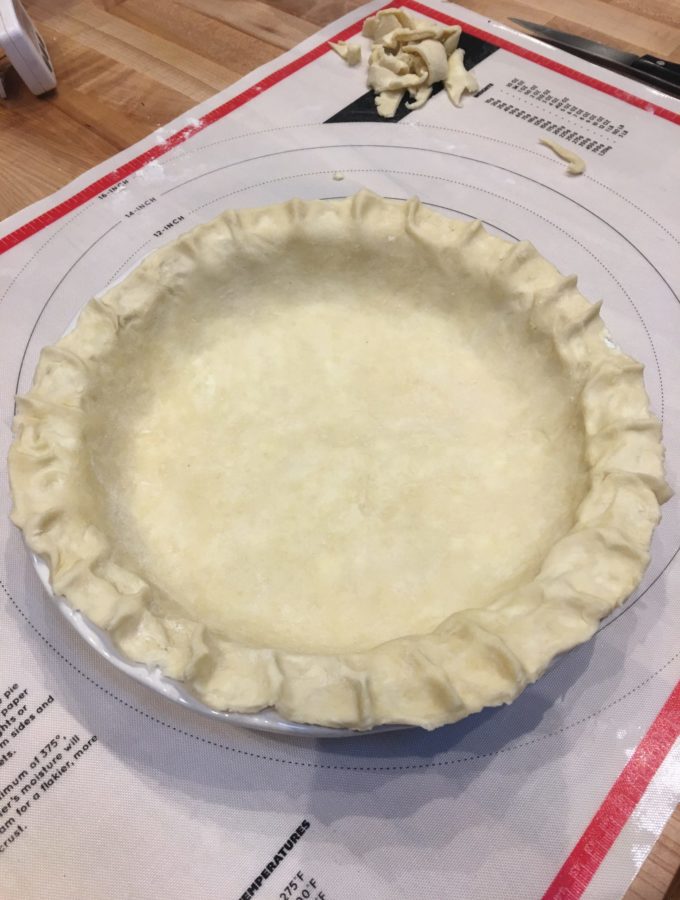
Once the pastry has reached the right size, trim it and place it in the pie tin. You will see people use their rolling pin to center it over the pie tin. I find it easier and less likely to tear the pastry to just pick it up.
Shape the edges (for a single crust pie) or leave some hanging over the side (for a double crust pie).
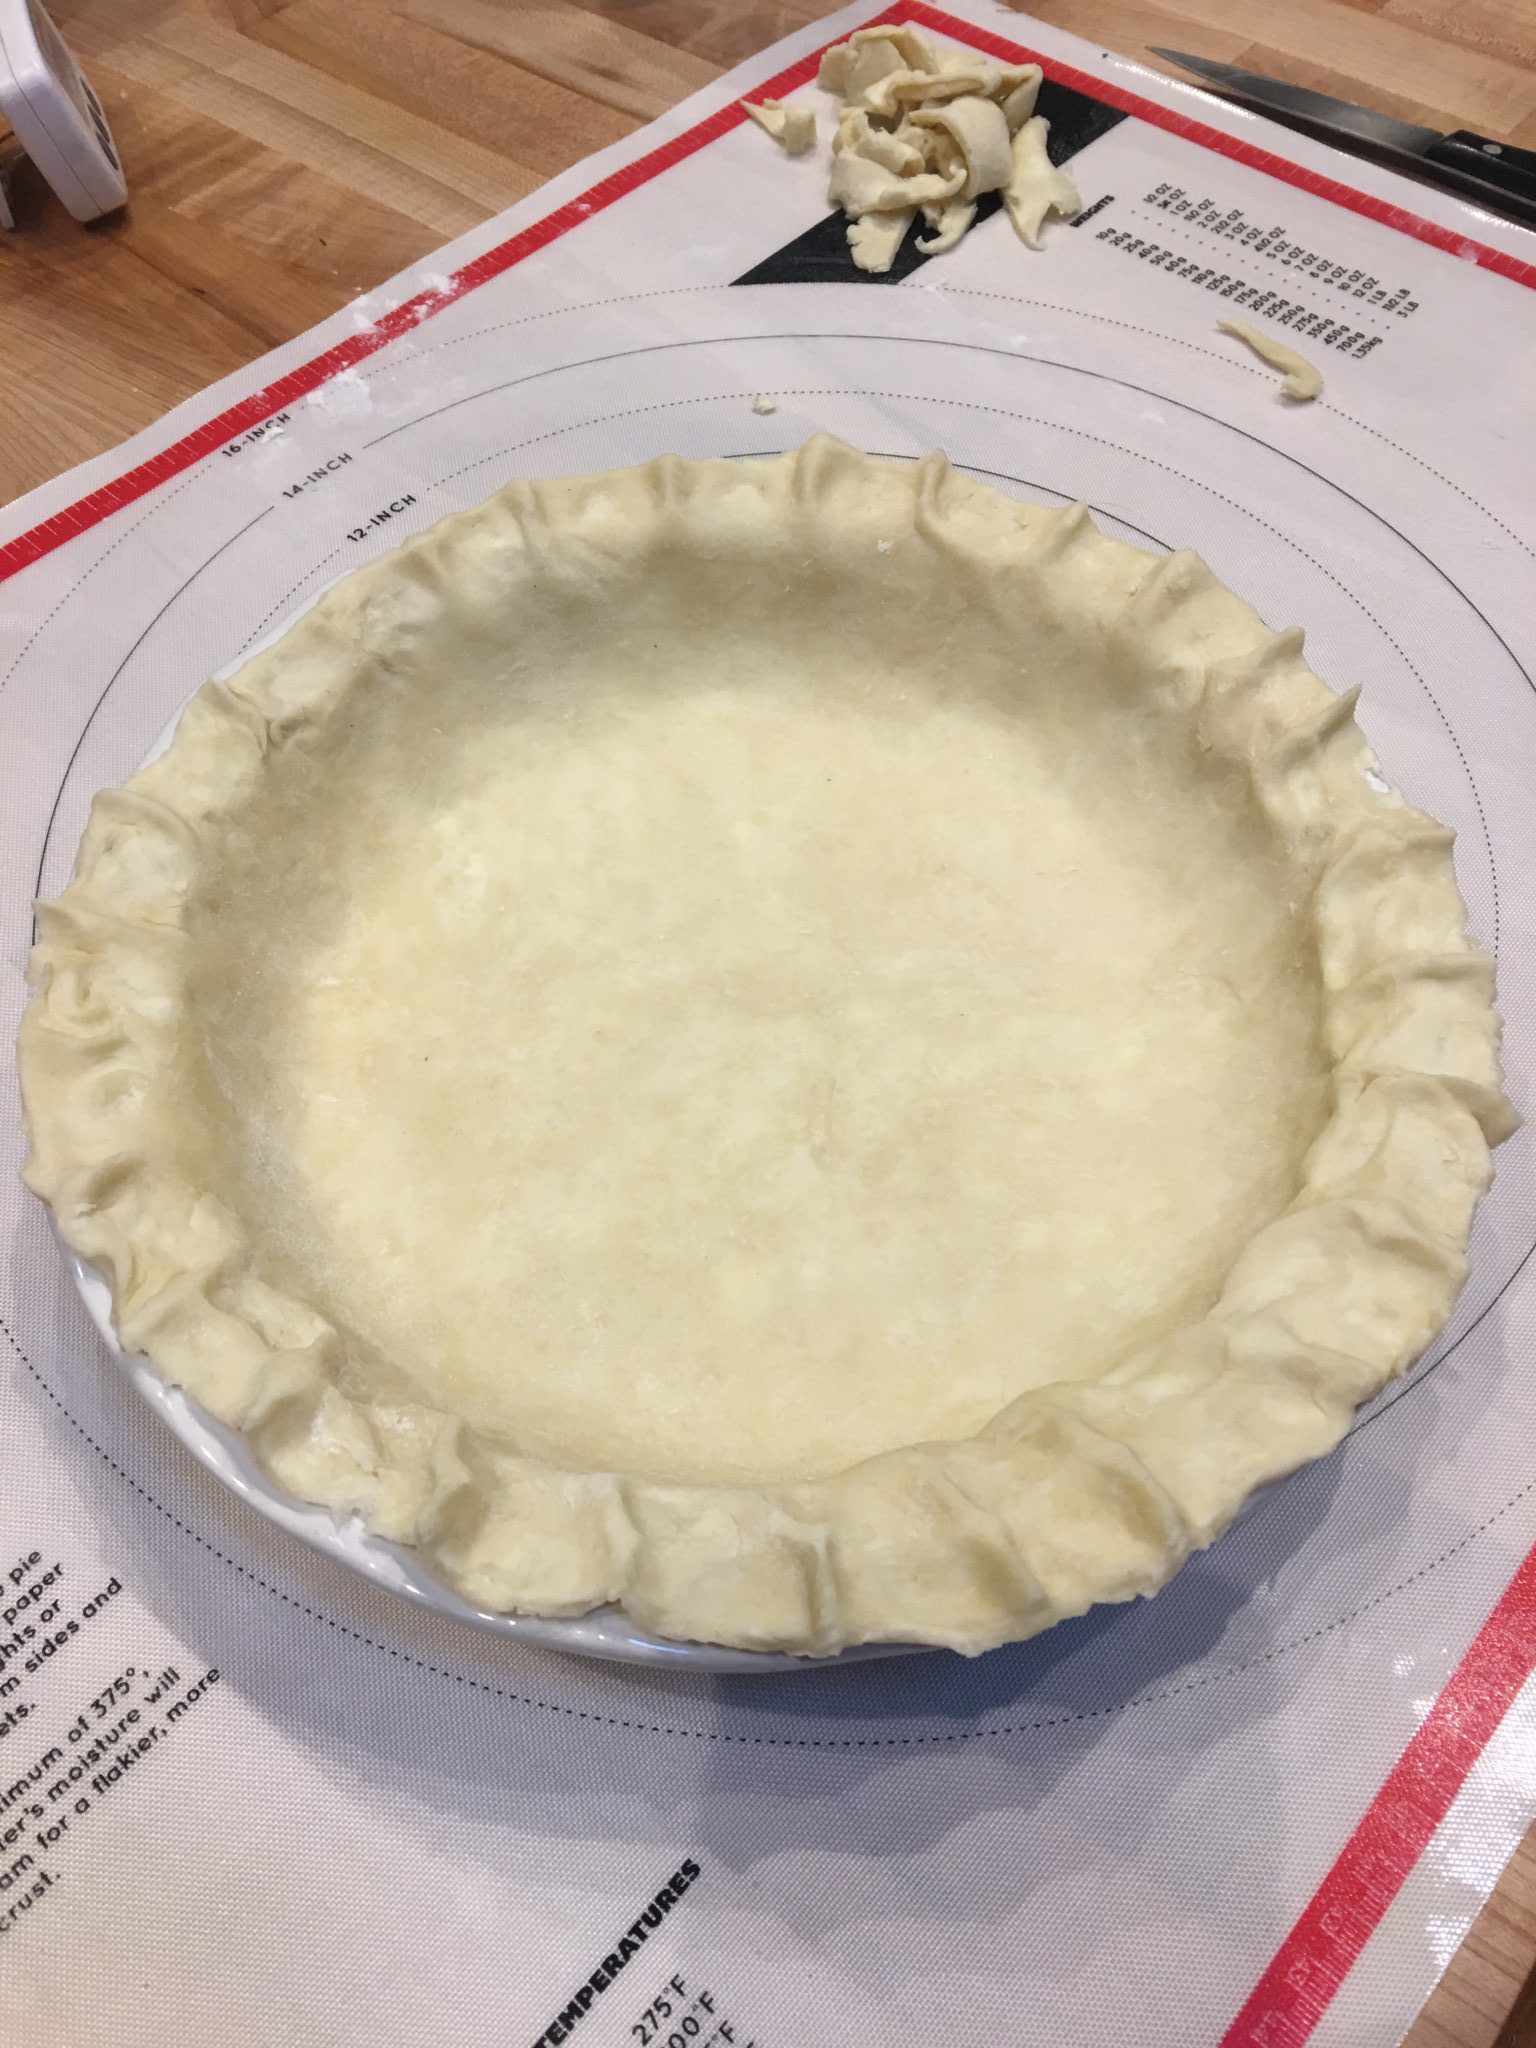
For a single crust pie, put the unfilled pie crust in the freezer for 15 minutes. If you are making a double crust pie, add the filling, top it with the second crust and freeze for 15 minutes.
It is important to let the pastry rest and the cold will help it keep its shape once it goes in the oven. I have a terrible time with my single crust pies. The pastry always seems to shrink down into the pie and by the time I take it out the edge is gone. I read that the more you stretch the pie crust the more it will seek to stretch back. (As if that helps!). It’s a work in progress.
While the pastry is resting you can prepare your filling and use the trimmings of the pastry to roll out any special shapes or decorations which you are going to use.
When it is ready, fill the pie, decorate it and brush it with an egg wash to help it color.
Be proud!
SHORTCRUST PIE PASTRY
Ingredients
- 2 ½ cups flour
- 1 tsp salt
- 1 tbsp sugar
- 1 cup 2 sticks butter
- ¼ - ½ cup ice cold water
Instructions
- In a large bowl mix the flour, sugar and salt together.
- Grate the butter (or cut into small pieces) and place in freezer for 10-15 minutes.
- Add the cold butter to the flour mixture and, using a pastry blender or two knives, cut the butter into the flour until it looks like coarse sand.
- Add the ice water a little at a time until the pastry holds together in a ball.
- Flatten the ball of pastry a bit, wrap in it plastic wrap, and let it rest in the refrigerator for at least an hour.
Recipe Notes
Pastry will be good in the refrigerator for up to five days. It can be frozen for as long as three months. Defrost in the refrigerator overnight and proceed as above.




[…] You will need a double pie crust. (For instructions and the recipe please go to All About Pie: The Pastry). […]