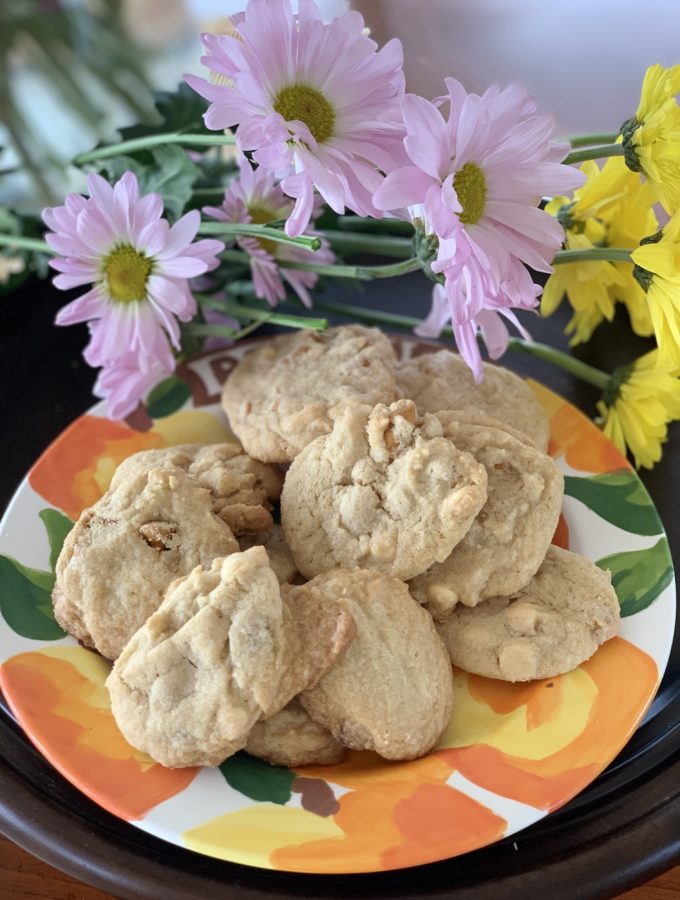
I never thought I would be baking gluten-free cookies. But here it is, a plate full of White Chocolate and Butterscotch Chip Cookies, gluten-free.
How did this come about? At the Carolina Bed & Breakfast it was not uncommon for people to specify a gluten-free diet when they came to visit. We were happy to accommodate them with some of the amazing gluten-free baked goods made by specialty bakers here in Asheville. I could have made them myself, and I did look at some gluten-free recipes, but the range of ingredients needed to make a decent substitute for wheat flour was daunting especially when someone else could do it easier and just as well for me.
I am not cooking for the B&B anymore. I am not churning out cookies, cakes and other baked treats on a daily basis. But I have a friend who recently discovered that he has a gluten sensitivity. He follows this blog and wishes he could try the things I make. So I decided it was time to make a foray into the world of gluten-free baking.
The first thing I discovered is that there are lot of opinions about gluten-free flour substitutes. And there are a LOT of good blogs written for the gluten-free baker from people who have put a lot of time and effort into discovering the ins and outs of GF baking. This blog post is none of those things.
This is just about a plate of cookies made from a readily available commercial gluten-free all purpose flour blend. Most flour producers now have such a product. King Arthur Flour, Bob’s Red Mill and Pillsbury are some of the better known companies which produce a gluten-free all purpose flour. I used Pillsbury’s because that was what I found at my local grocers.
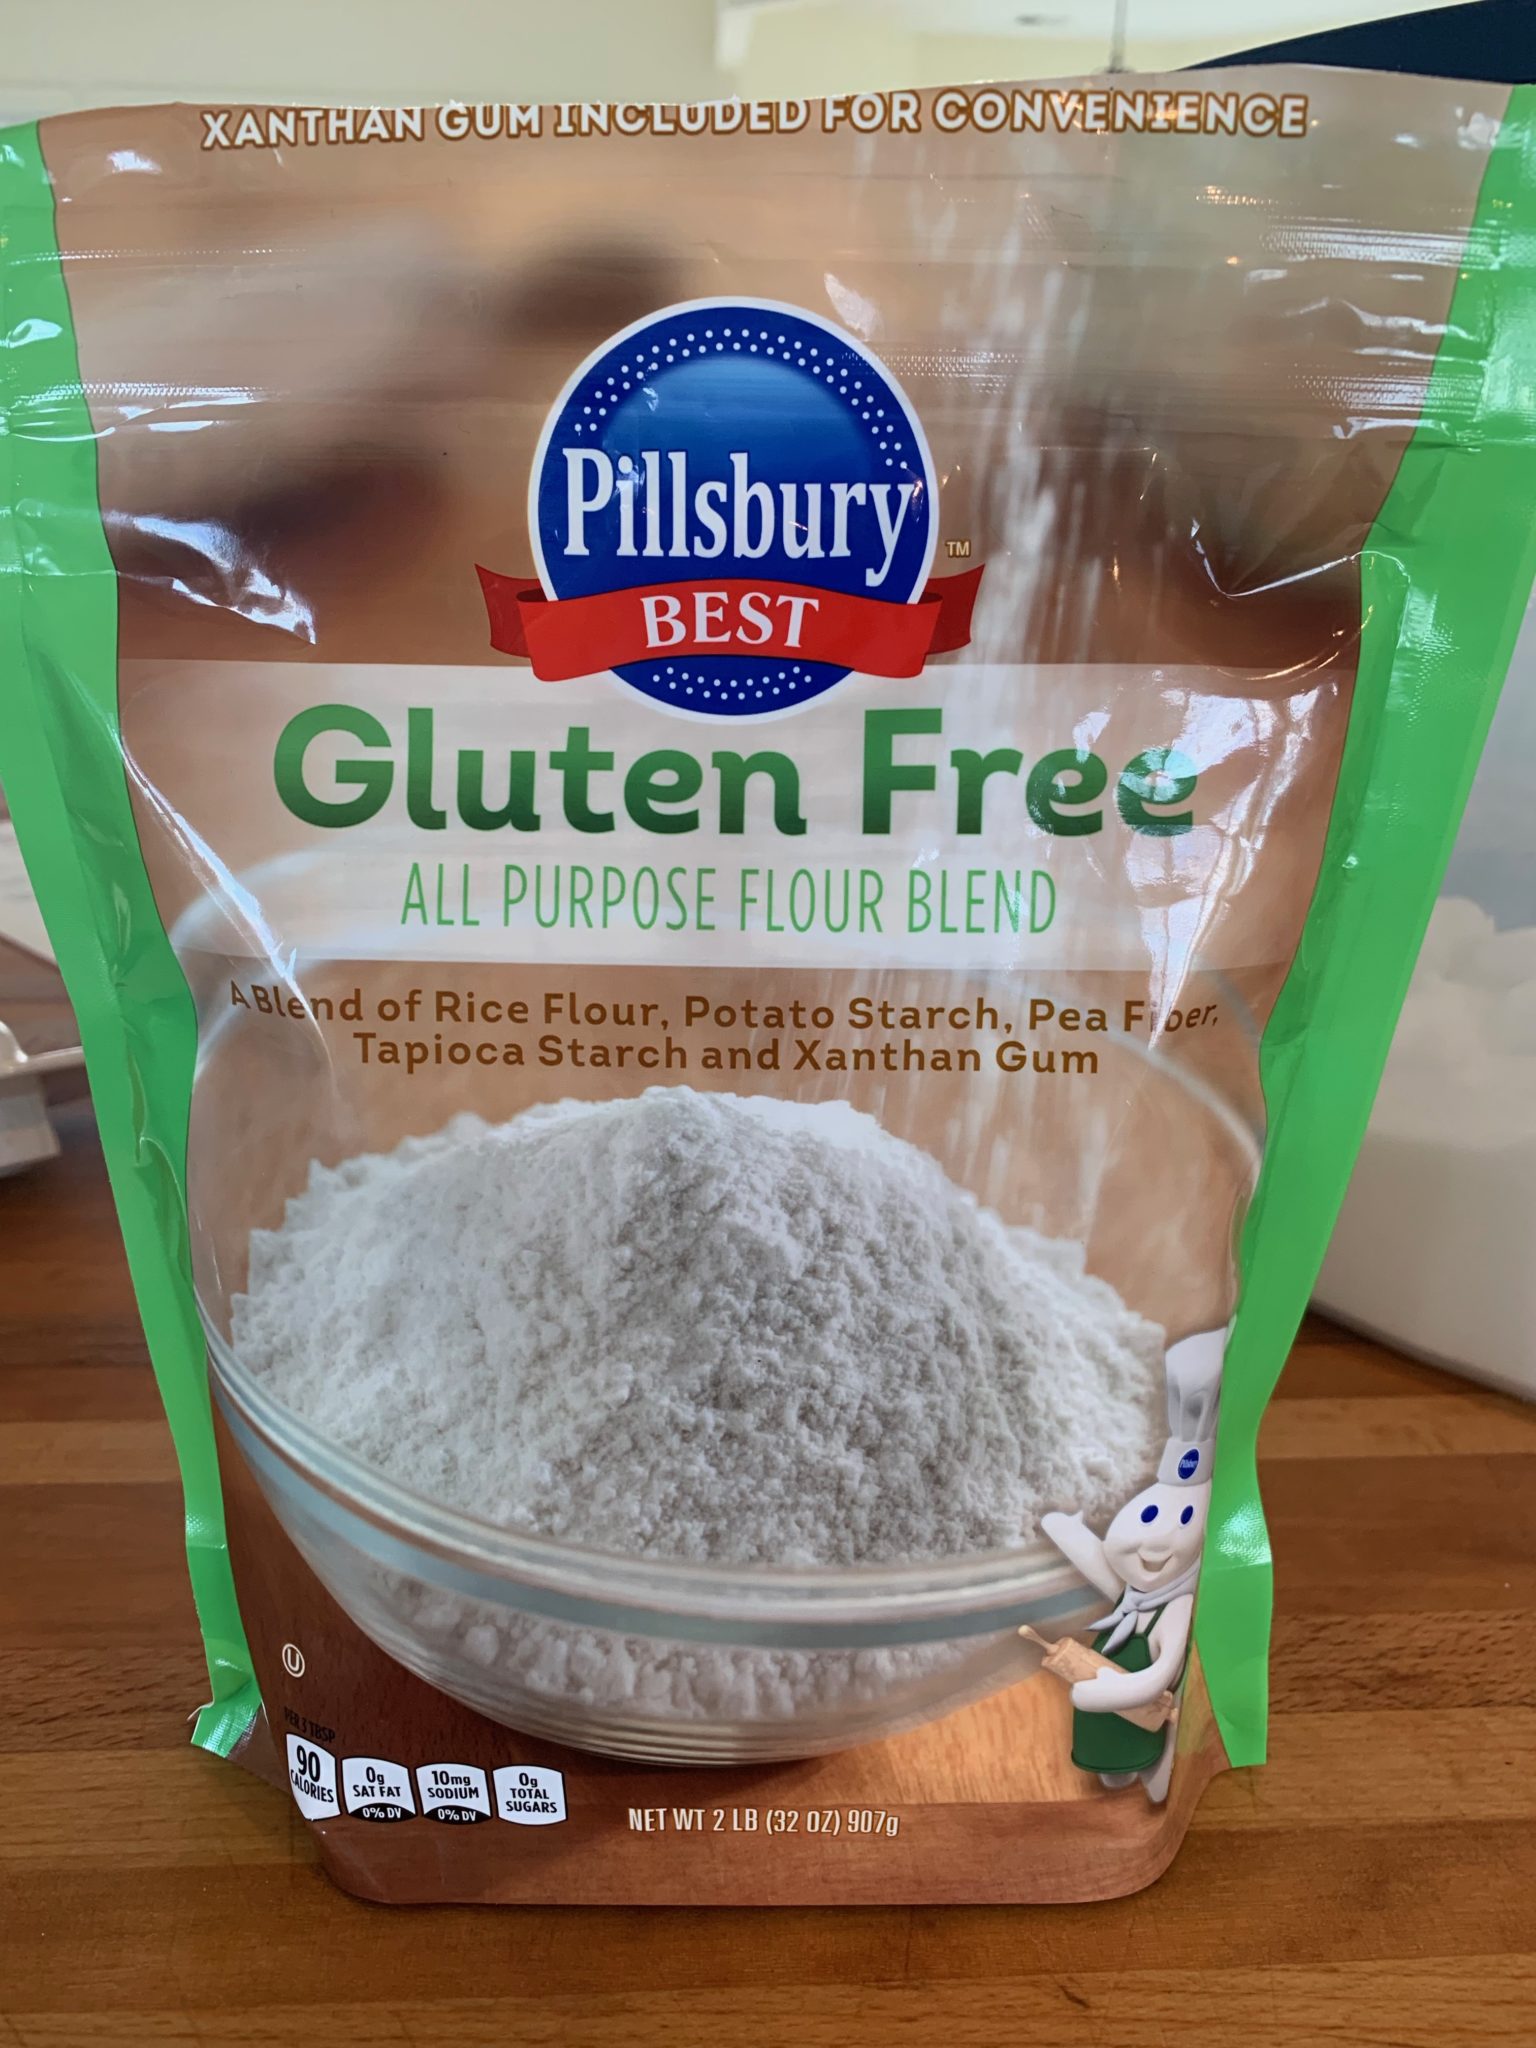
When I got it home I did a little comparison of the two flours.
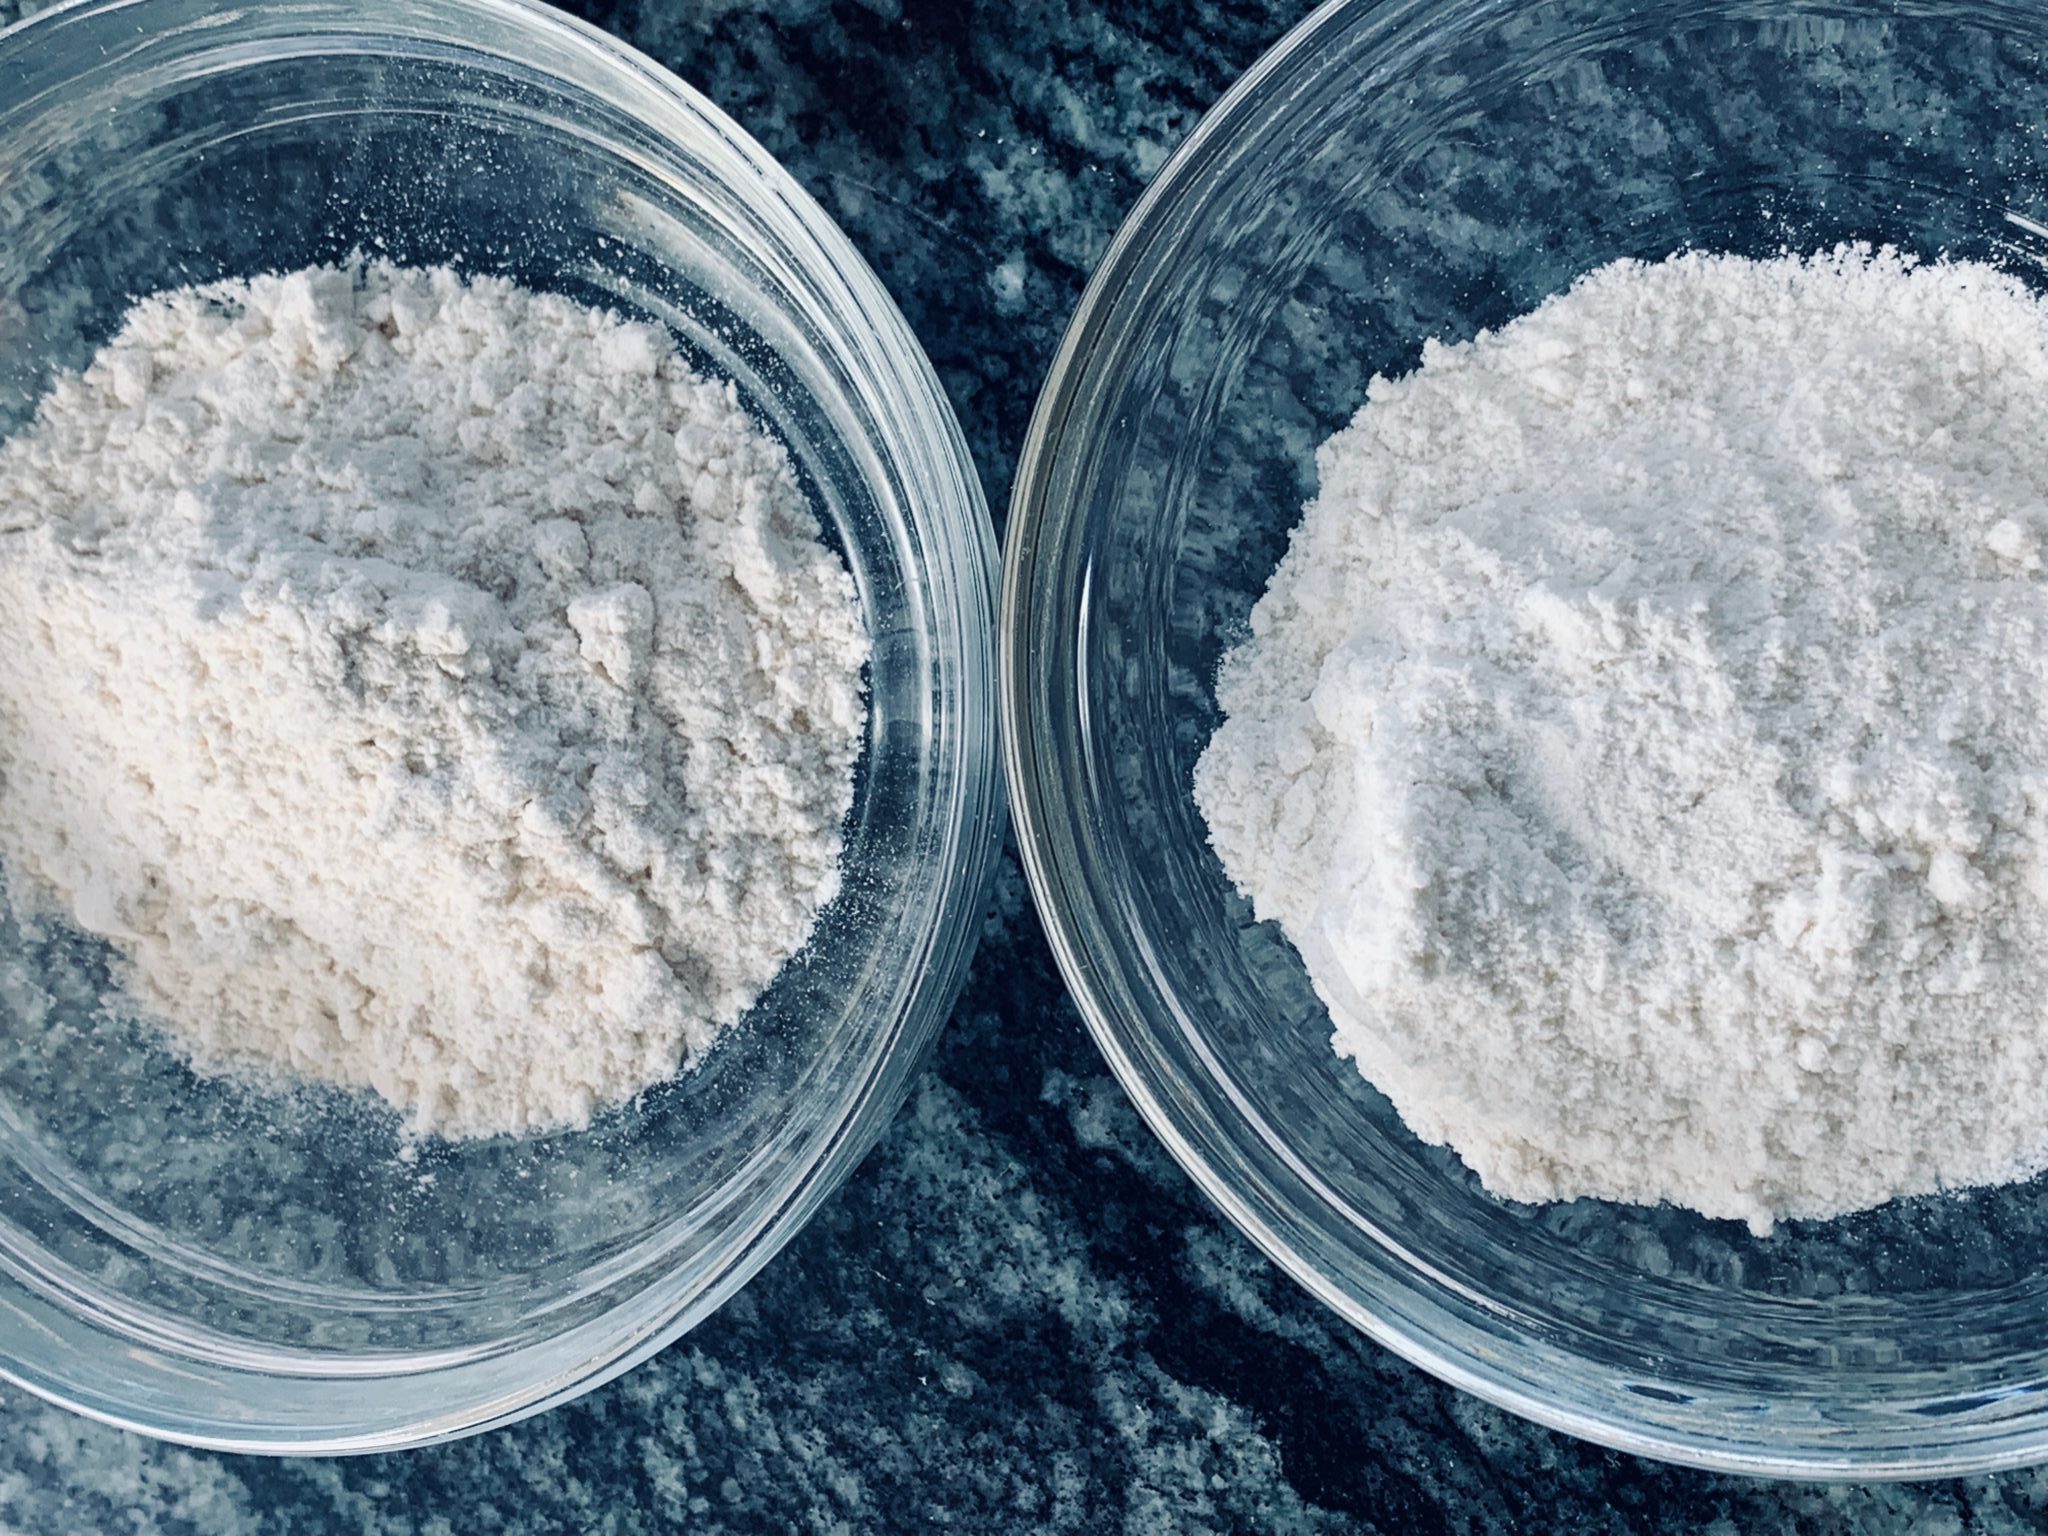
Comparing flour: Wheat flour on the left, gluten-free flour on the right
The first thing I discovered is that, appearances to the contrary, gluten-free flour is heavier than wheat flour. A half cup of GF flour weighs 3 oz. A half cup of wheat flour weighs 2.3 oz. I think my perception of it being the other way around is due to differences in texture.
To the touch, the gluten-free version feels grainy while the wheat flour is powdery.
As to flavor, wheat flour is pretty neutral while gluten-free flour has a distinct flavor. This flavor is determined by the grains used in making the GF blend. In the case of the Pillsbury flour I used, the flavor was a little nutty.
The flours are supposed to be substituted on a one-to-one basis.
I adapted my Murray Cookie recipe, leaving out the oatmeal and adding a little butter for flavor. I was out of chocolate chips so I used some white chocolate ones I had in my cupboard. (They are probably even better with chocolate chips!)
From that point forward it was pretty much smooth sailing.
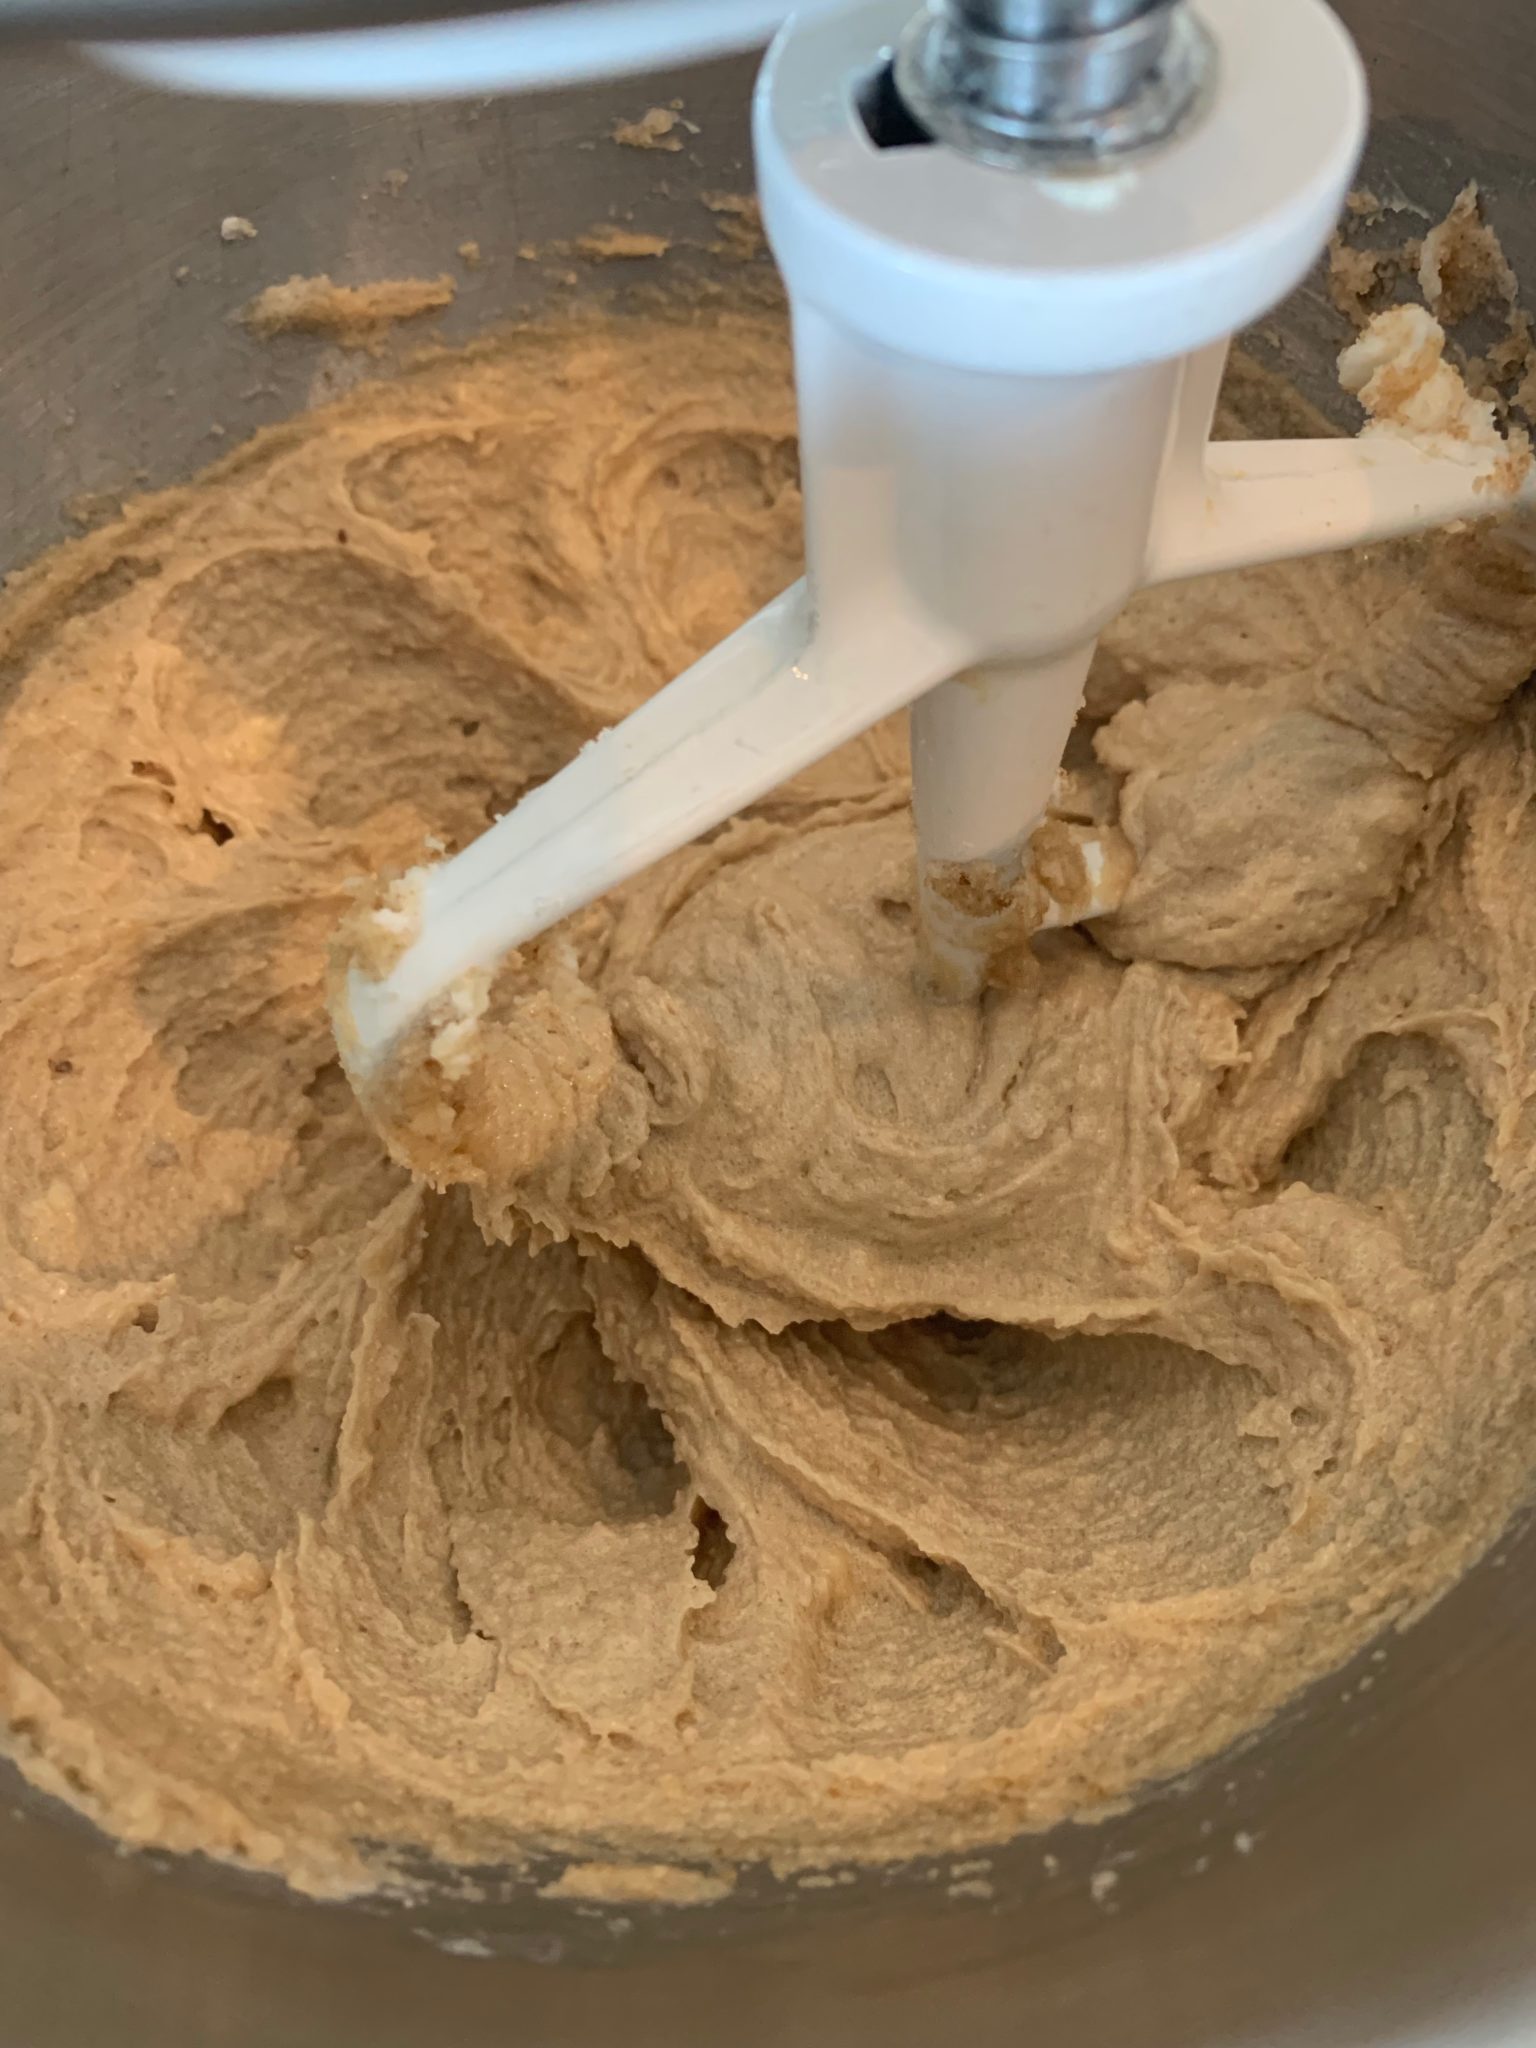
Cream the fats and sugars, add the eggs and vanilla.
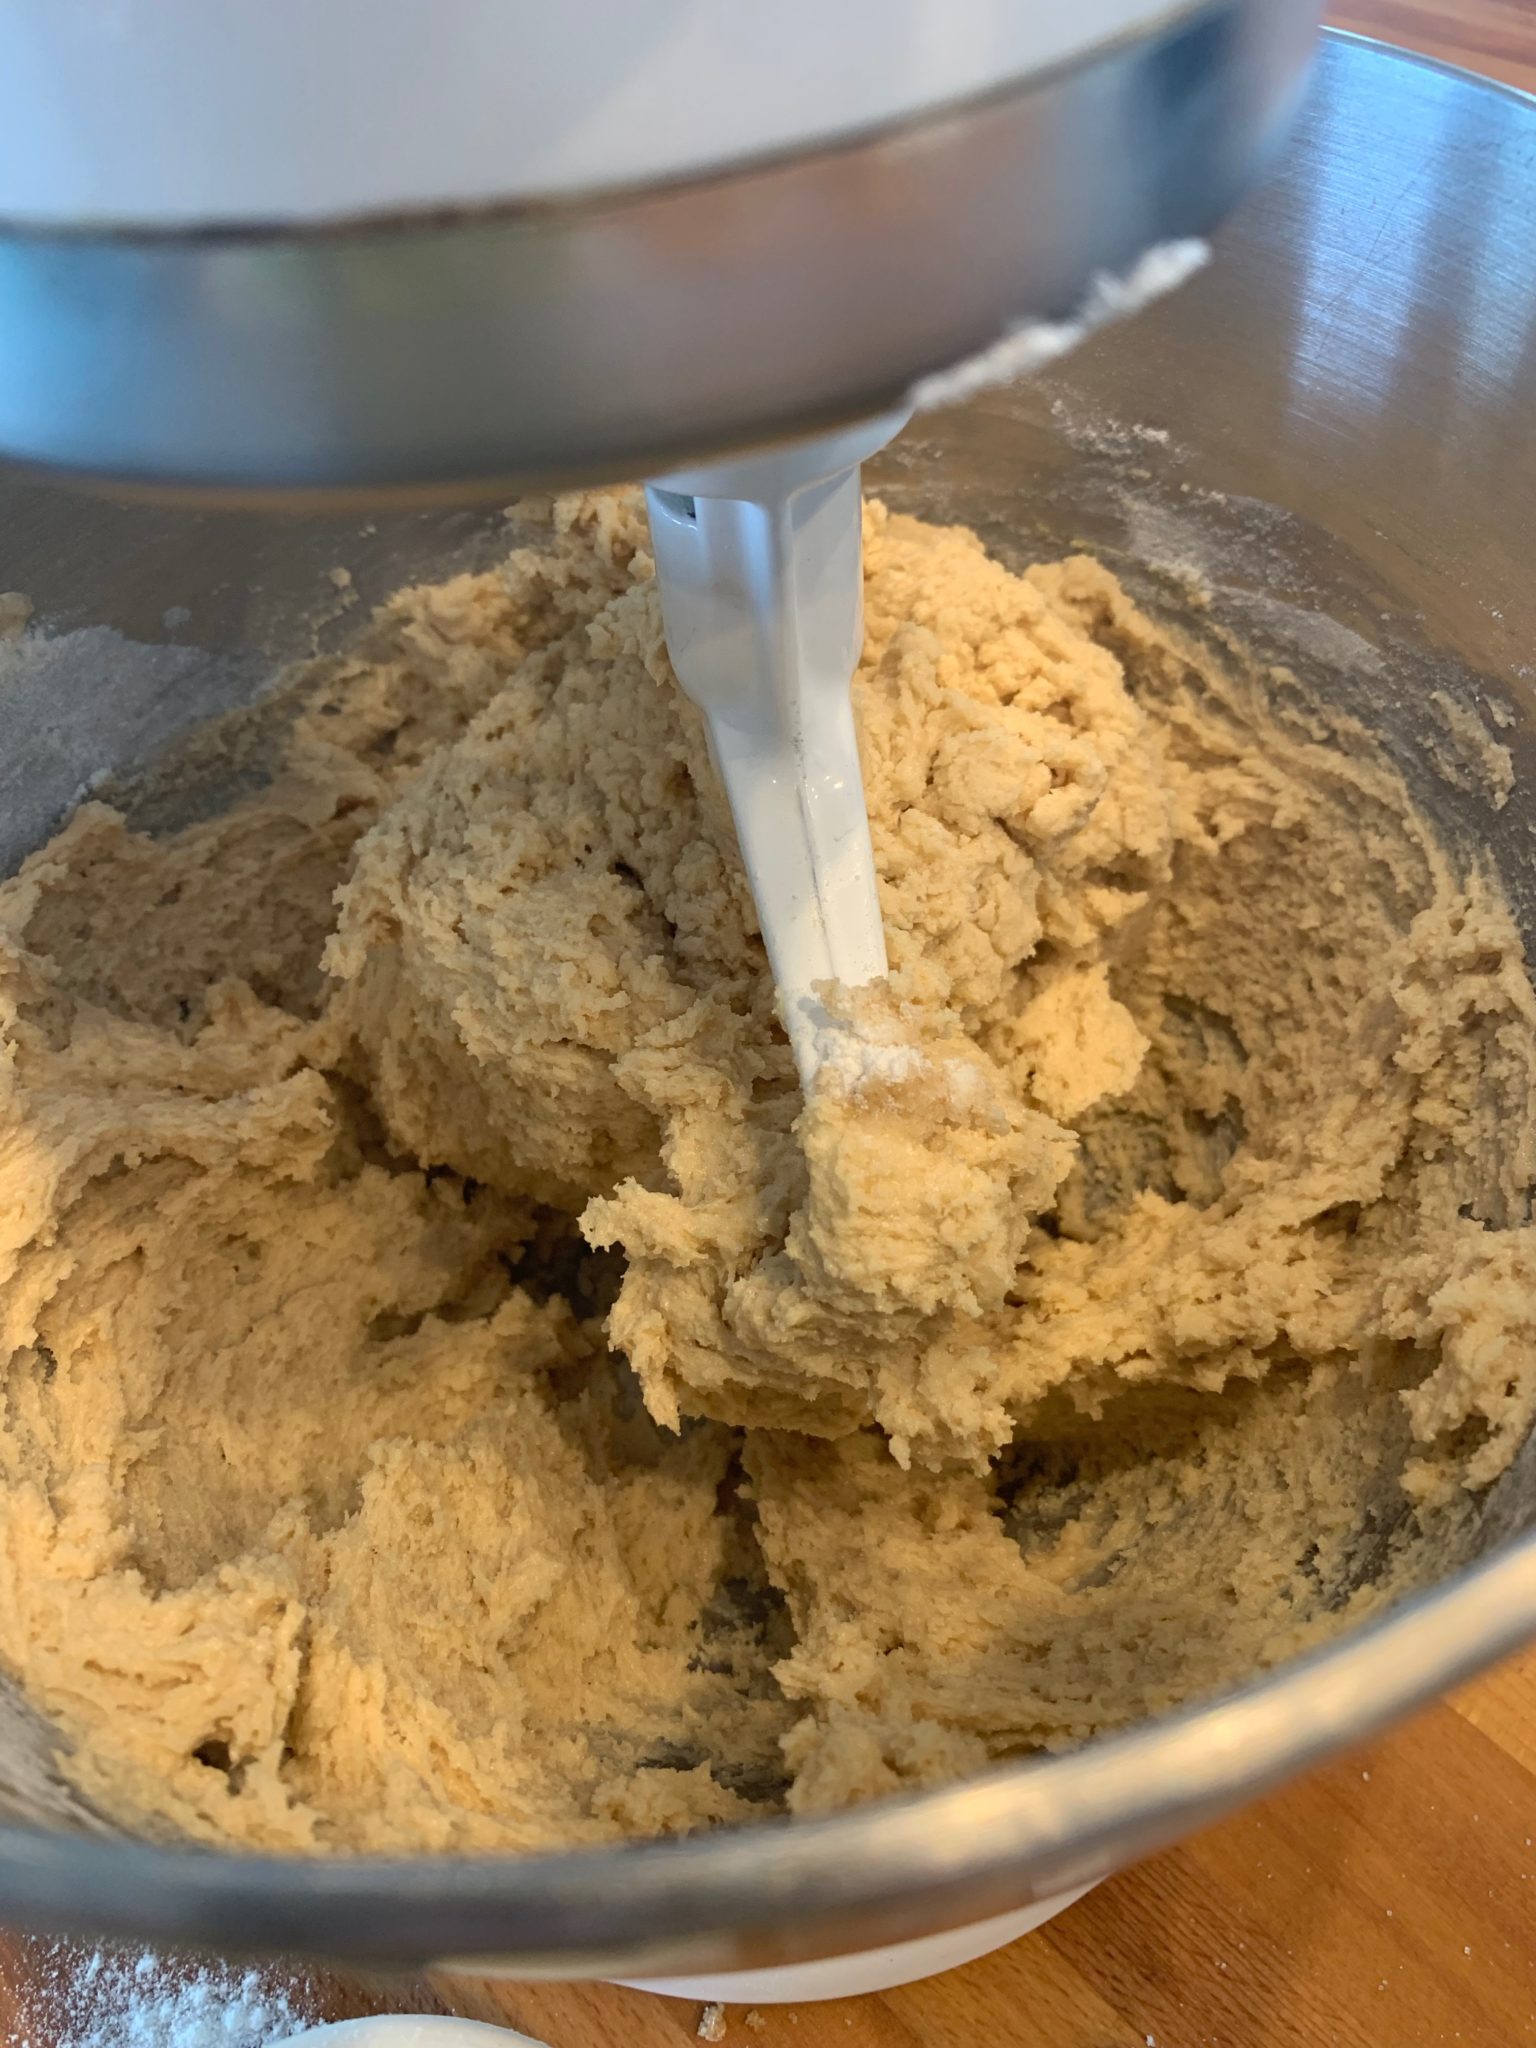
Stir in the flour and chips
and bake.
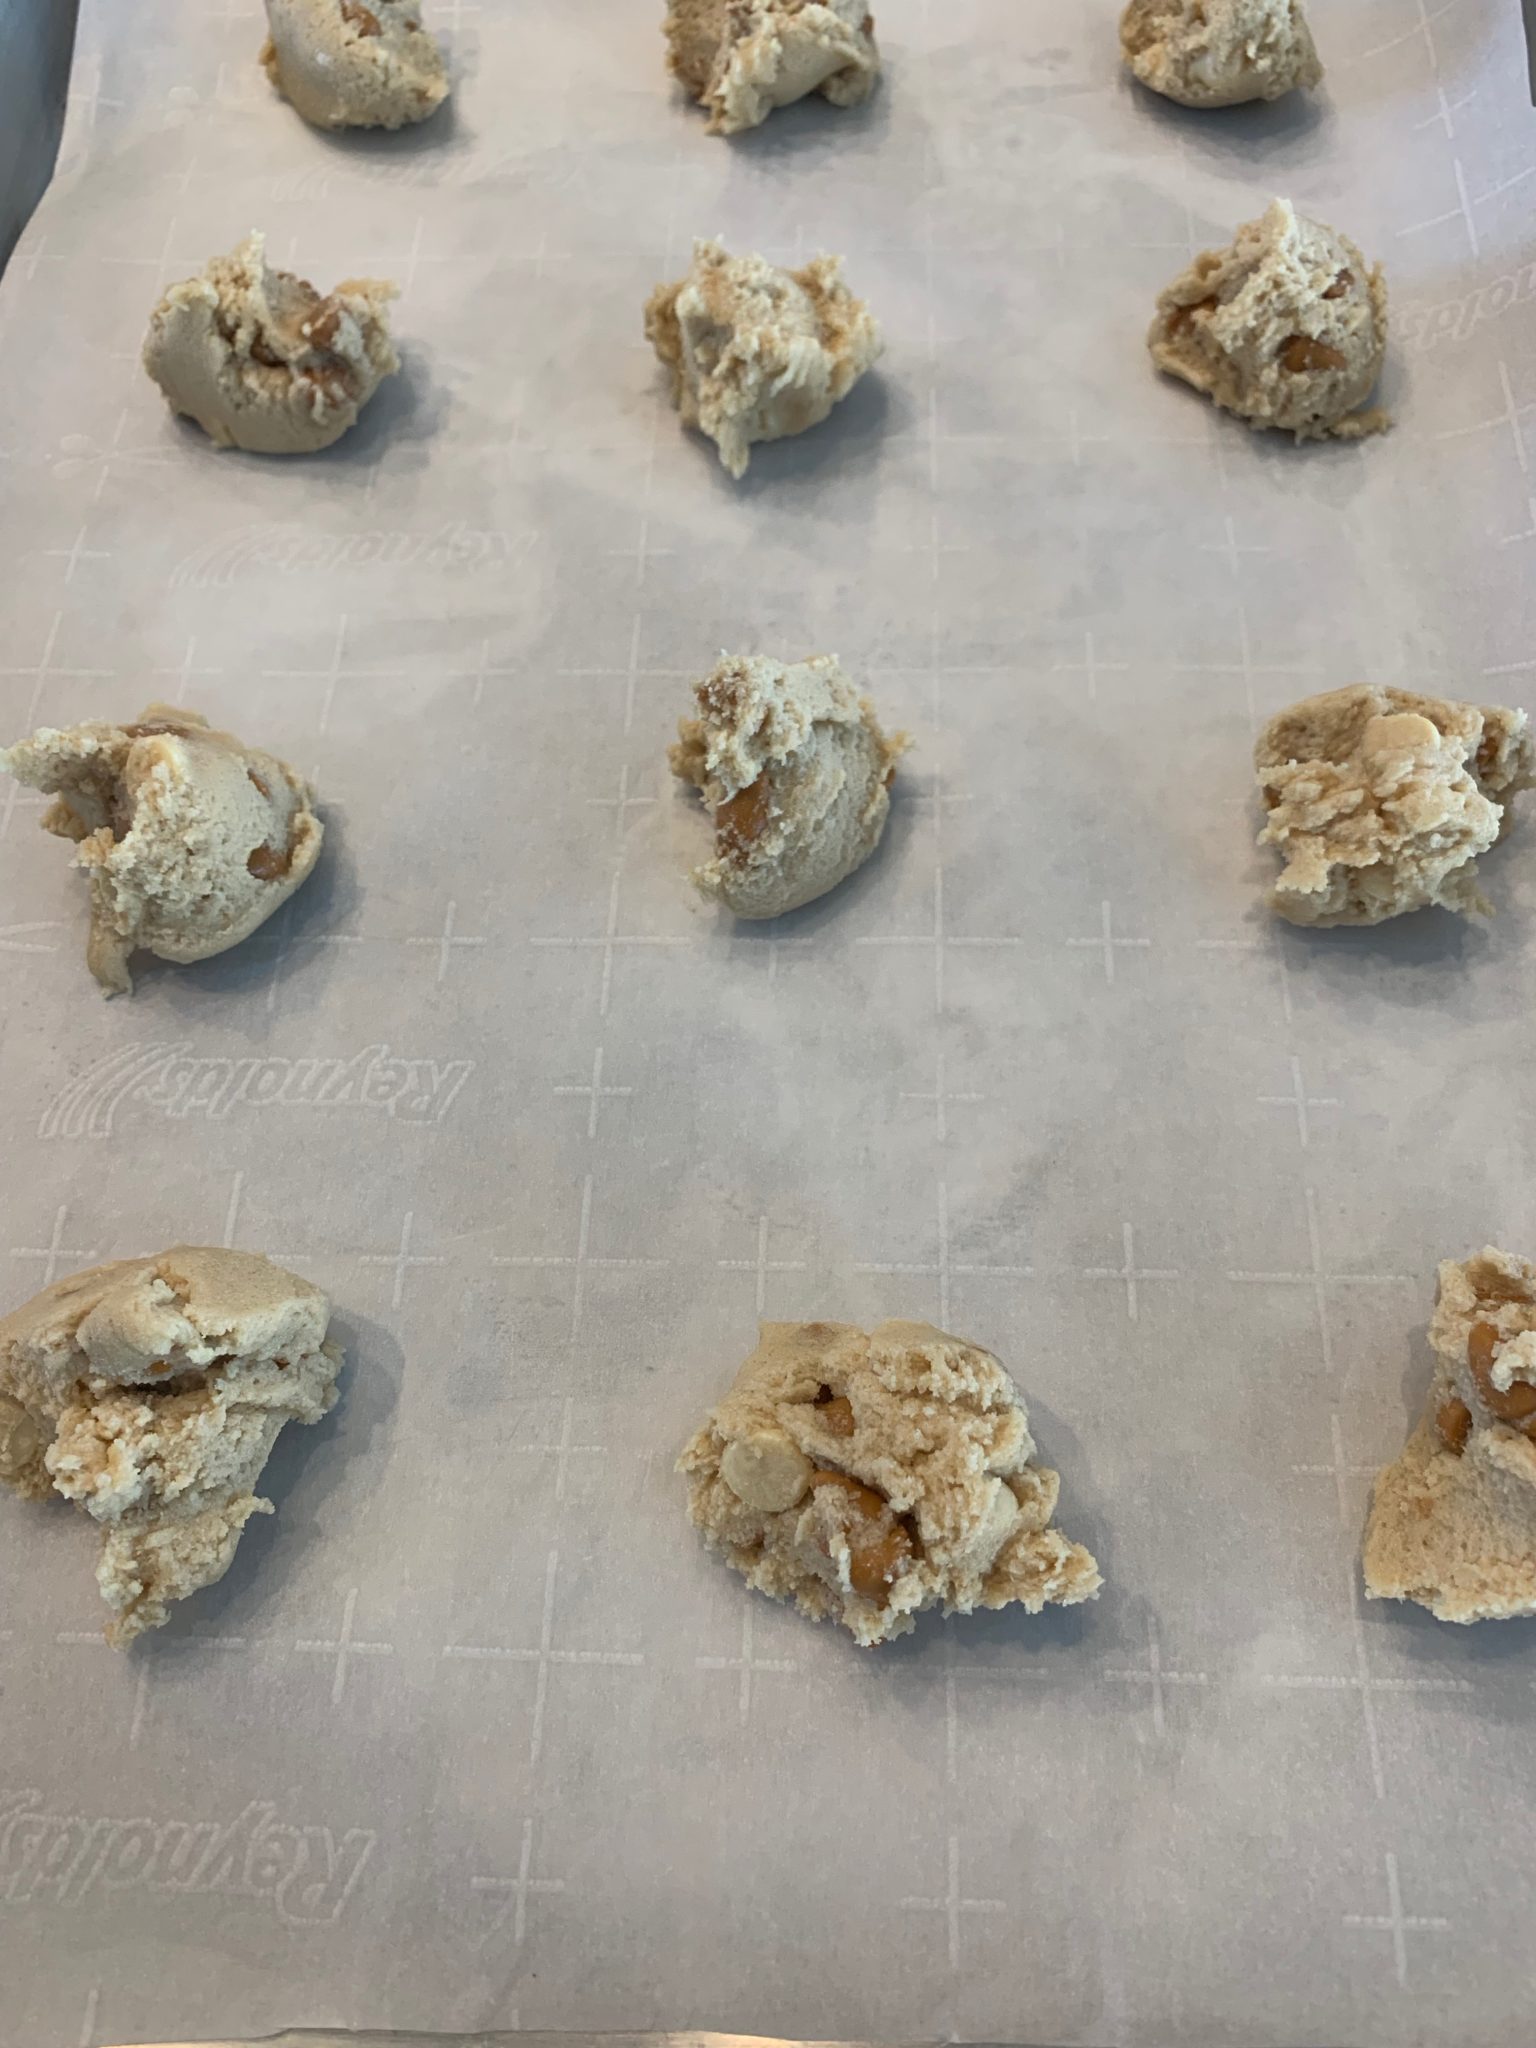
I tried the cookies on parchment paper line cookies sheets and on a greased ones. The parchment paper cookies spread out more than the ones on the greased sheets but that was pretty much the only difference.
And here are the cookies.

How do they taste? They are good. The texture is a little different, a little dry but the flavor is good. The cookies have that same salty, sweet flavor that people like about Murray Cookies.
So if you know someone who you would like to gift with a little homemade love, give it try. And if your recipe turns out well, share it with me!
CHOCOLATE AND BUTTERSCOTCH CHIP COOKIES: GLUTEN FREE!
Ingredients
- ¾ shortening Crisco
- ¼ cup unsalted butter
- ¾ cup brown sugar
- ½ cup sugar
- 2 tsp vanilla
- 2 eggs
- 2 ¼ cup gluten-free all purpose flour mix
- 1 tsp soda
- ¾ tsp salt
- 1 cup chocolate chips white or semi-sweet
- 1 cup butterscotch chips
Instructions
- Preheat oven to 350 degrees. Grease or line with parchment paper two baking sheets.
- Beat together the shortening, butter and sugar until well blended. Add the effs one at a time. Beat well after each addition. Add the vanilla and beat well.
- Stir the flour, soda and salt together. Then add to the egg mixture and blend in. Stir in the chips.
- Drop by tablespoonfuls onto the prepared cookie sheets. Bake 10-13 minutes until brown on the edges. Allow to cool for two-three minutes on the sheets before removing to a cooling rack.




This looks delicious and the flowers make a nice photo!